Apache Gravitino Web V2 UI
This document outlines how users can manage metadata within Apache Gravitino using the Web V2 UI, the latest graphical interface accessible through a web browser as an alternative to writing code or using the REST interface.
Build and deploy the Gravitino Web UI and open it in a browser at http://<gravitino-host>:<gravitino-port>. By default, it is http://localhost:8090.
UI Version 1.2.0 — Web V2 introduced
Starting with version 1.2.0, Gravitino introduces Web V2. By default, the template does not set GRAVITINO_USE_WEB_V2, so the container or environment controls which UI is used. To force the v1 UI, explicitly set it to false; to enable the v2 UI, set it to true (for example: export GRAVITINO_USE_WEB_V2=true). If you want to enable Web V2 from the server env file, set the following environment variable in conf/gravitino-env.sh before starting the server:
# In <path-to-gravitino>/conf/gravitino-env.sh
GRAVITINO_USE_WEB_V2=true
After changing this value, restart the Gravitino server for the change to take effect:
<path-to-gravitino>/bin/gravitino.sh restart
Web V2
The sections below describe the Web V2 (requires GRAVITINO_USE_WEB_V2=true to enable).
The Web V2 introduces additional modules (such as Jobs, Job Templates, Data Compliance, and Access) and expands table creation and editing to support more complex data types across providers.
Data Compliance includes Tags and Policies. The Access module is visible only when gravitino.authorization.enable=true and includes Users, User Groups, and Roles.
Initial page (Web V2)
The Web V2 landing page depends on both the authentication mode and whether authorization is enabled in <path-to-gravitino>/conf/gravitino.conf.
-
When
gravitino.authorization.enable=false, authorization is disabled. Insimplemode, the UI opens directly to the metalake list page.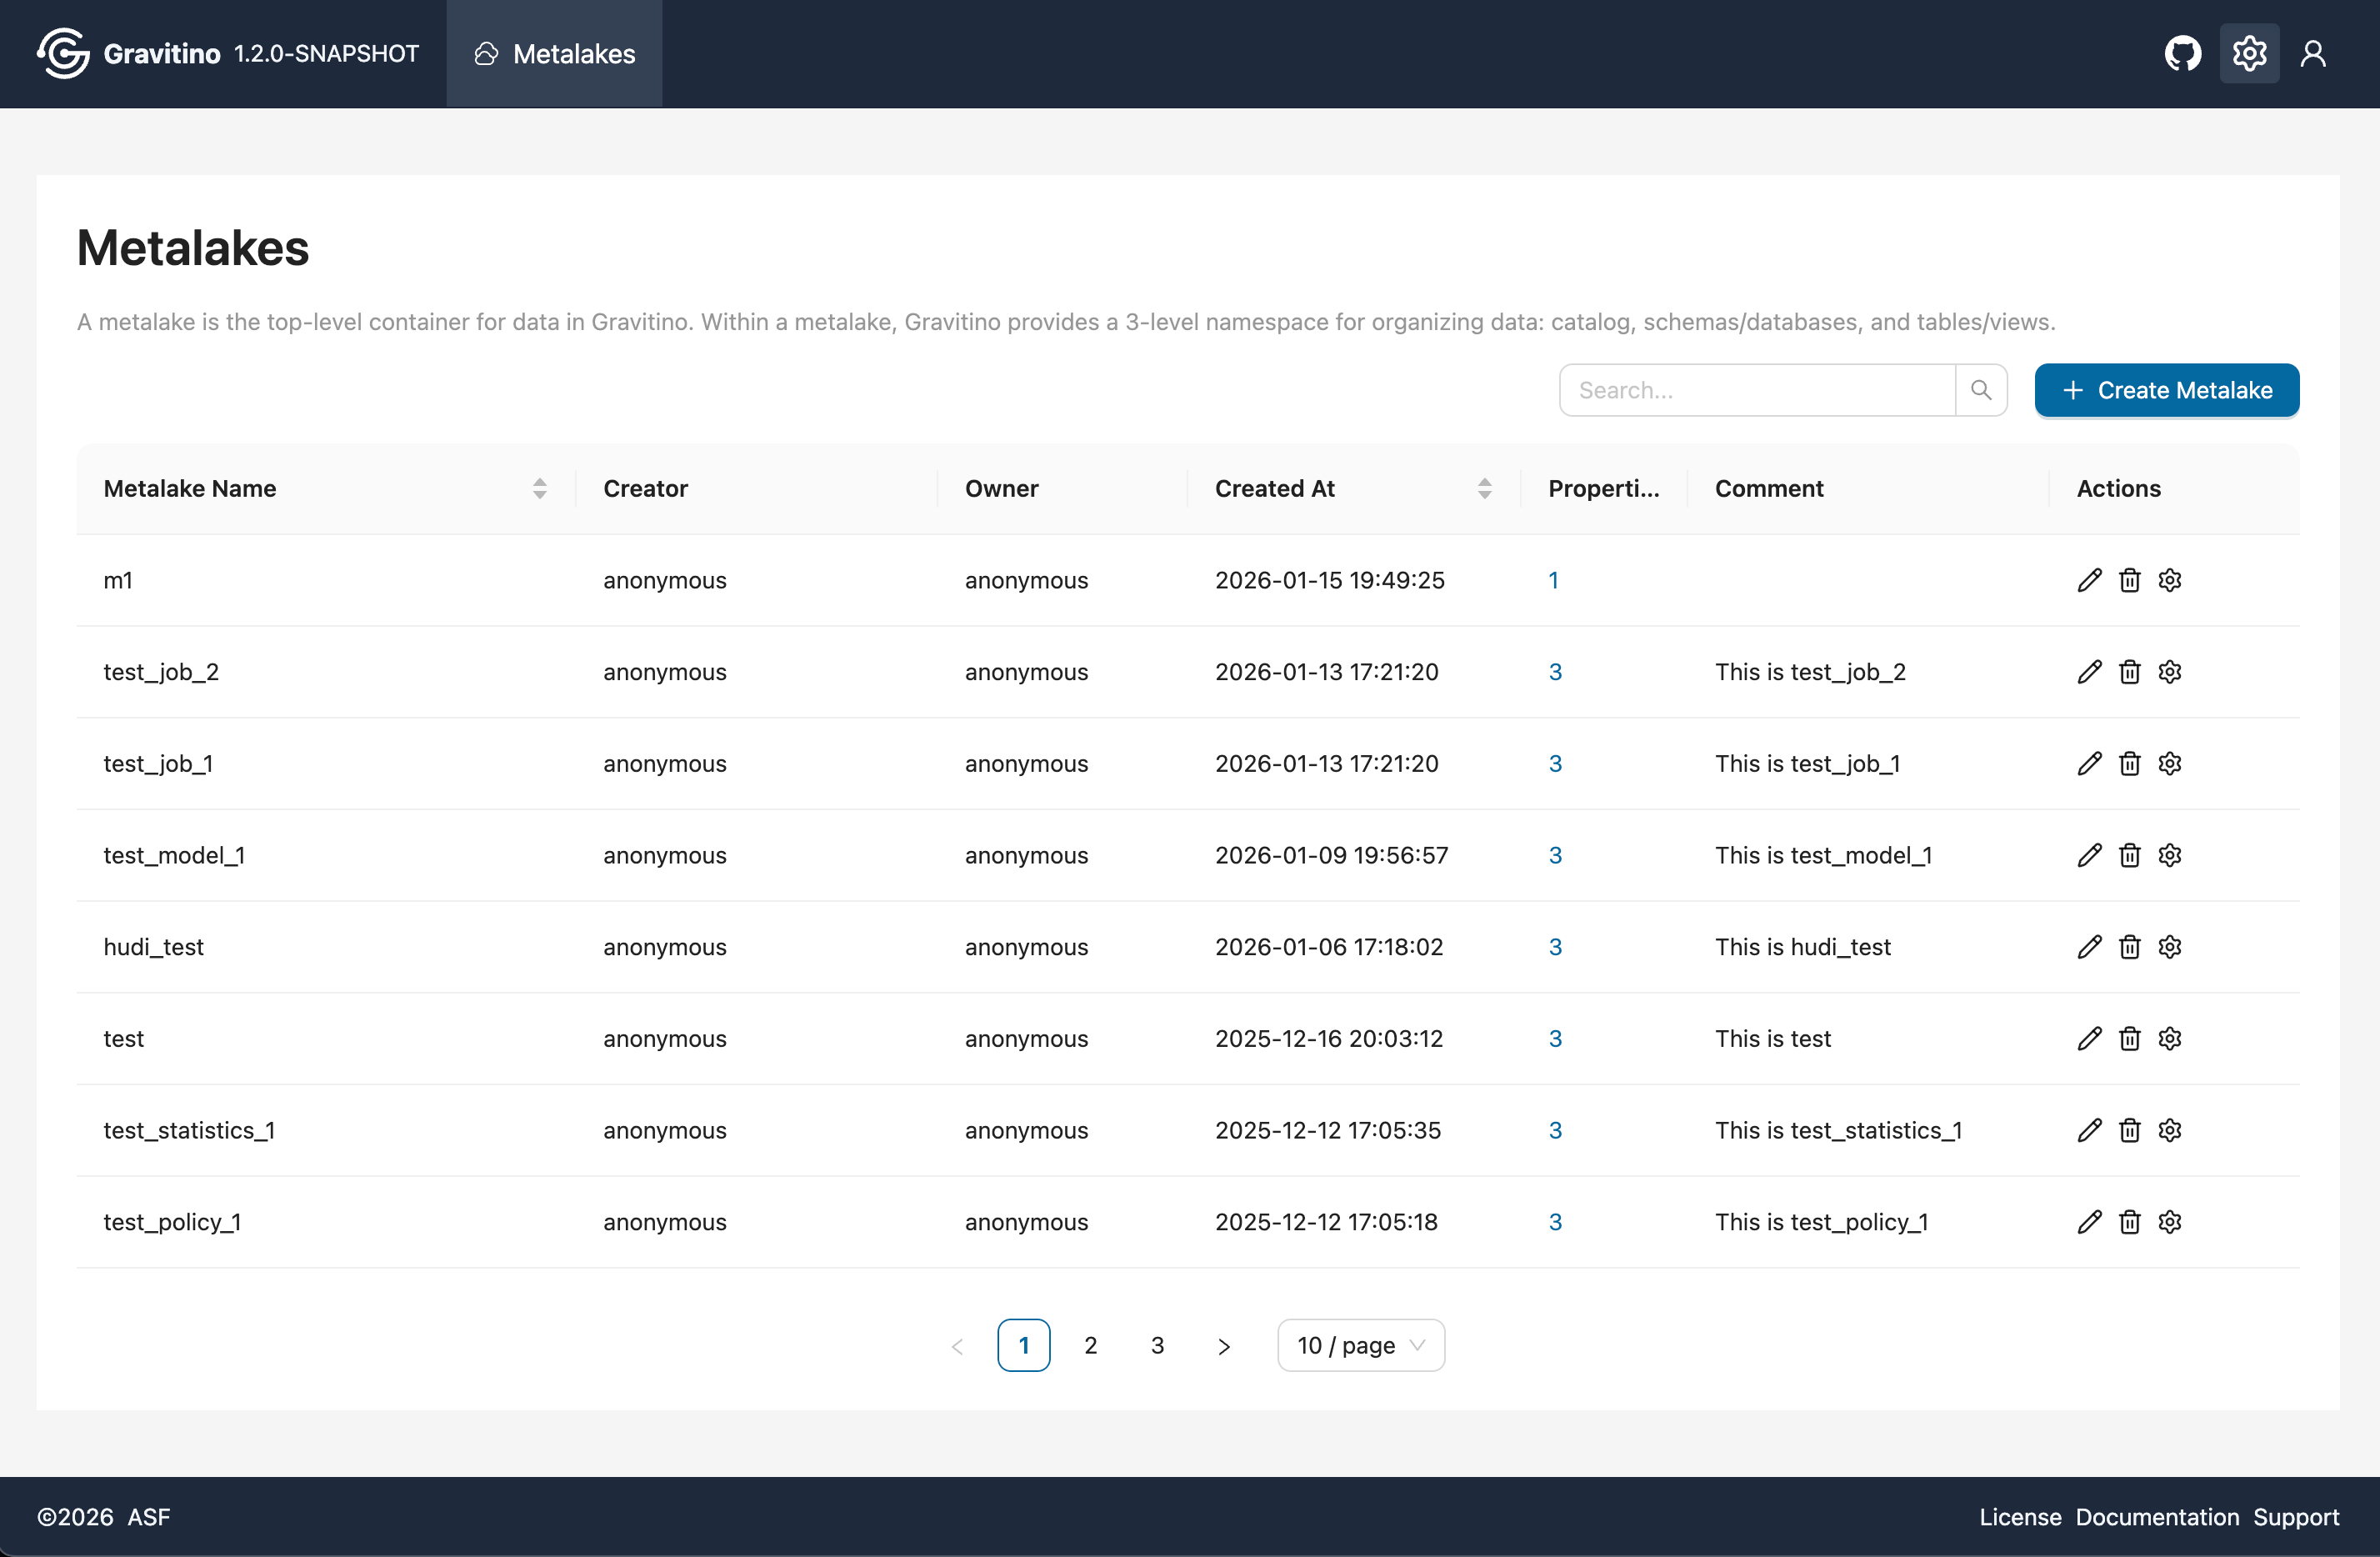
-
When
gravitino.authorization.enable=true, authorization is enabled. Insimplemode, the UI shows a login page. You can enter any username without a password.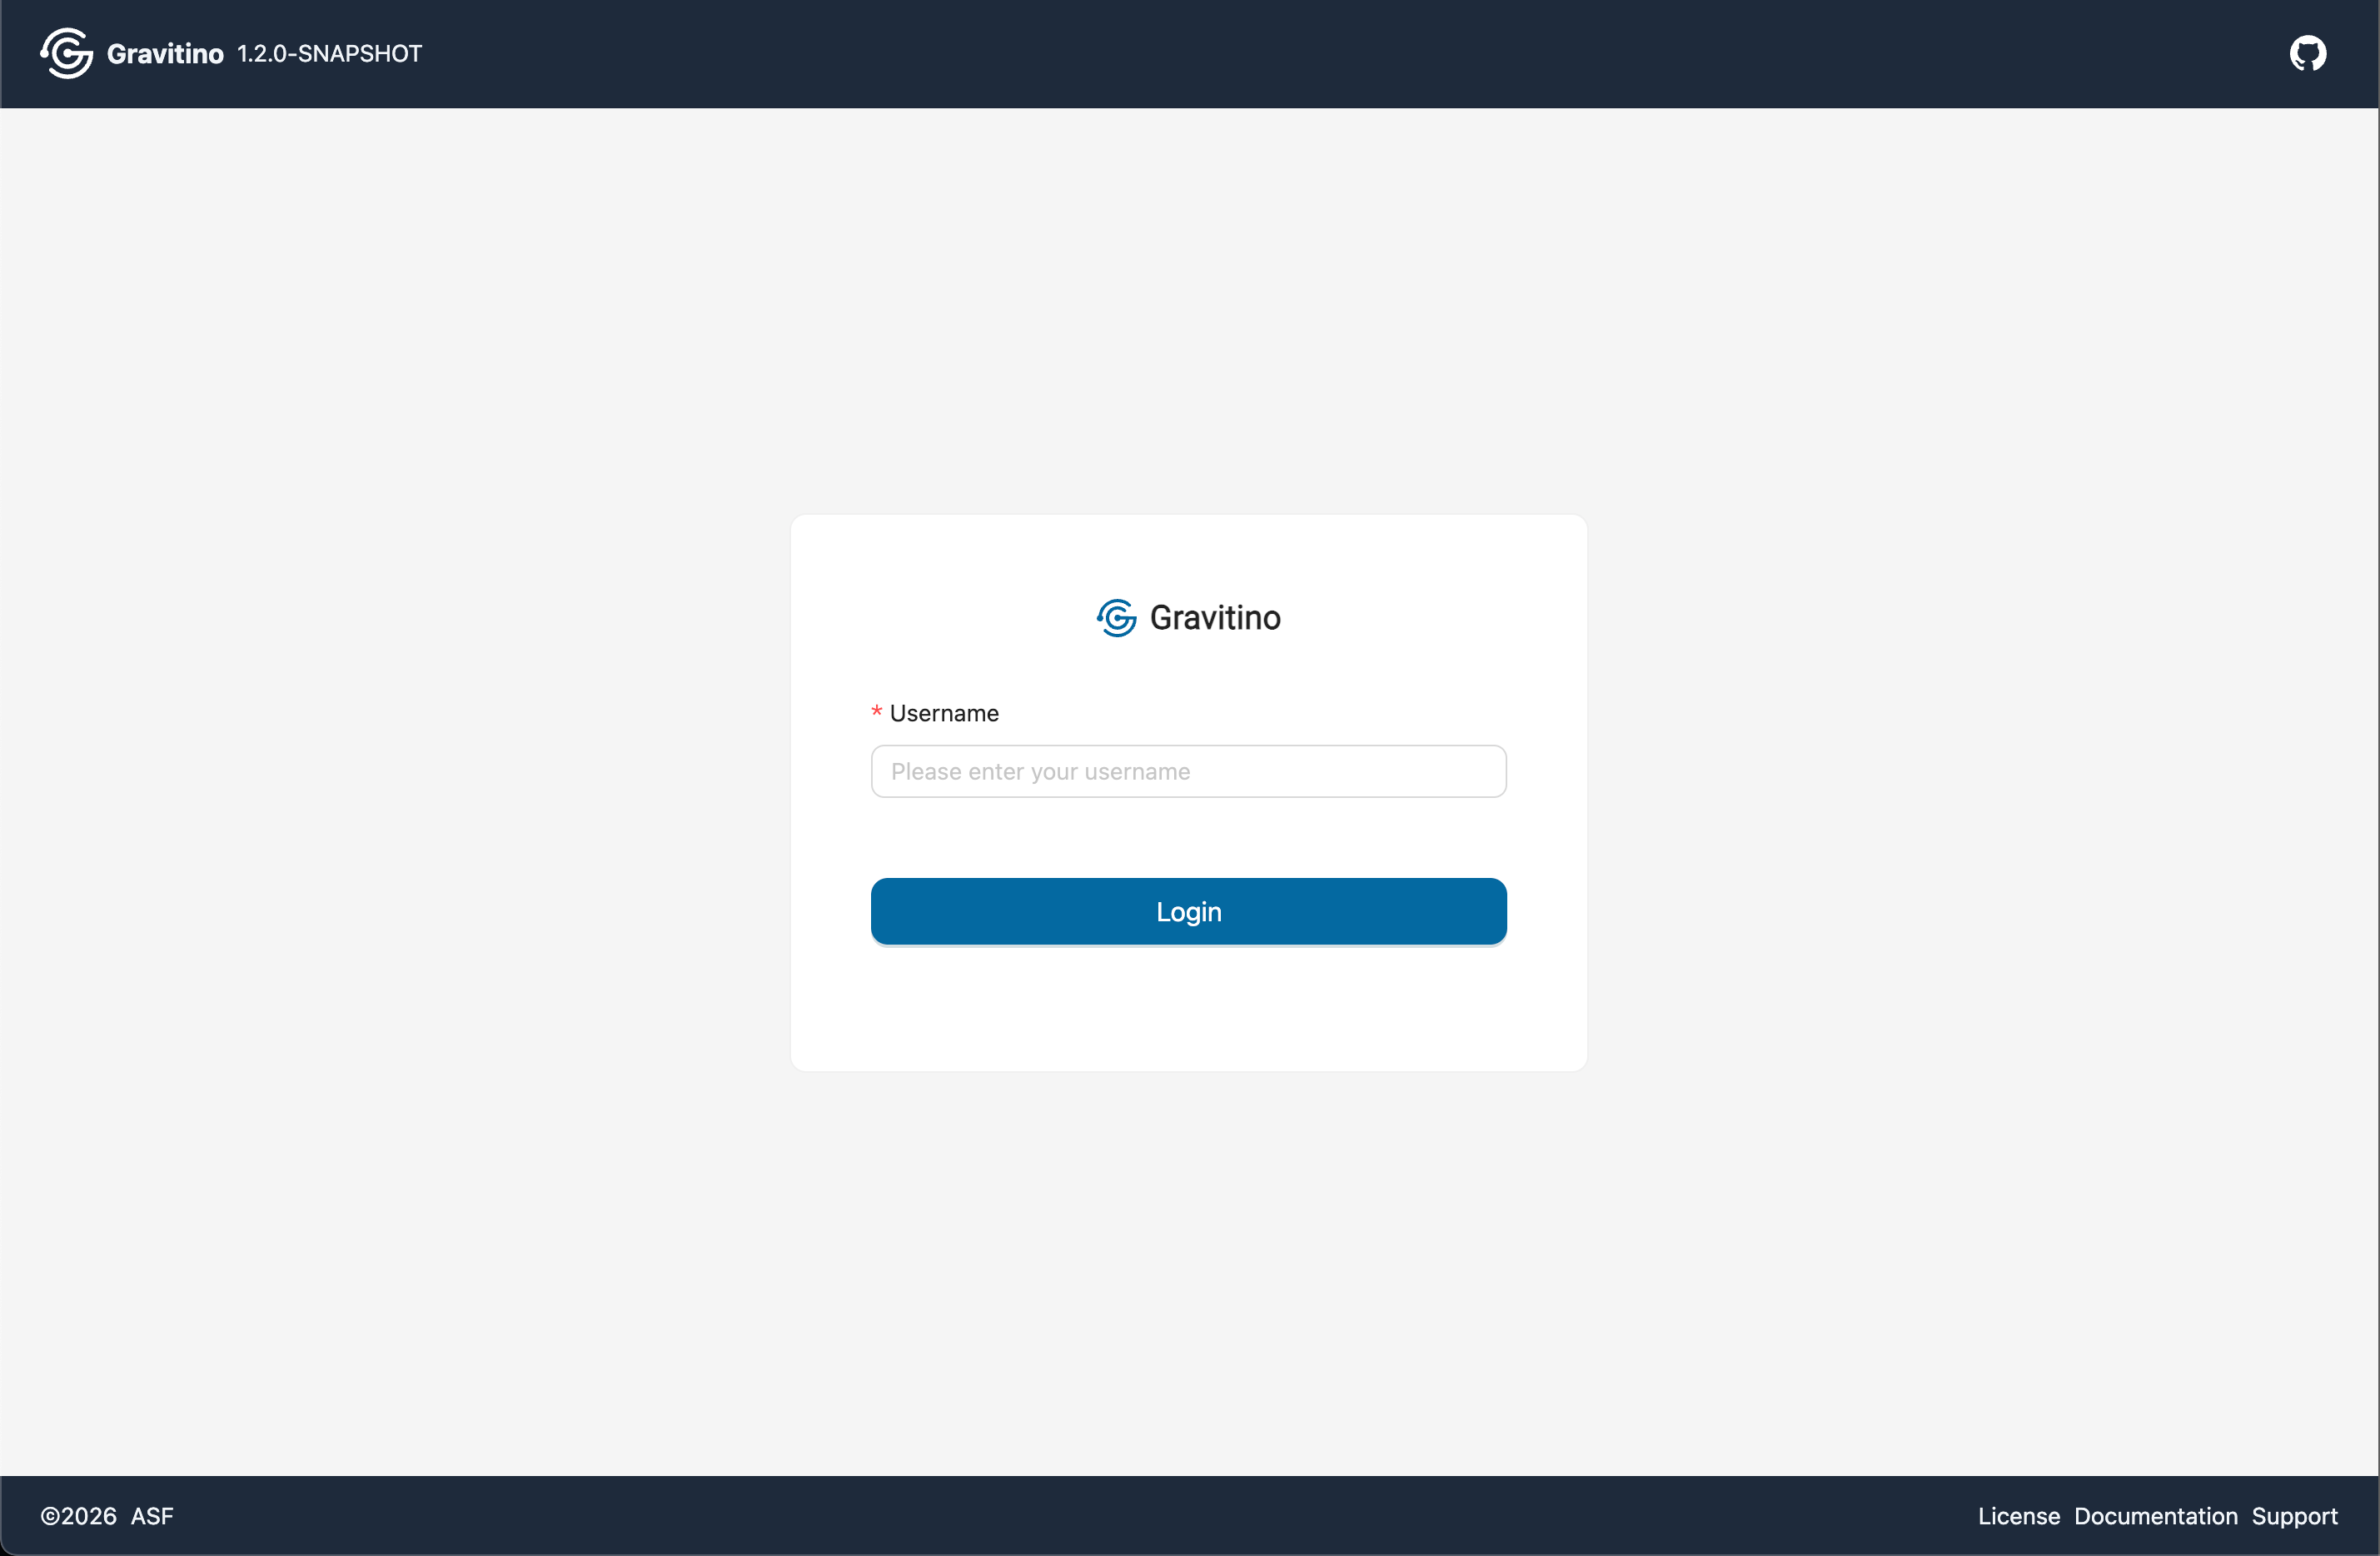
-
When
gravitino.authenticators=oauth, OAuth configuration is required for login. OAuth mode requiresgravitino.authorization.enable=true. See the details in Security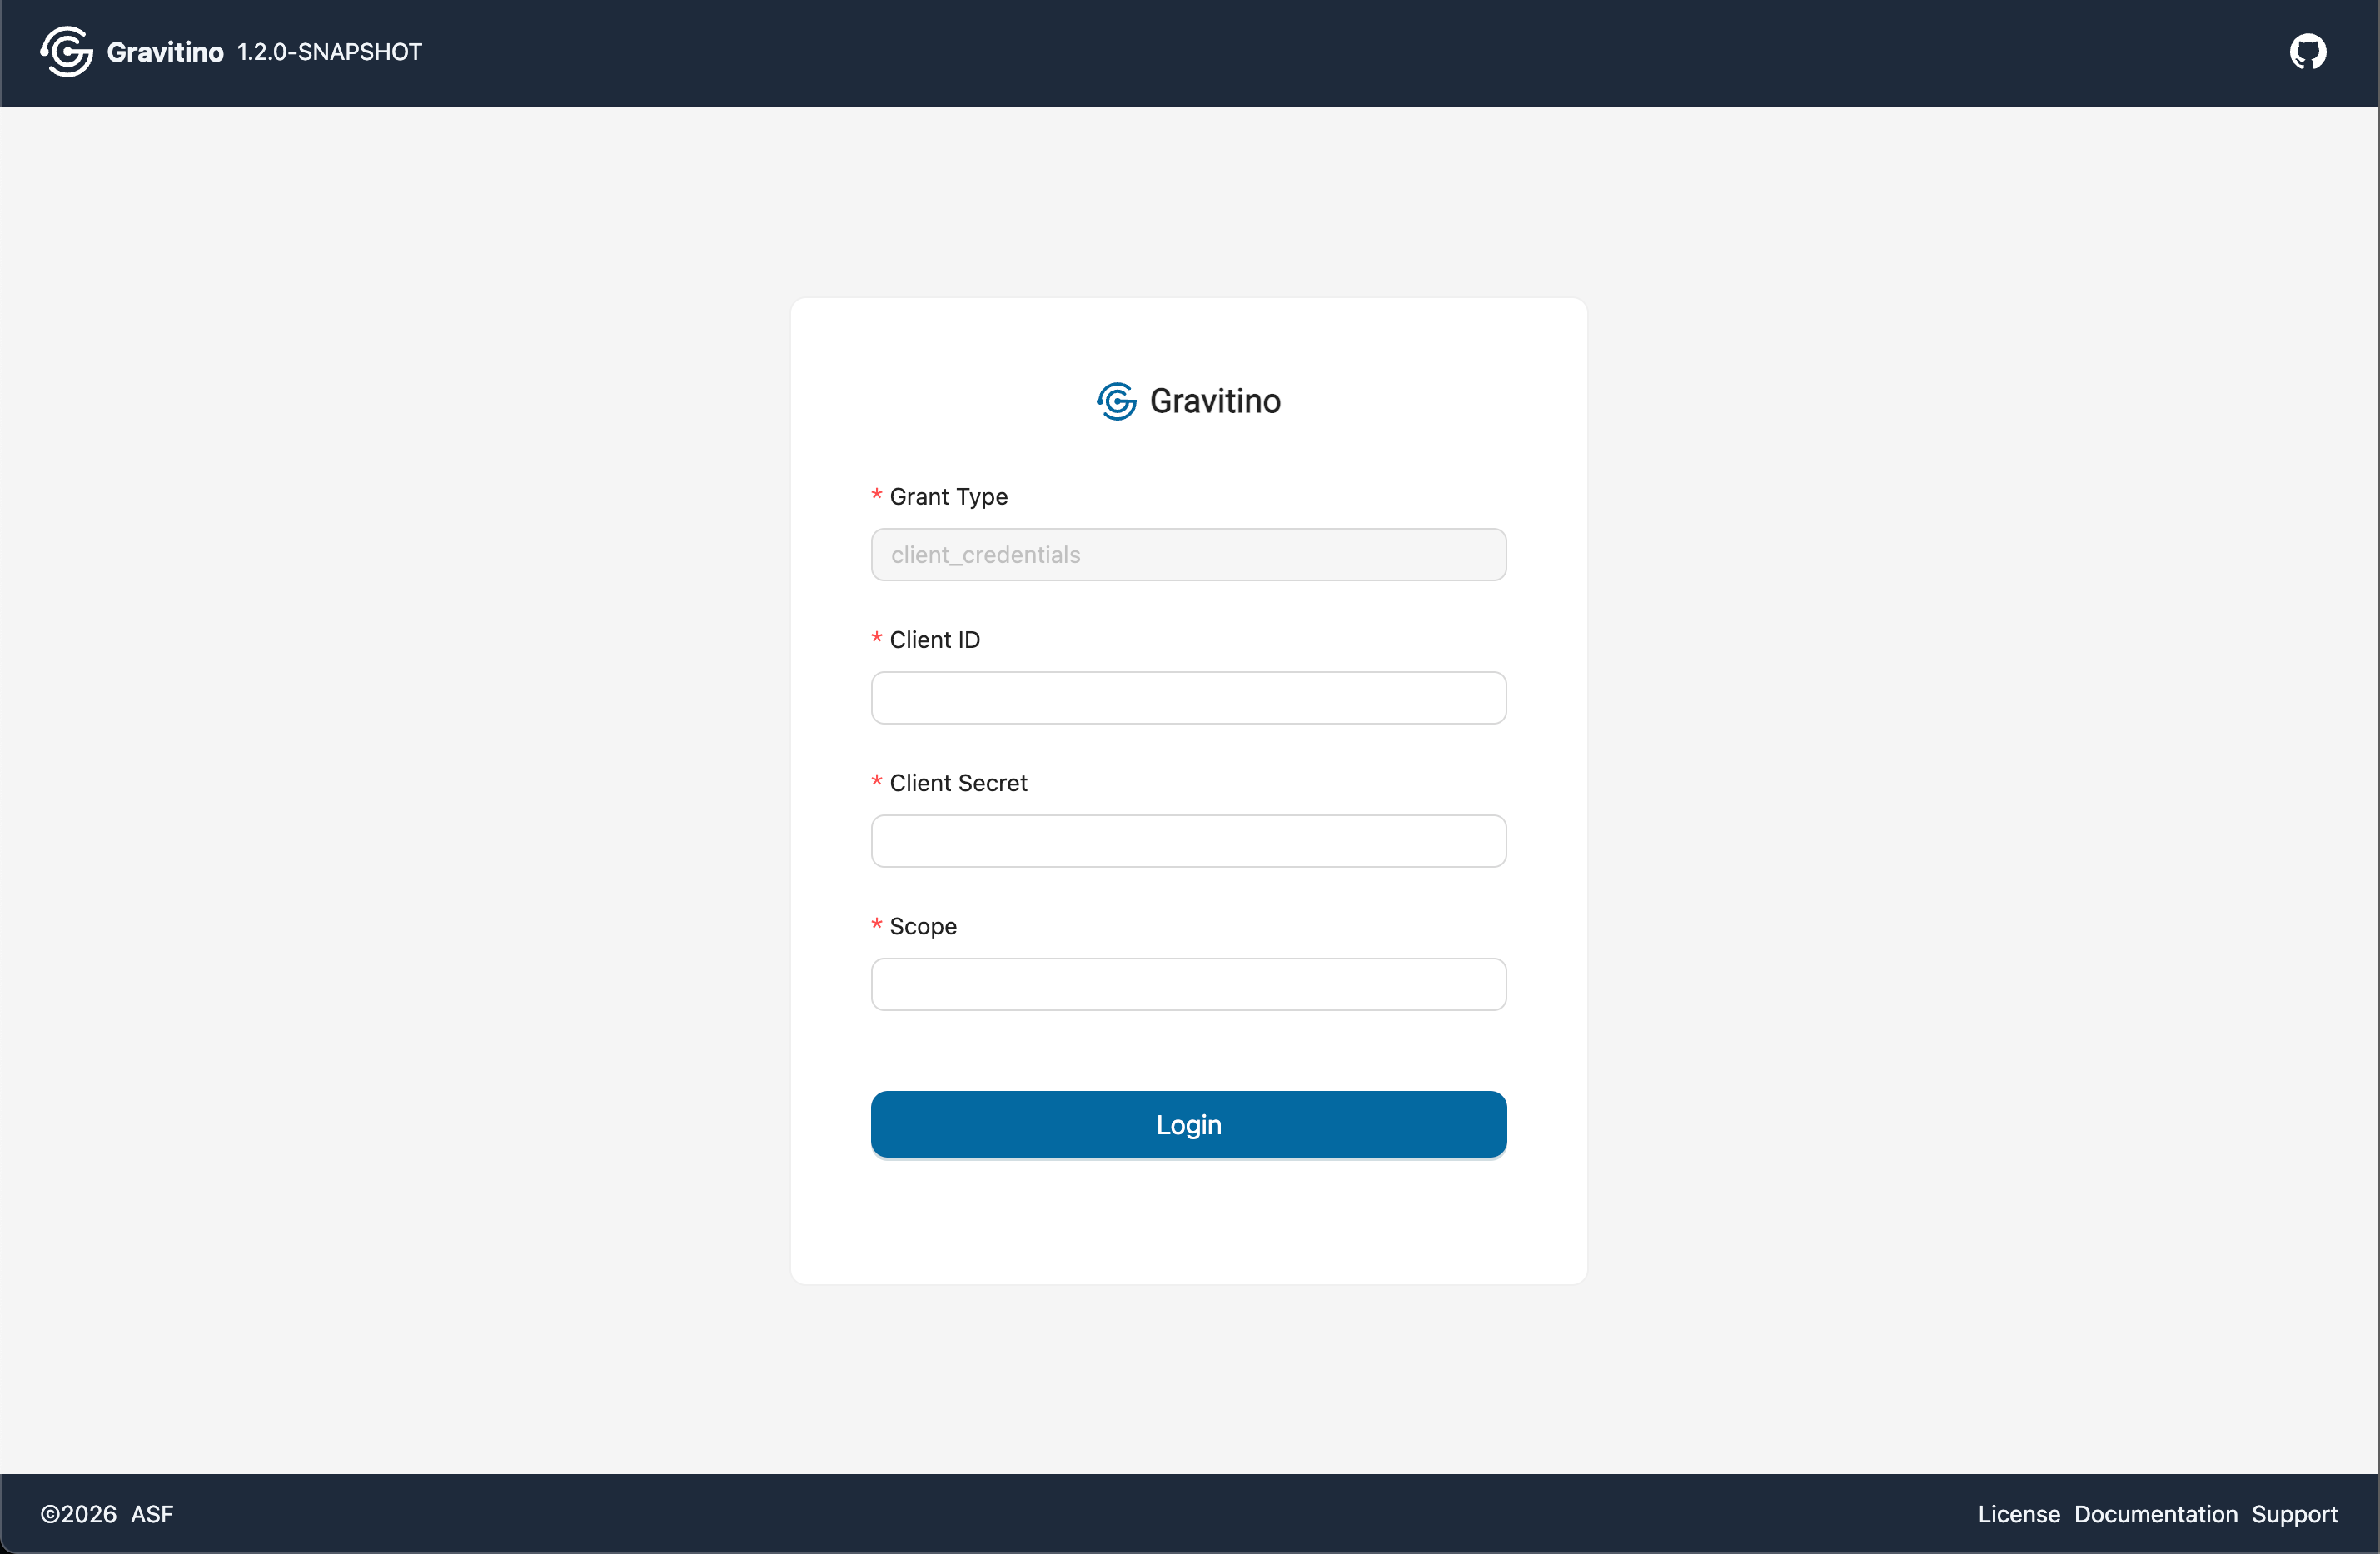
Metalakes (Web V2)
Overview for Metalake in the Web V2.
Create metalake (Web V2)
Click the CREATE METALAKE button to open the create dialog. Fill in the form fields and submit to create the metalake.
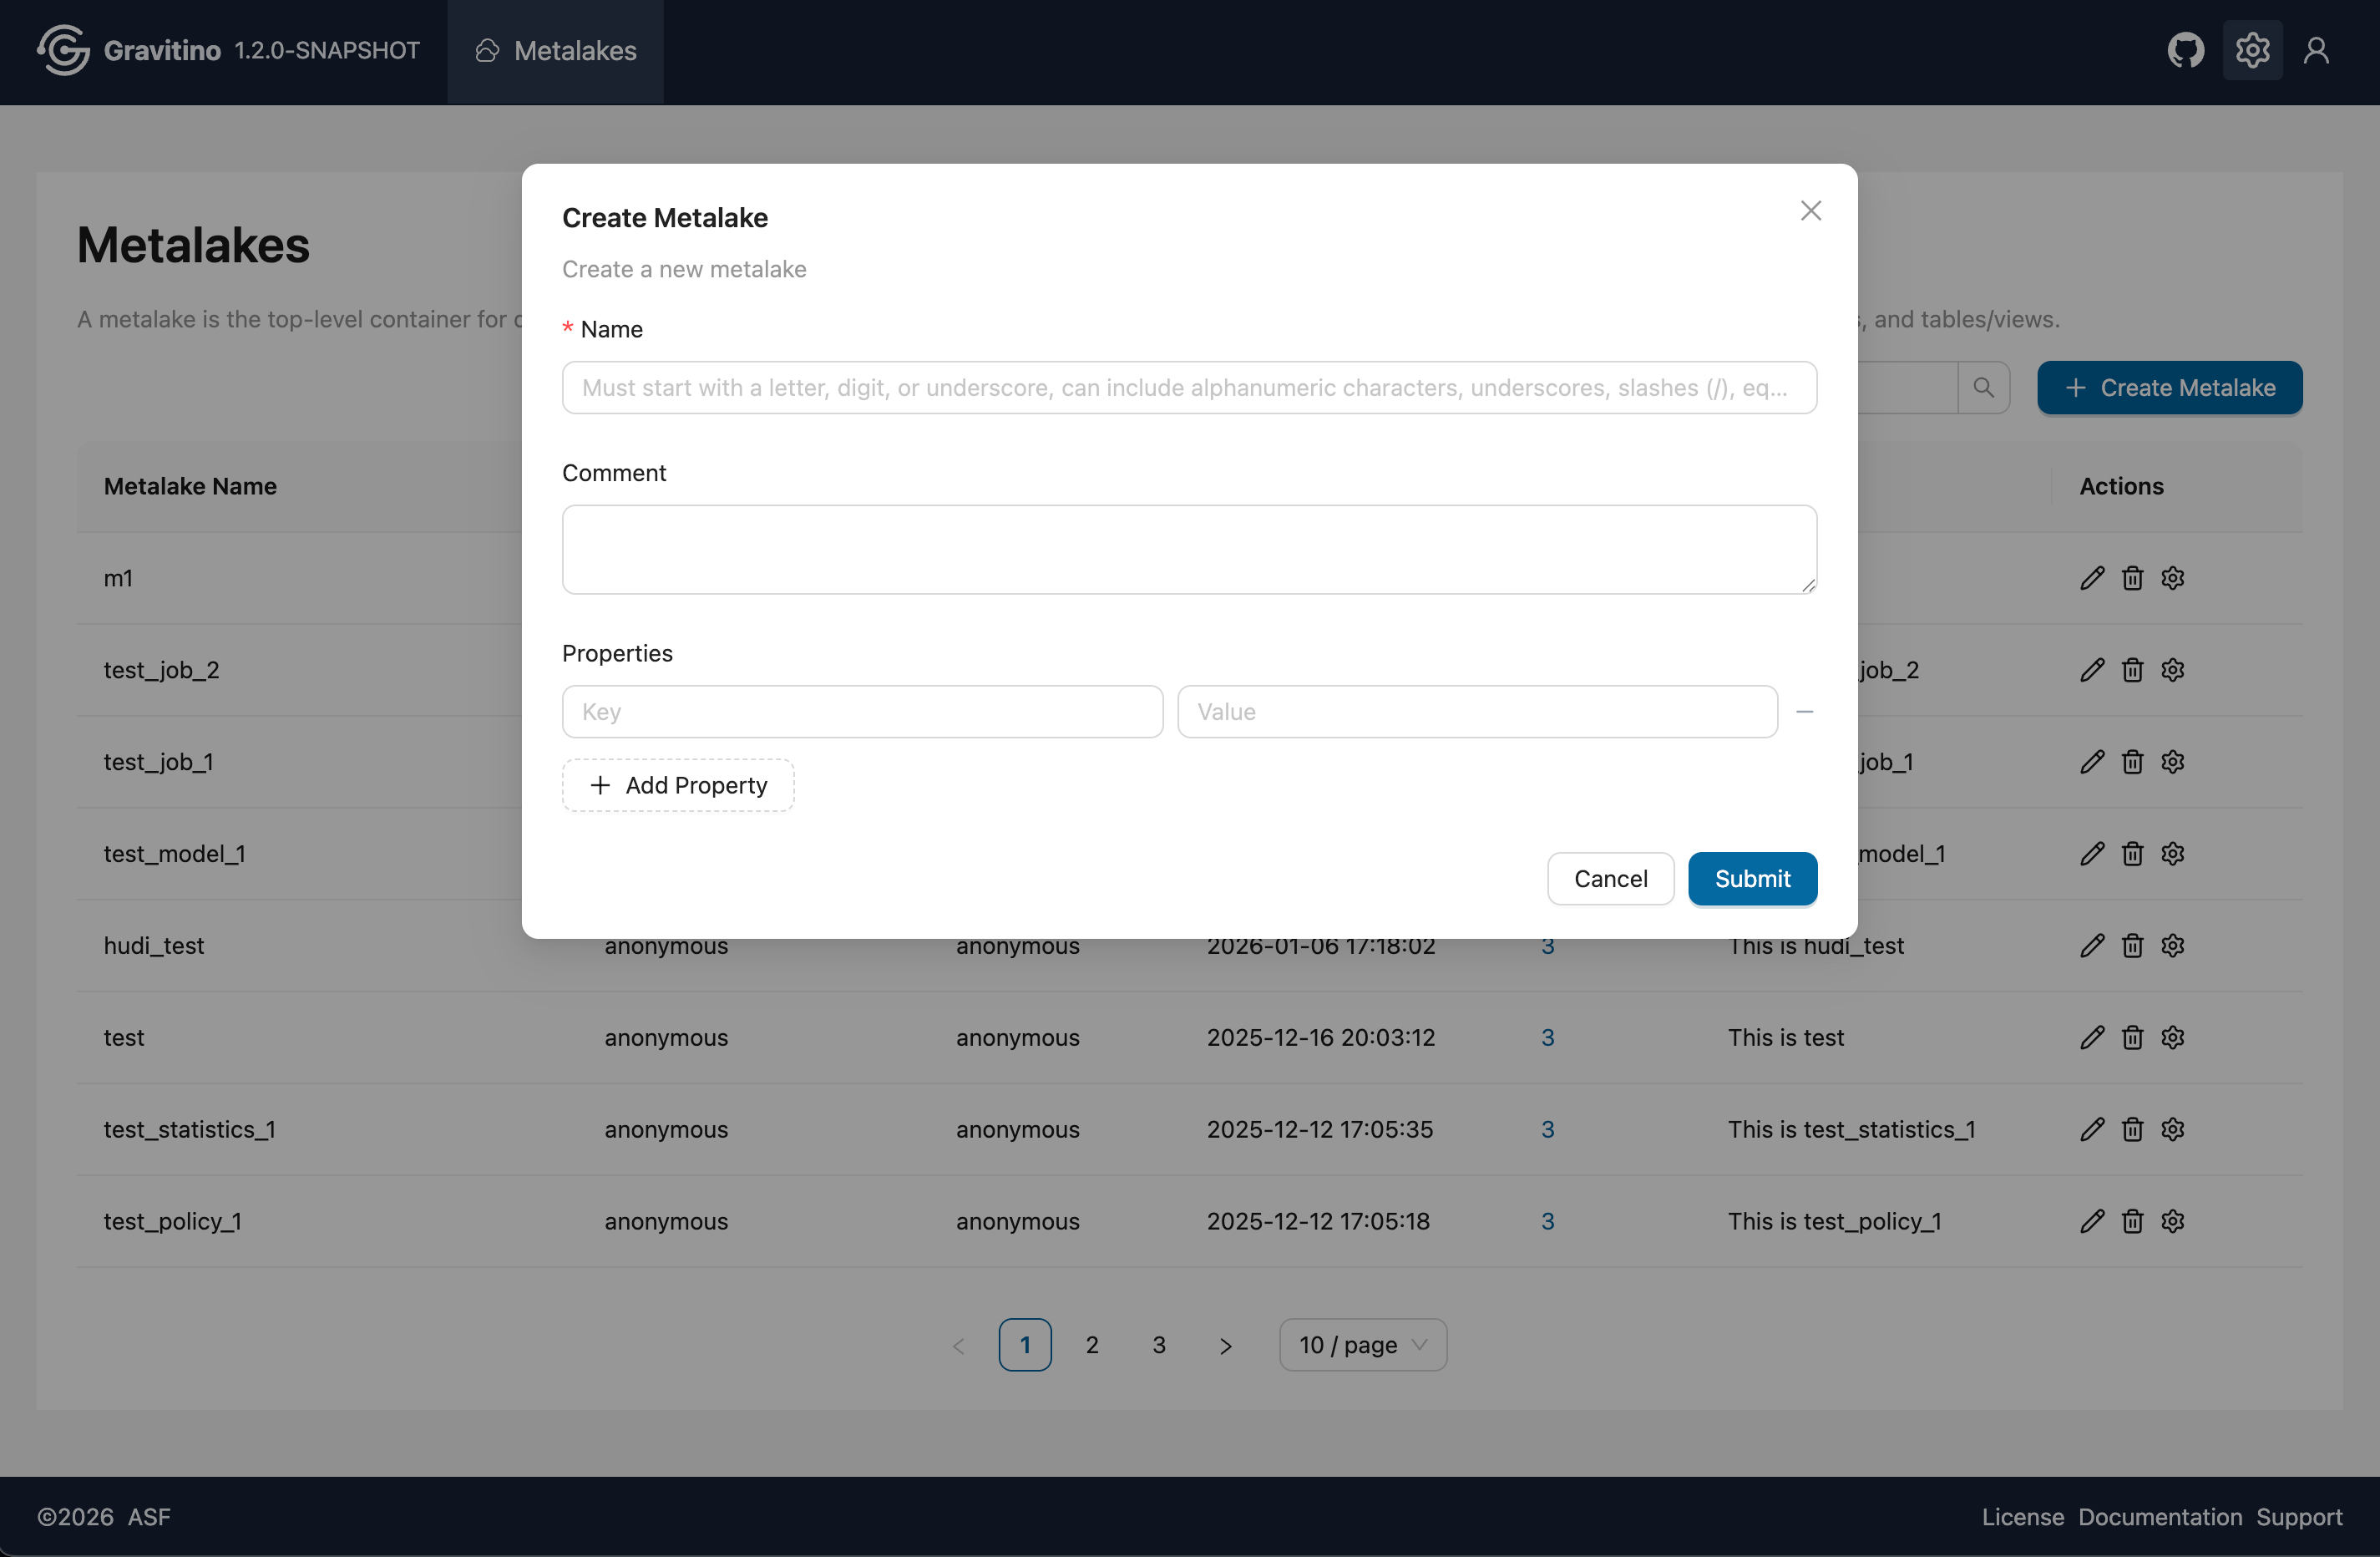
After creation, the basic information is visible in the metalake list.
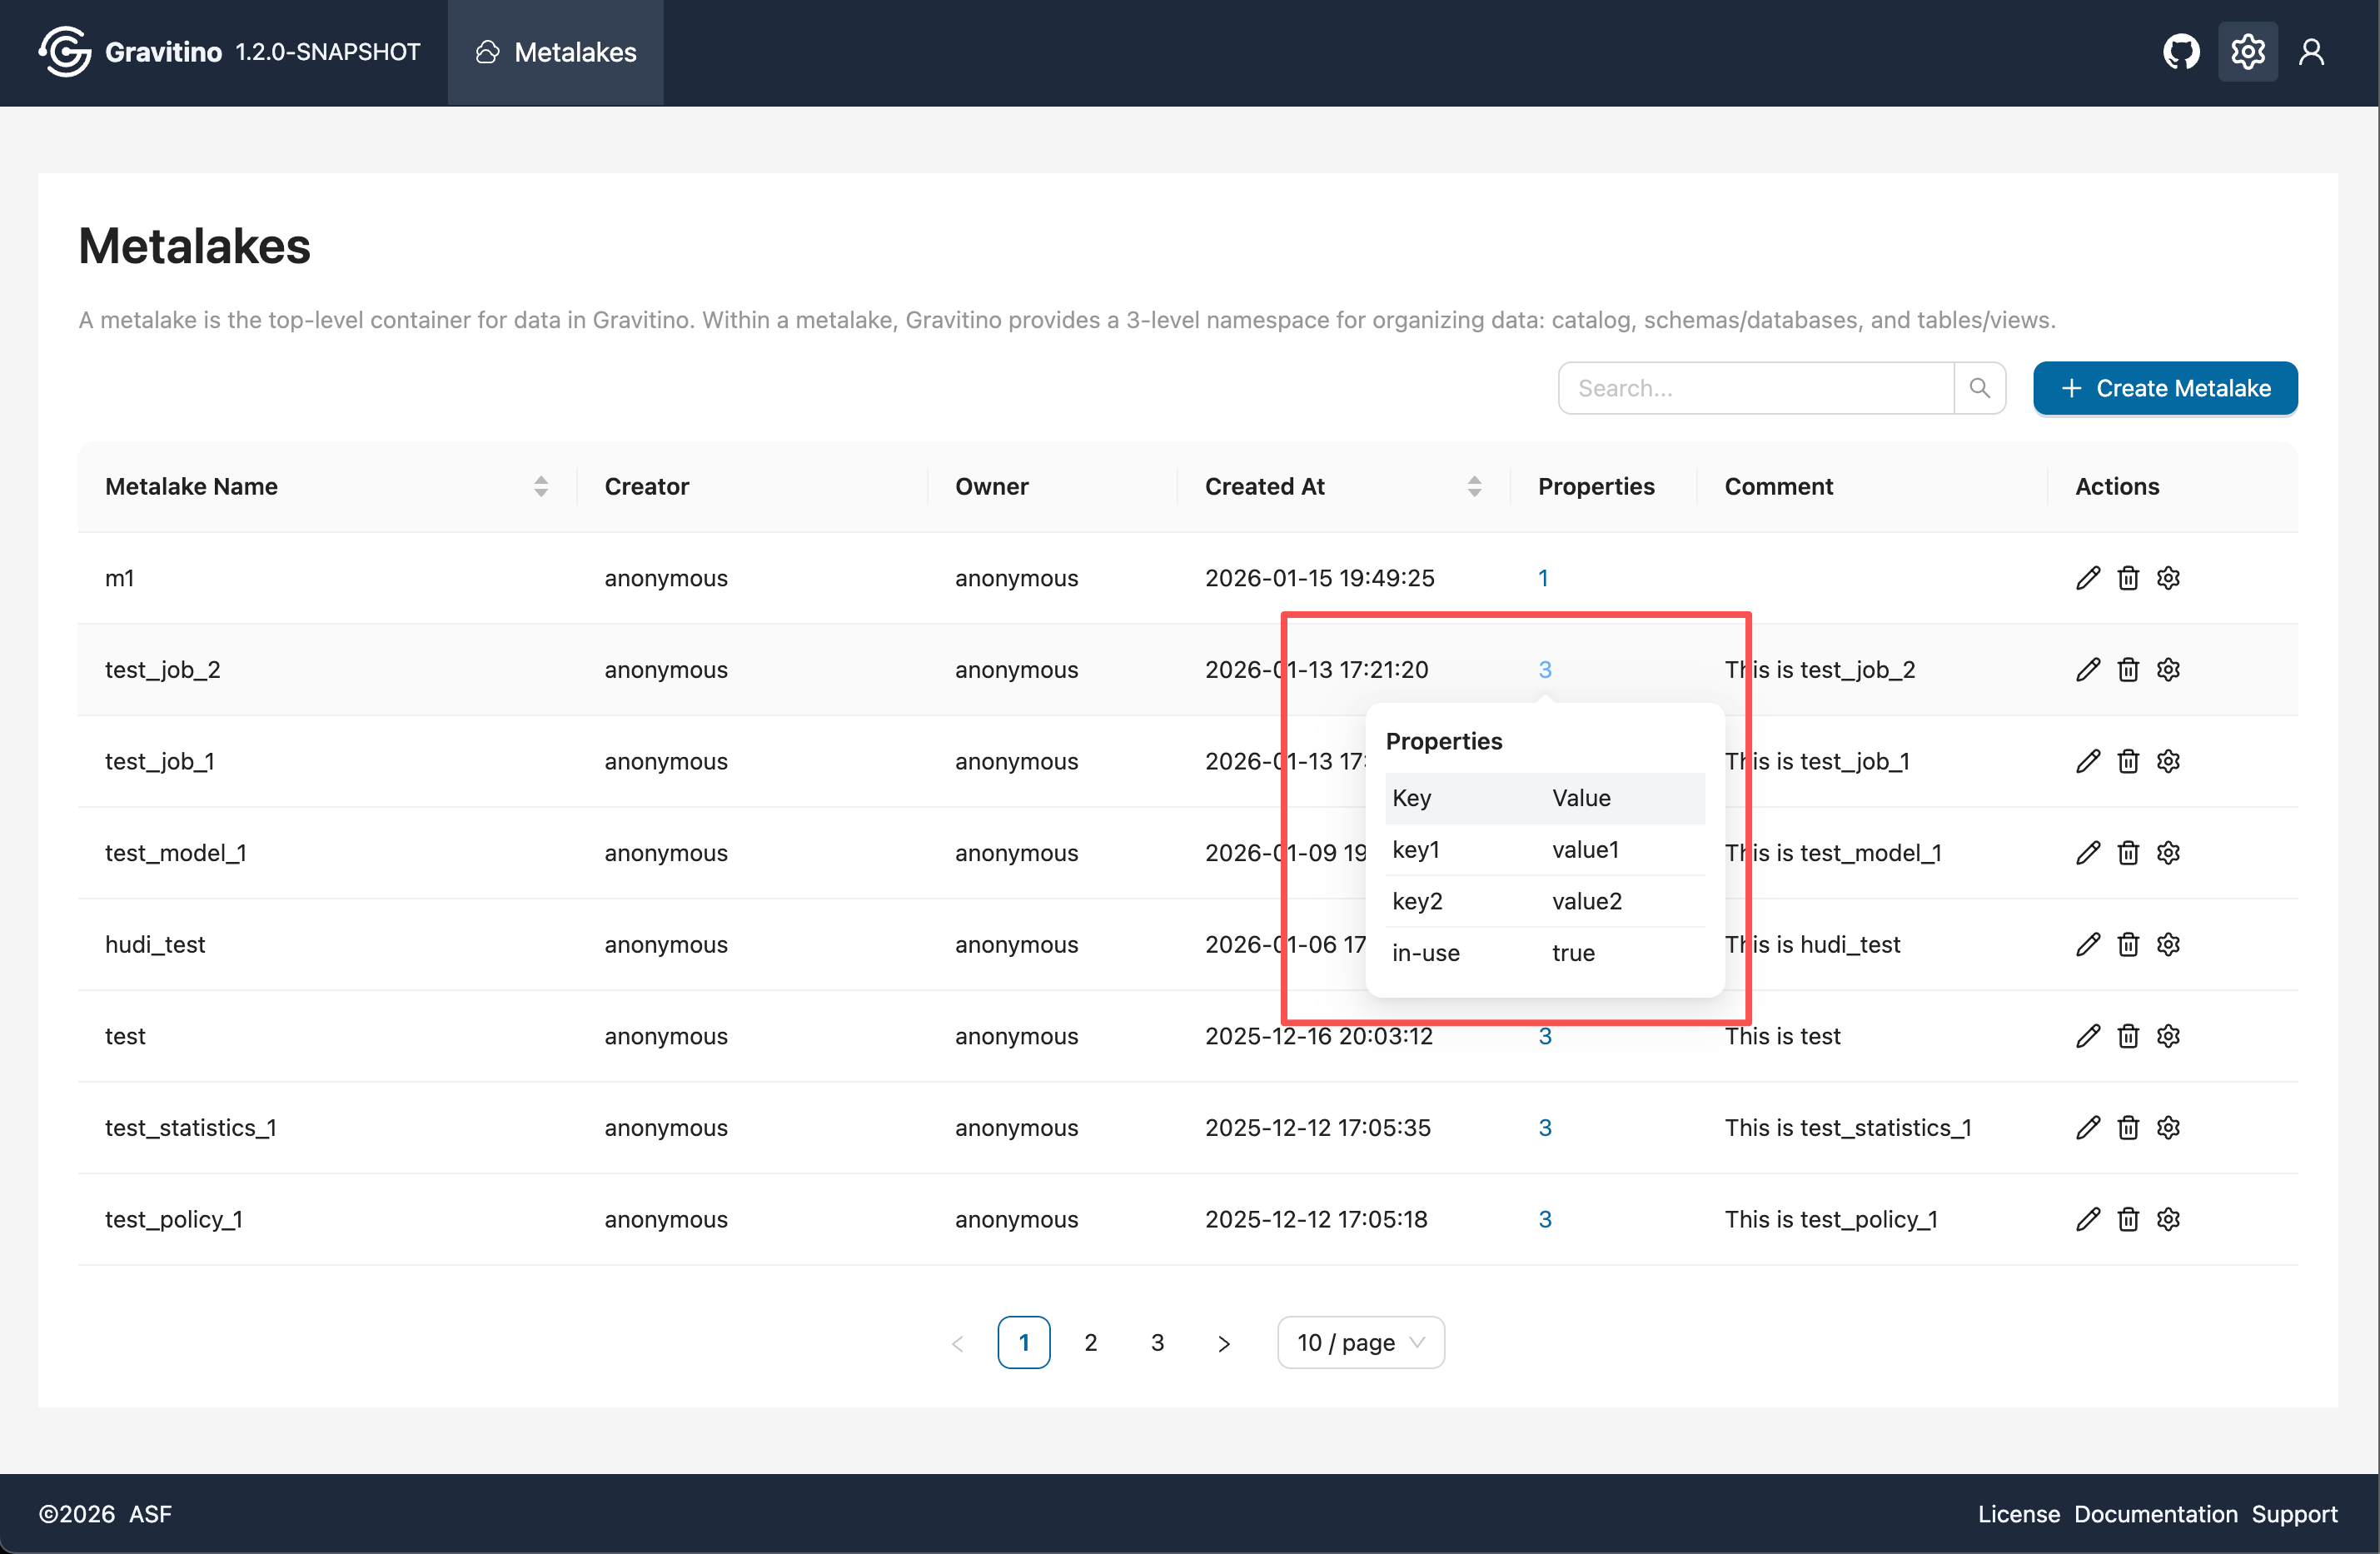
Properties popover (Web V2)
Hover over the number in the Properties column to view the properties popover.
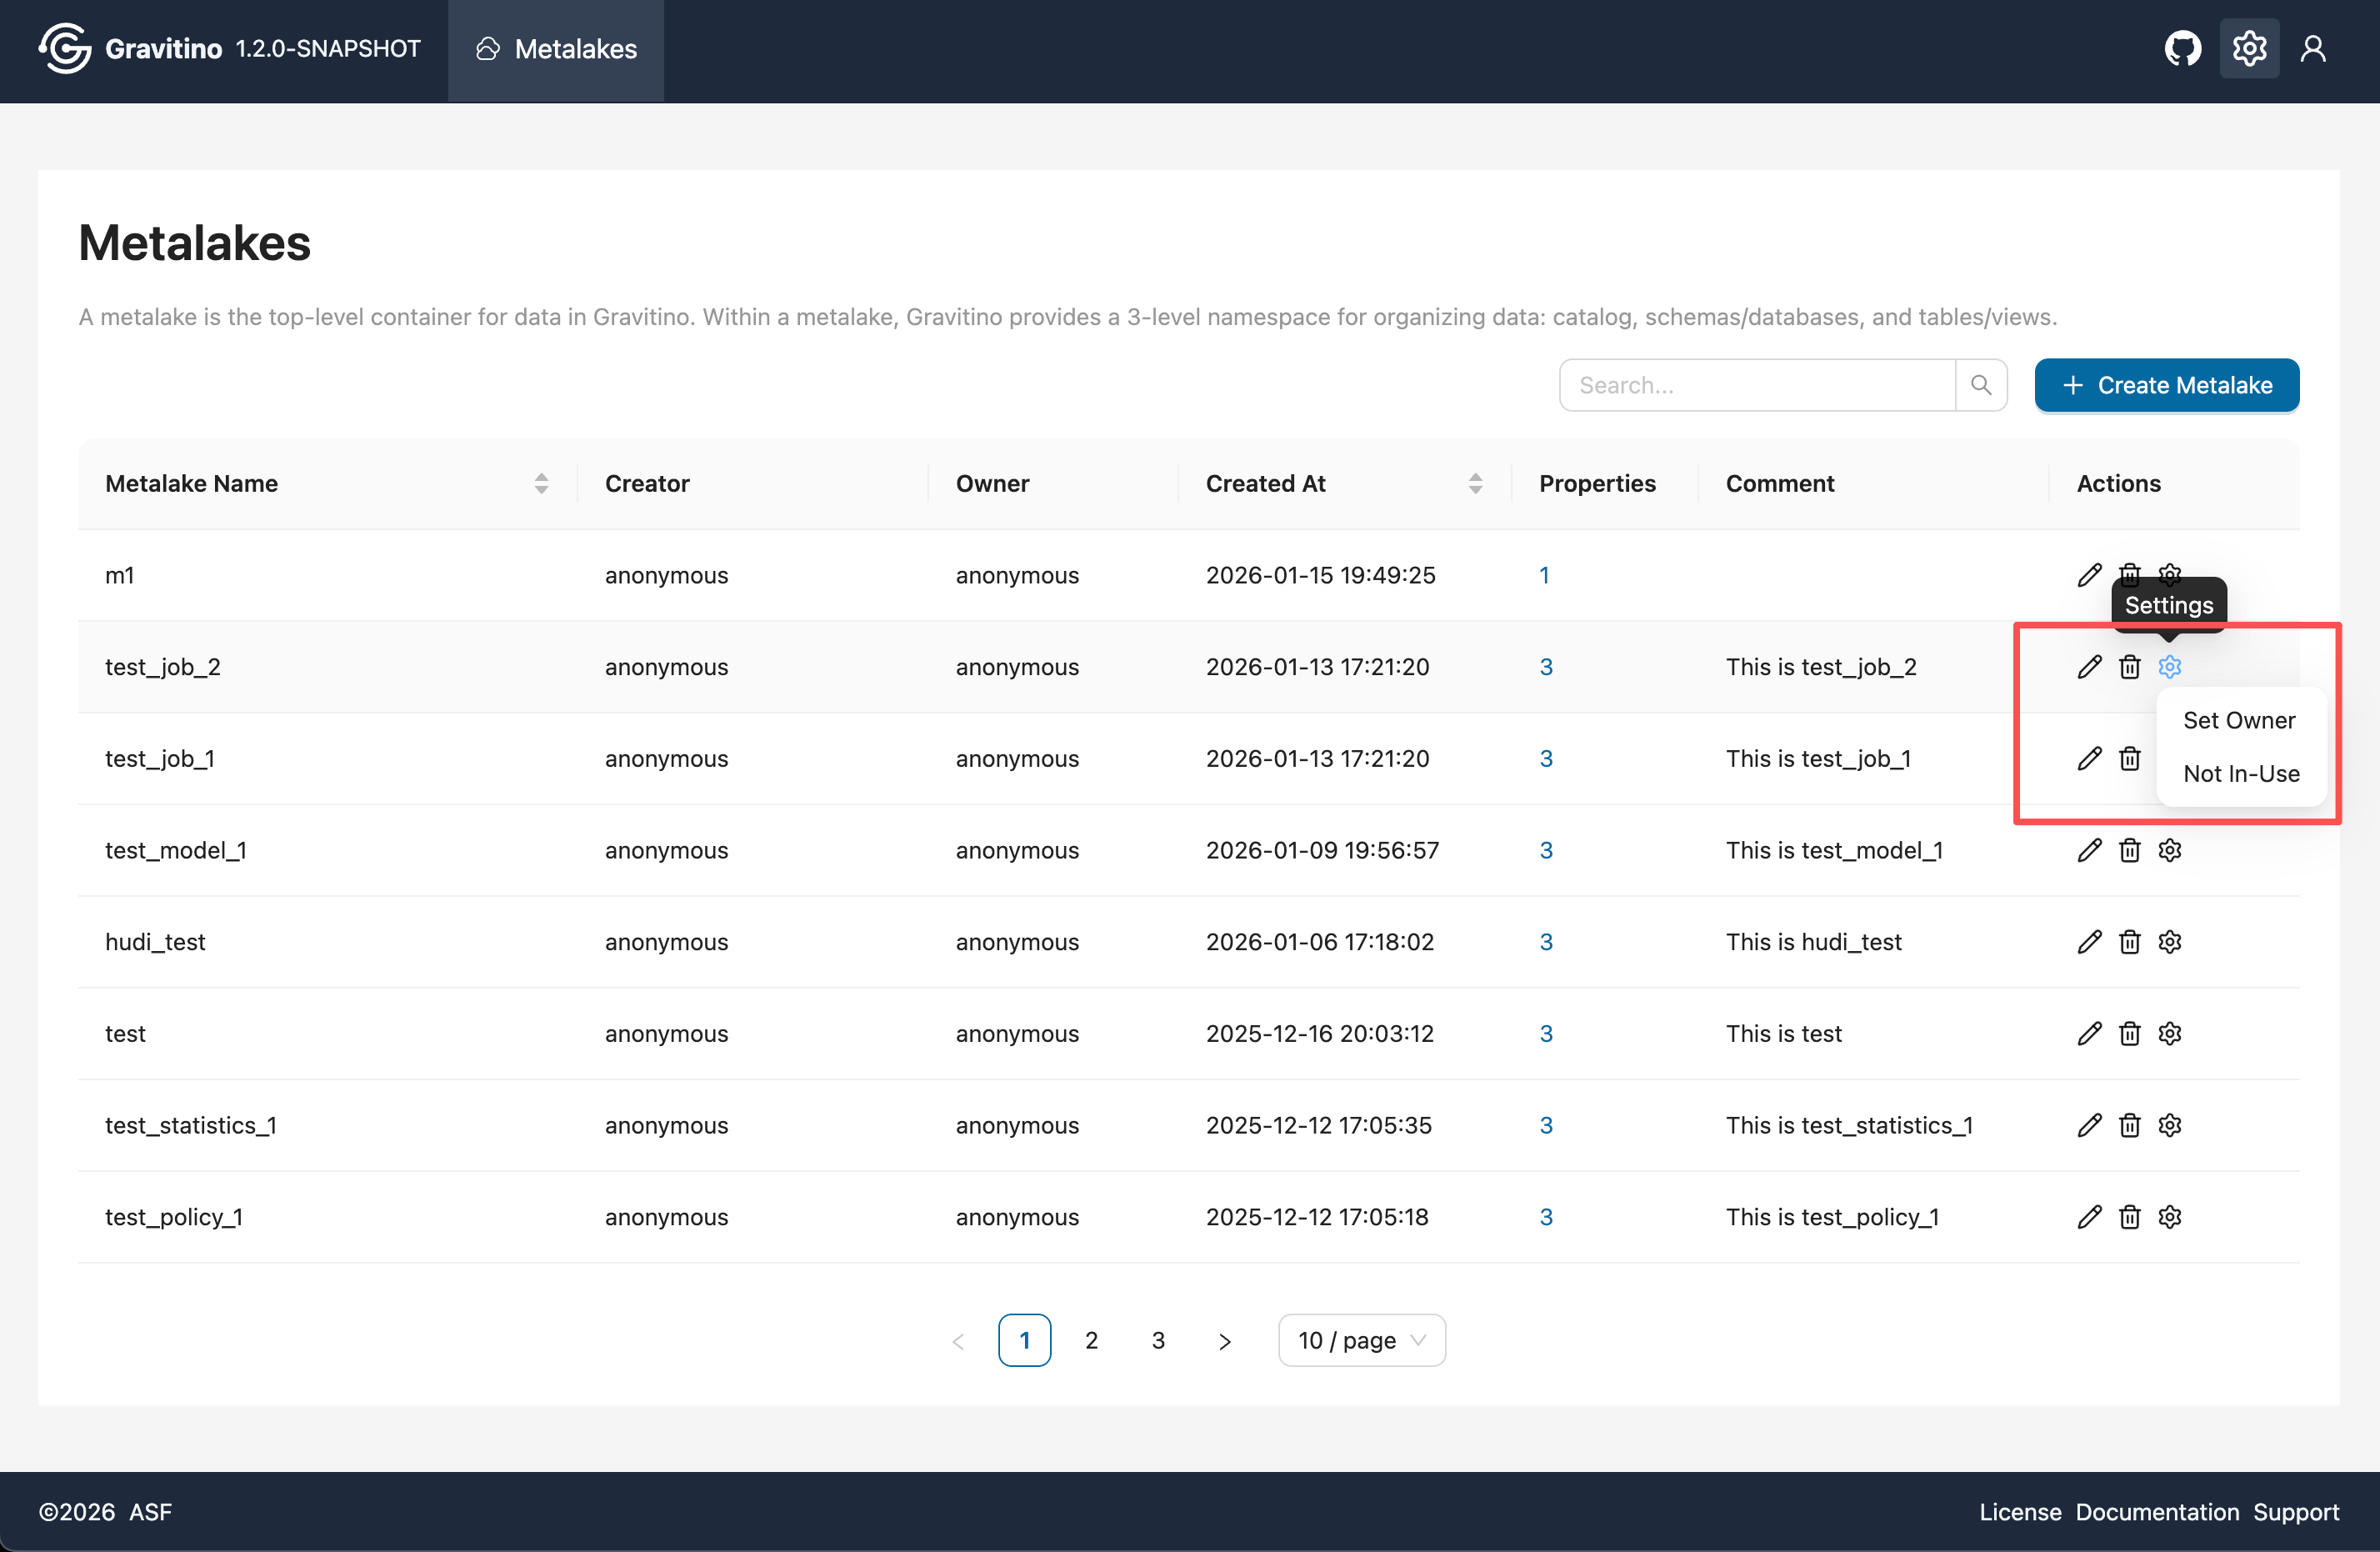
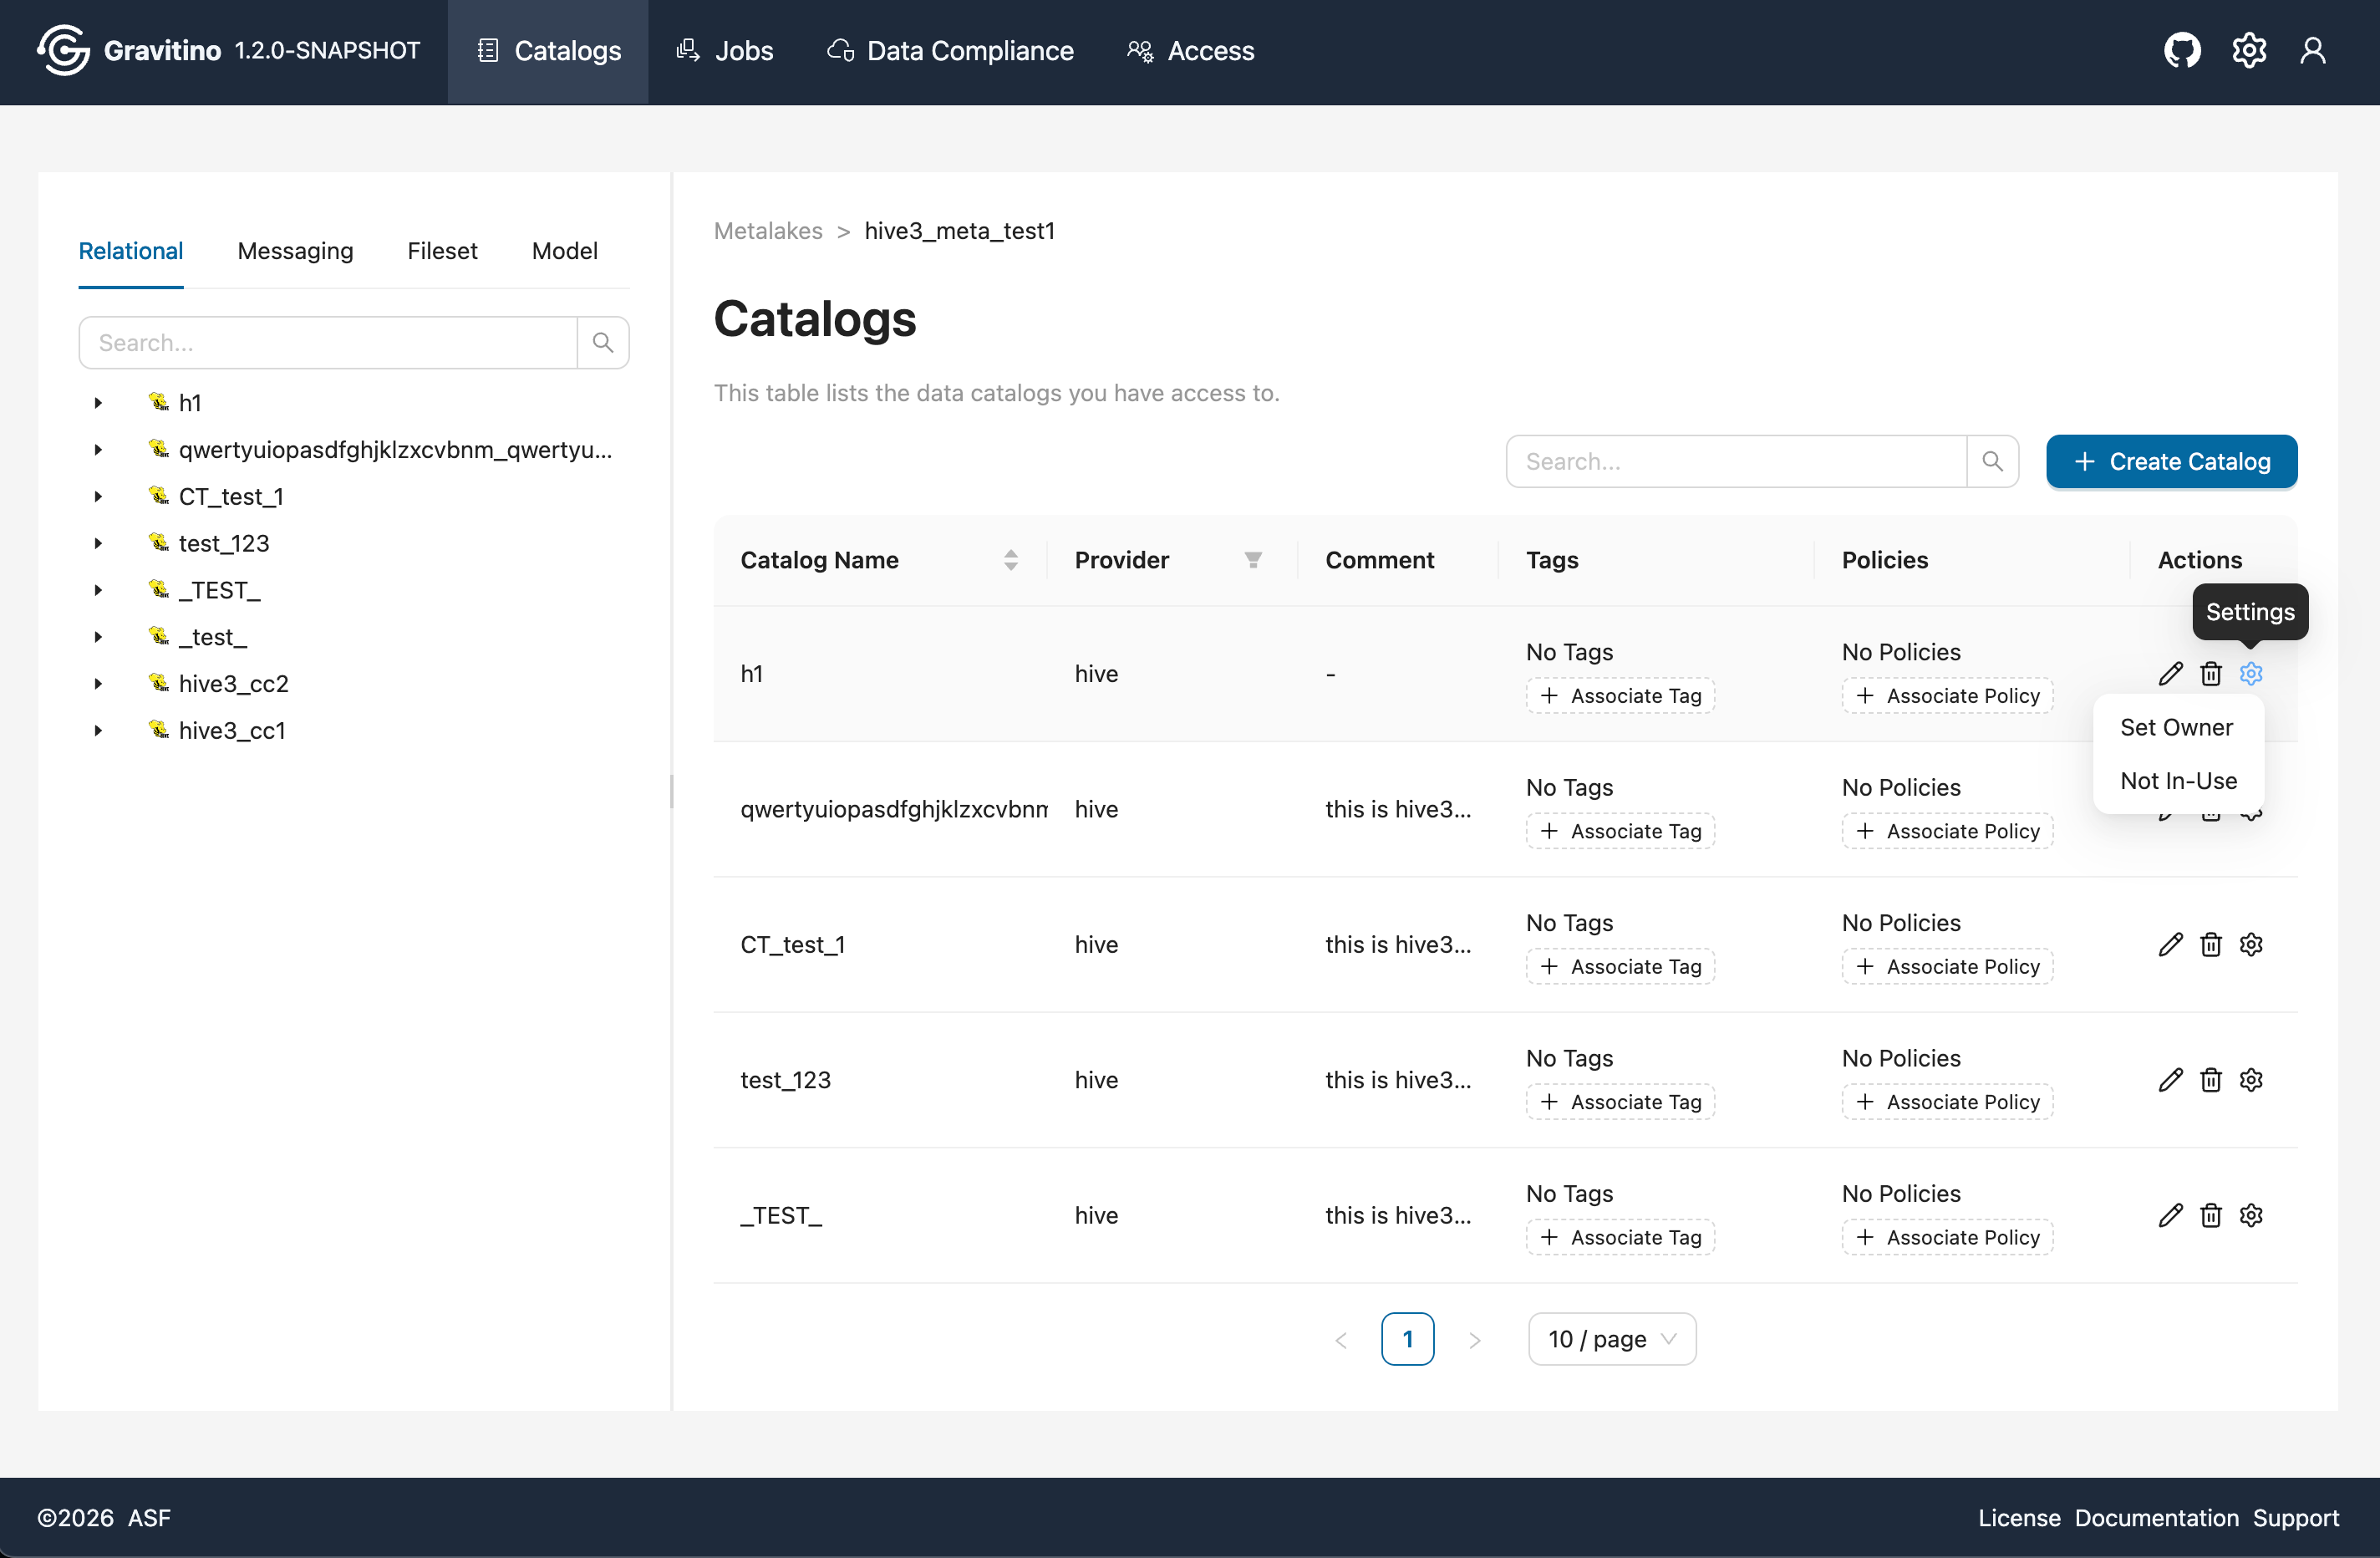
Actions (Web V2)
In the Actions column, you can edit or delete the metalake. The settings dropdown includes:
- Set Owner (available only when
gravitino.authorization.enable=true) - Toggle in-use / not in-use
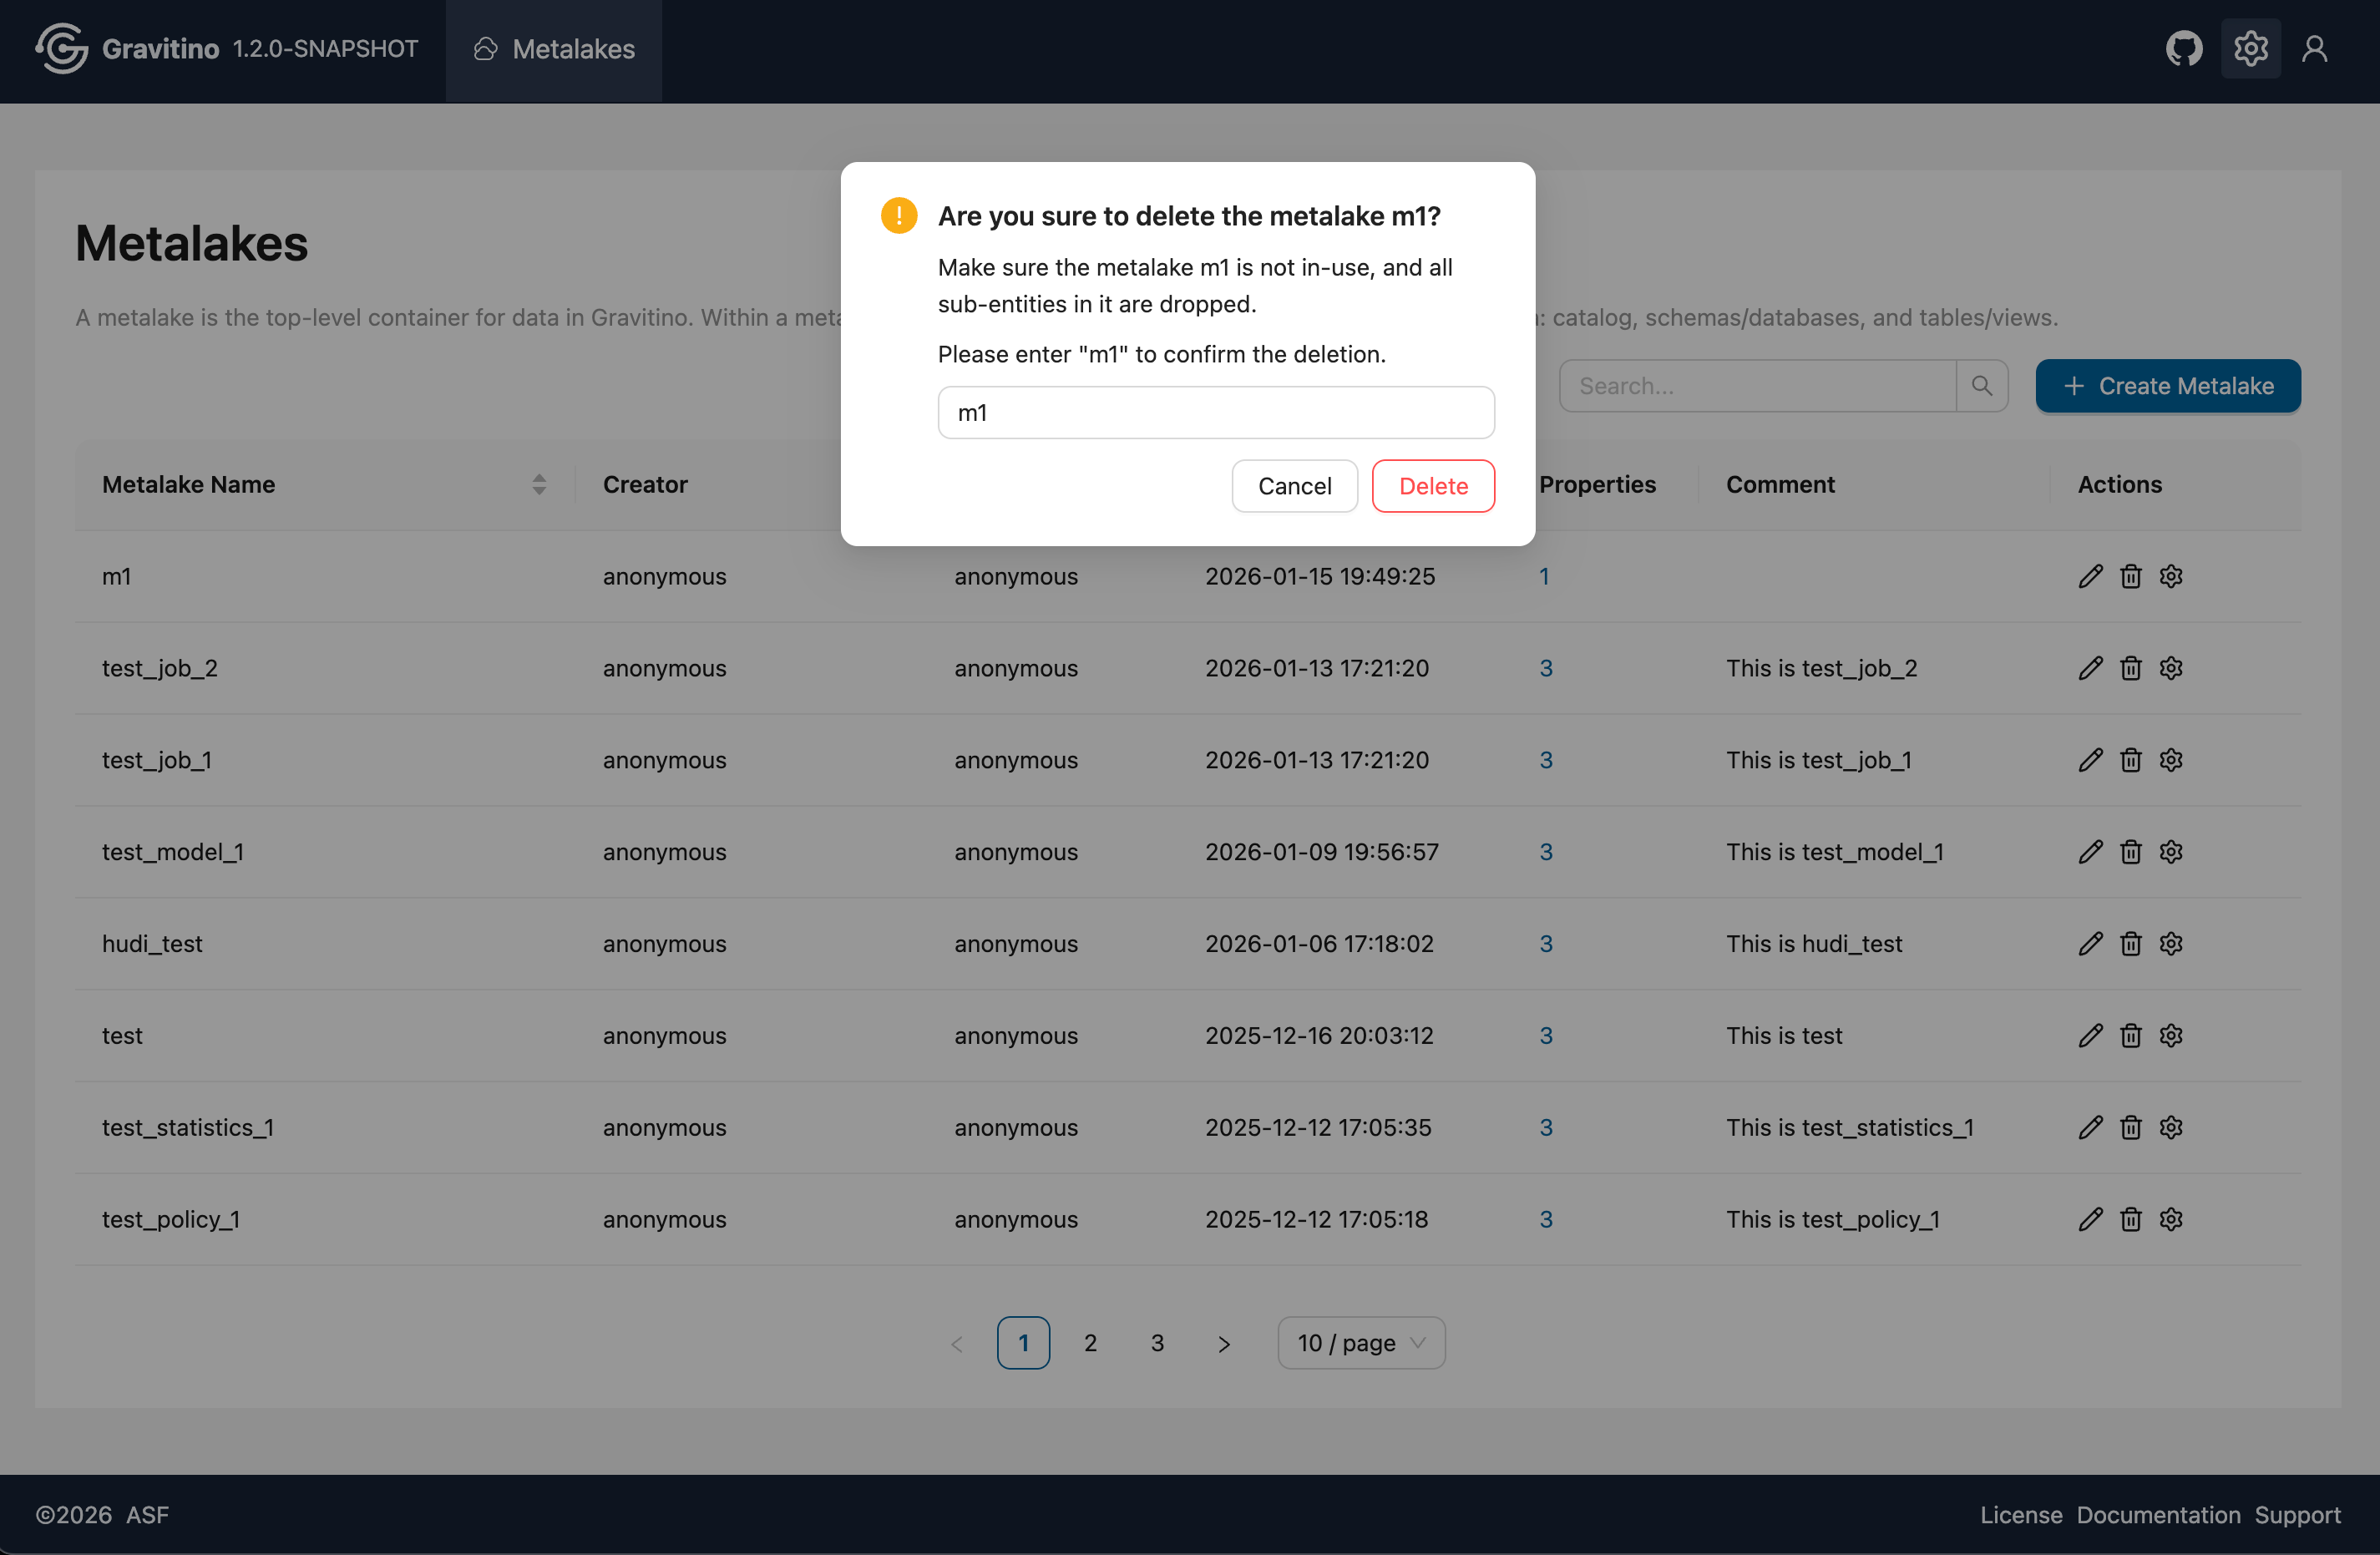
Delete metalake (Web V2)
To delete a metalake, the metalake must be not in-use (set it in the Actions (Web V2) settings dropdown), and all sub-entities must be deleted first. The delete dialog requires entering the metalake name for confirmation before deletion.
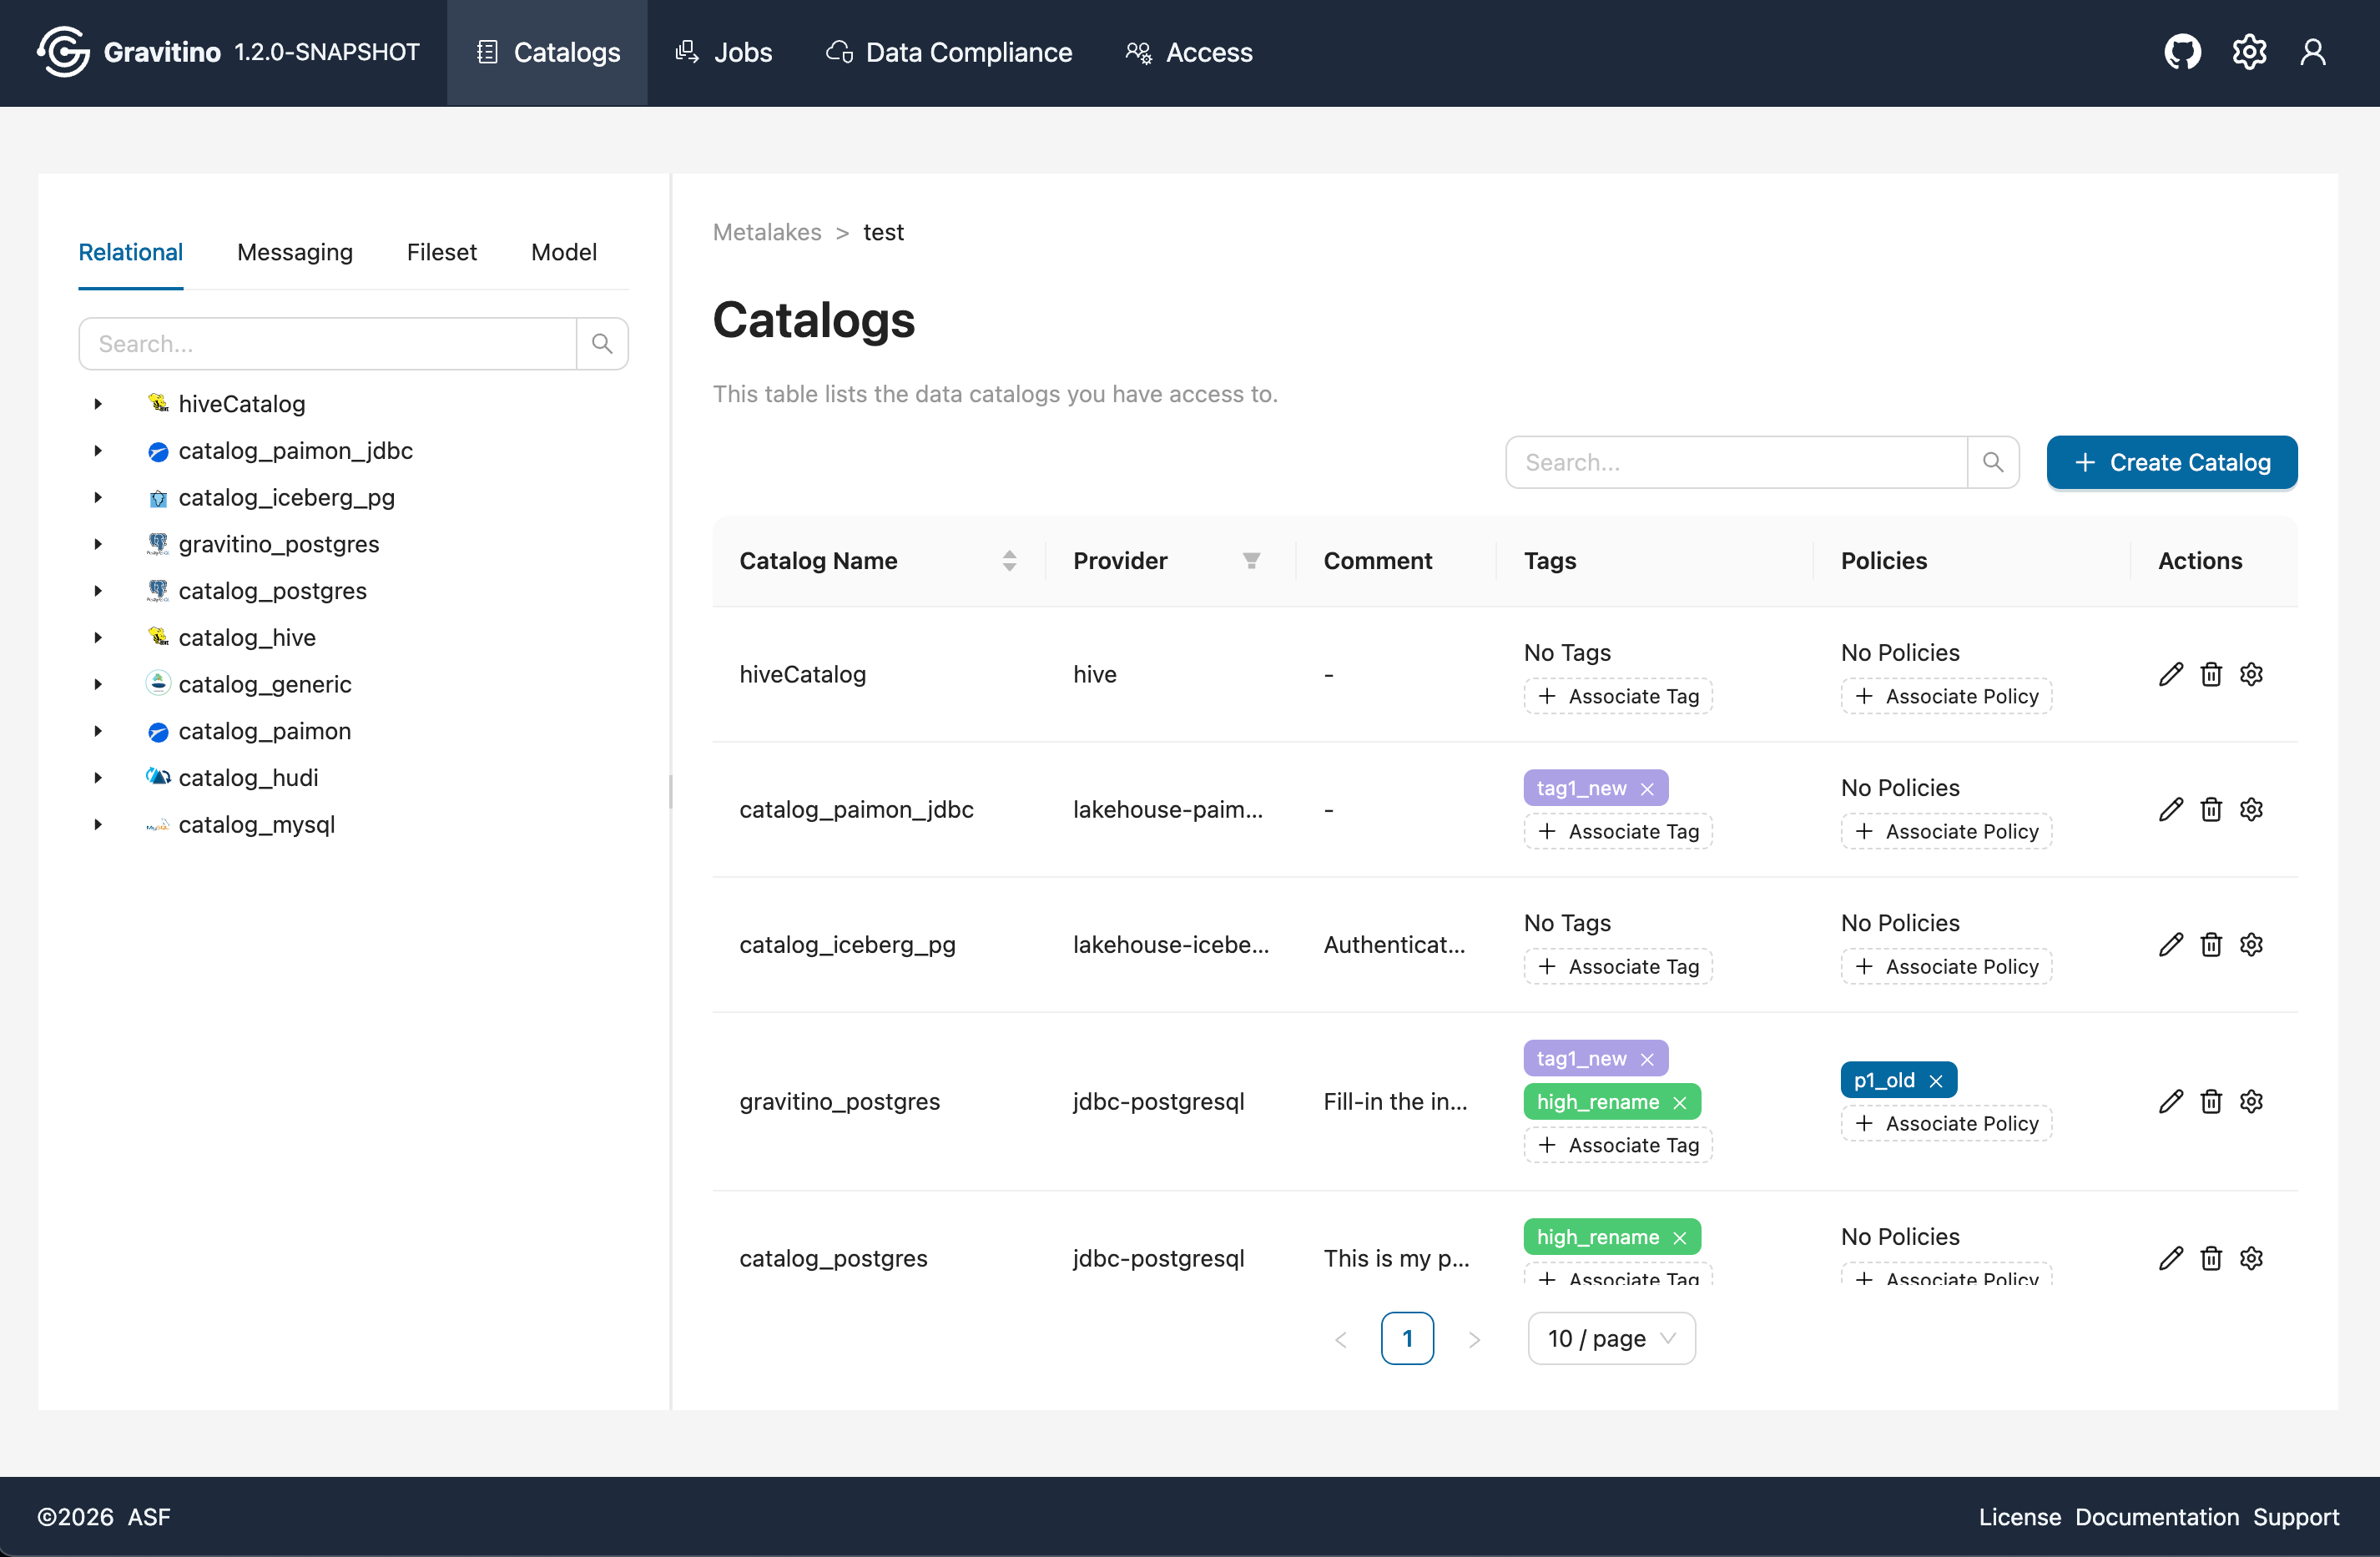
Catalogs (Web V2)
Overview for Catalog in the Web V2.
Catalog type filter (Web V2)
On the catalogs page, use the catalog type selector at the top-left to switch between relational, messaging, fileset, and model. The list updates to show catalogs of the selected type.
Tags and policies association (Web V2)
The catalog list shows basic catalog information along with associated Tags and Policies. Use Associate Tag and Associate Policy in the list to add associations. Click the X on a tag to remove it.
Disable catalog (Web V2)
From the Actions settings dropdown, switch a catalog to not in-use. A disabled icon appears next to the catalog name, and the catalog name becomes non-clickable (you cannot enter the catalog details page).
Provider filter (Web V2)
Use the filter on the Provider table header to narrow the catalogs list by provider.
![]()
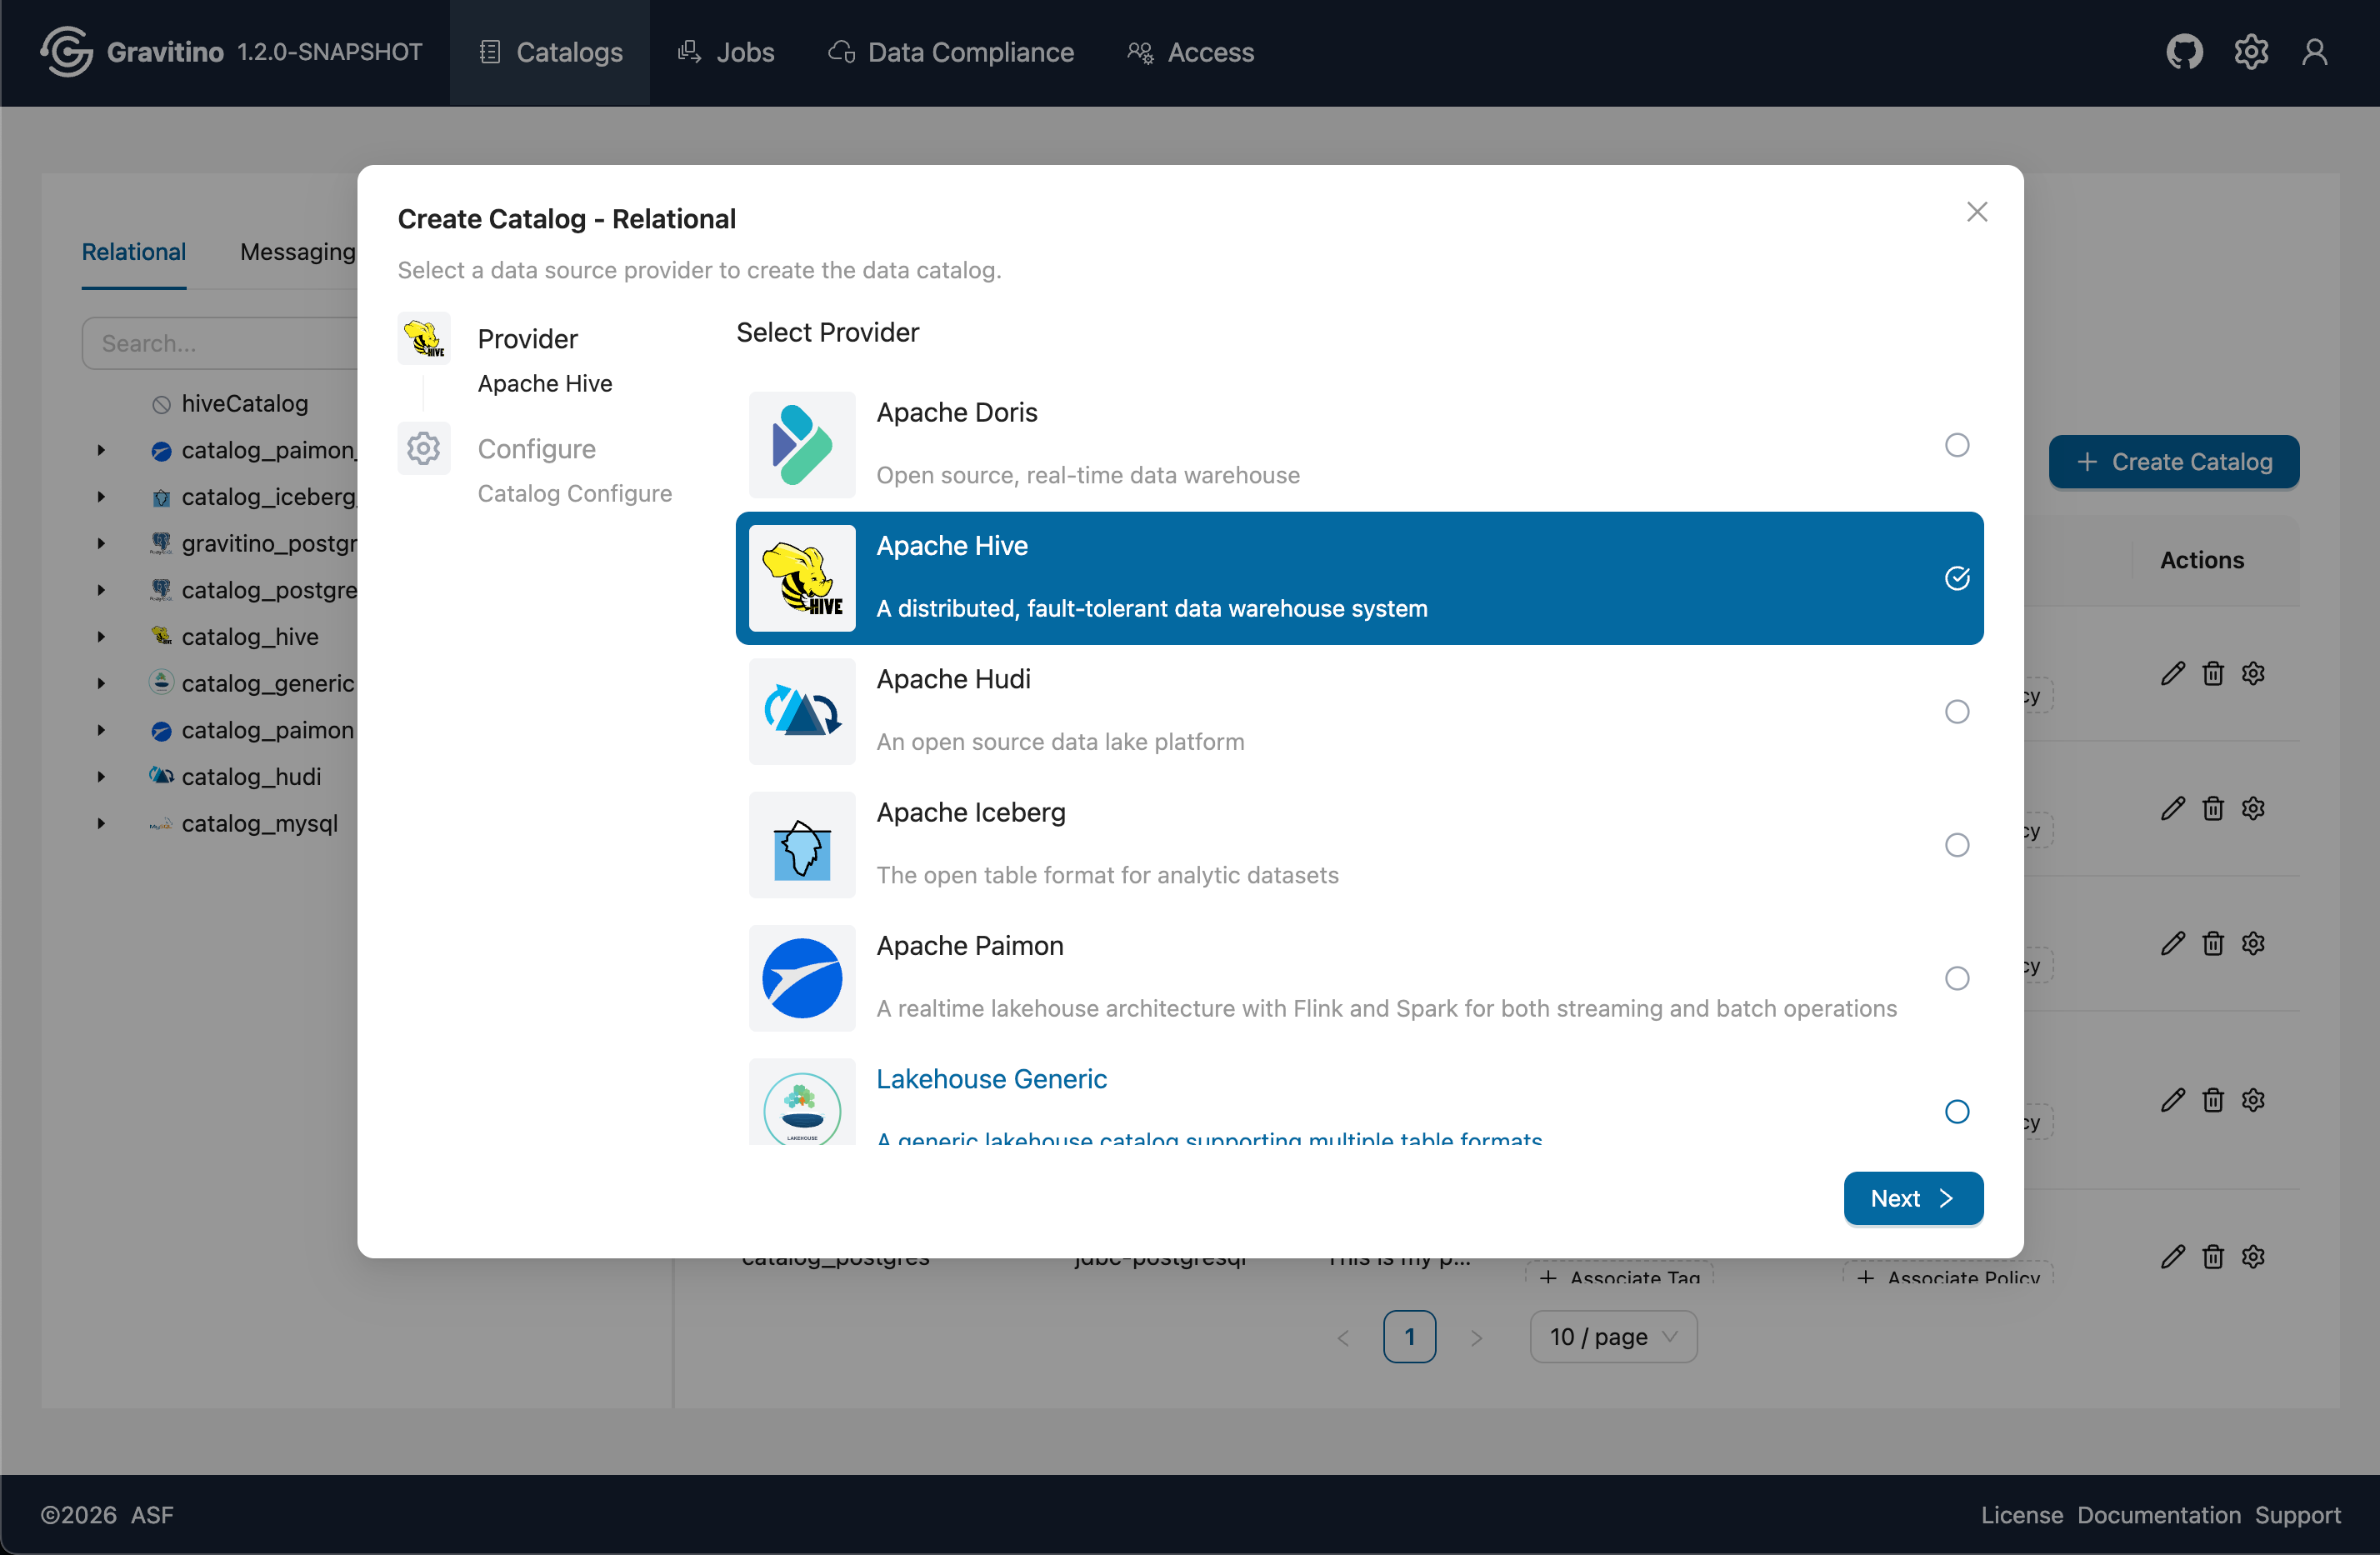
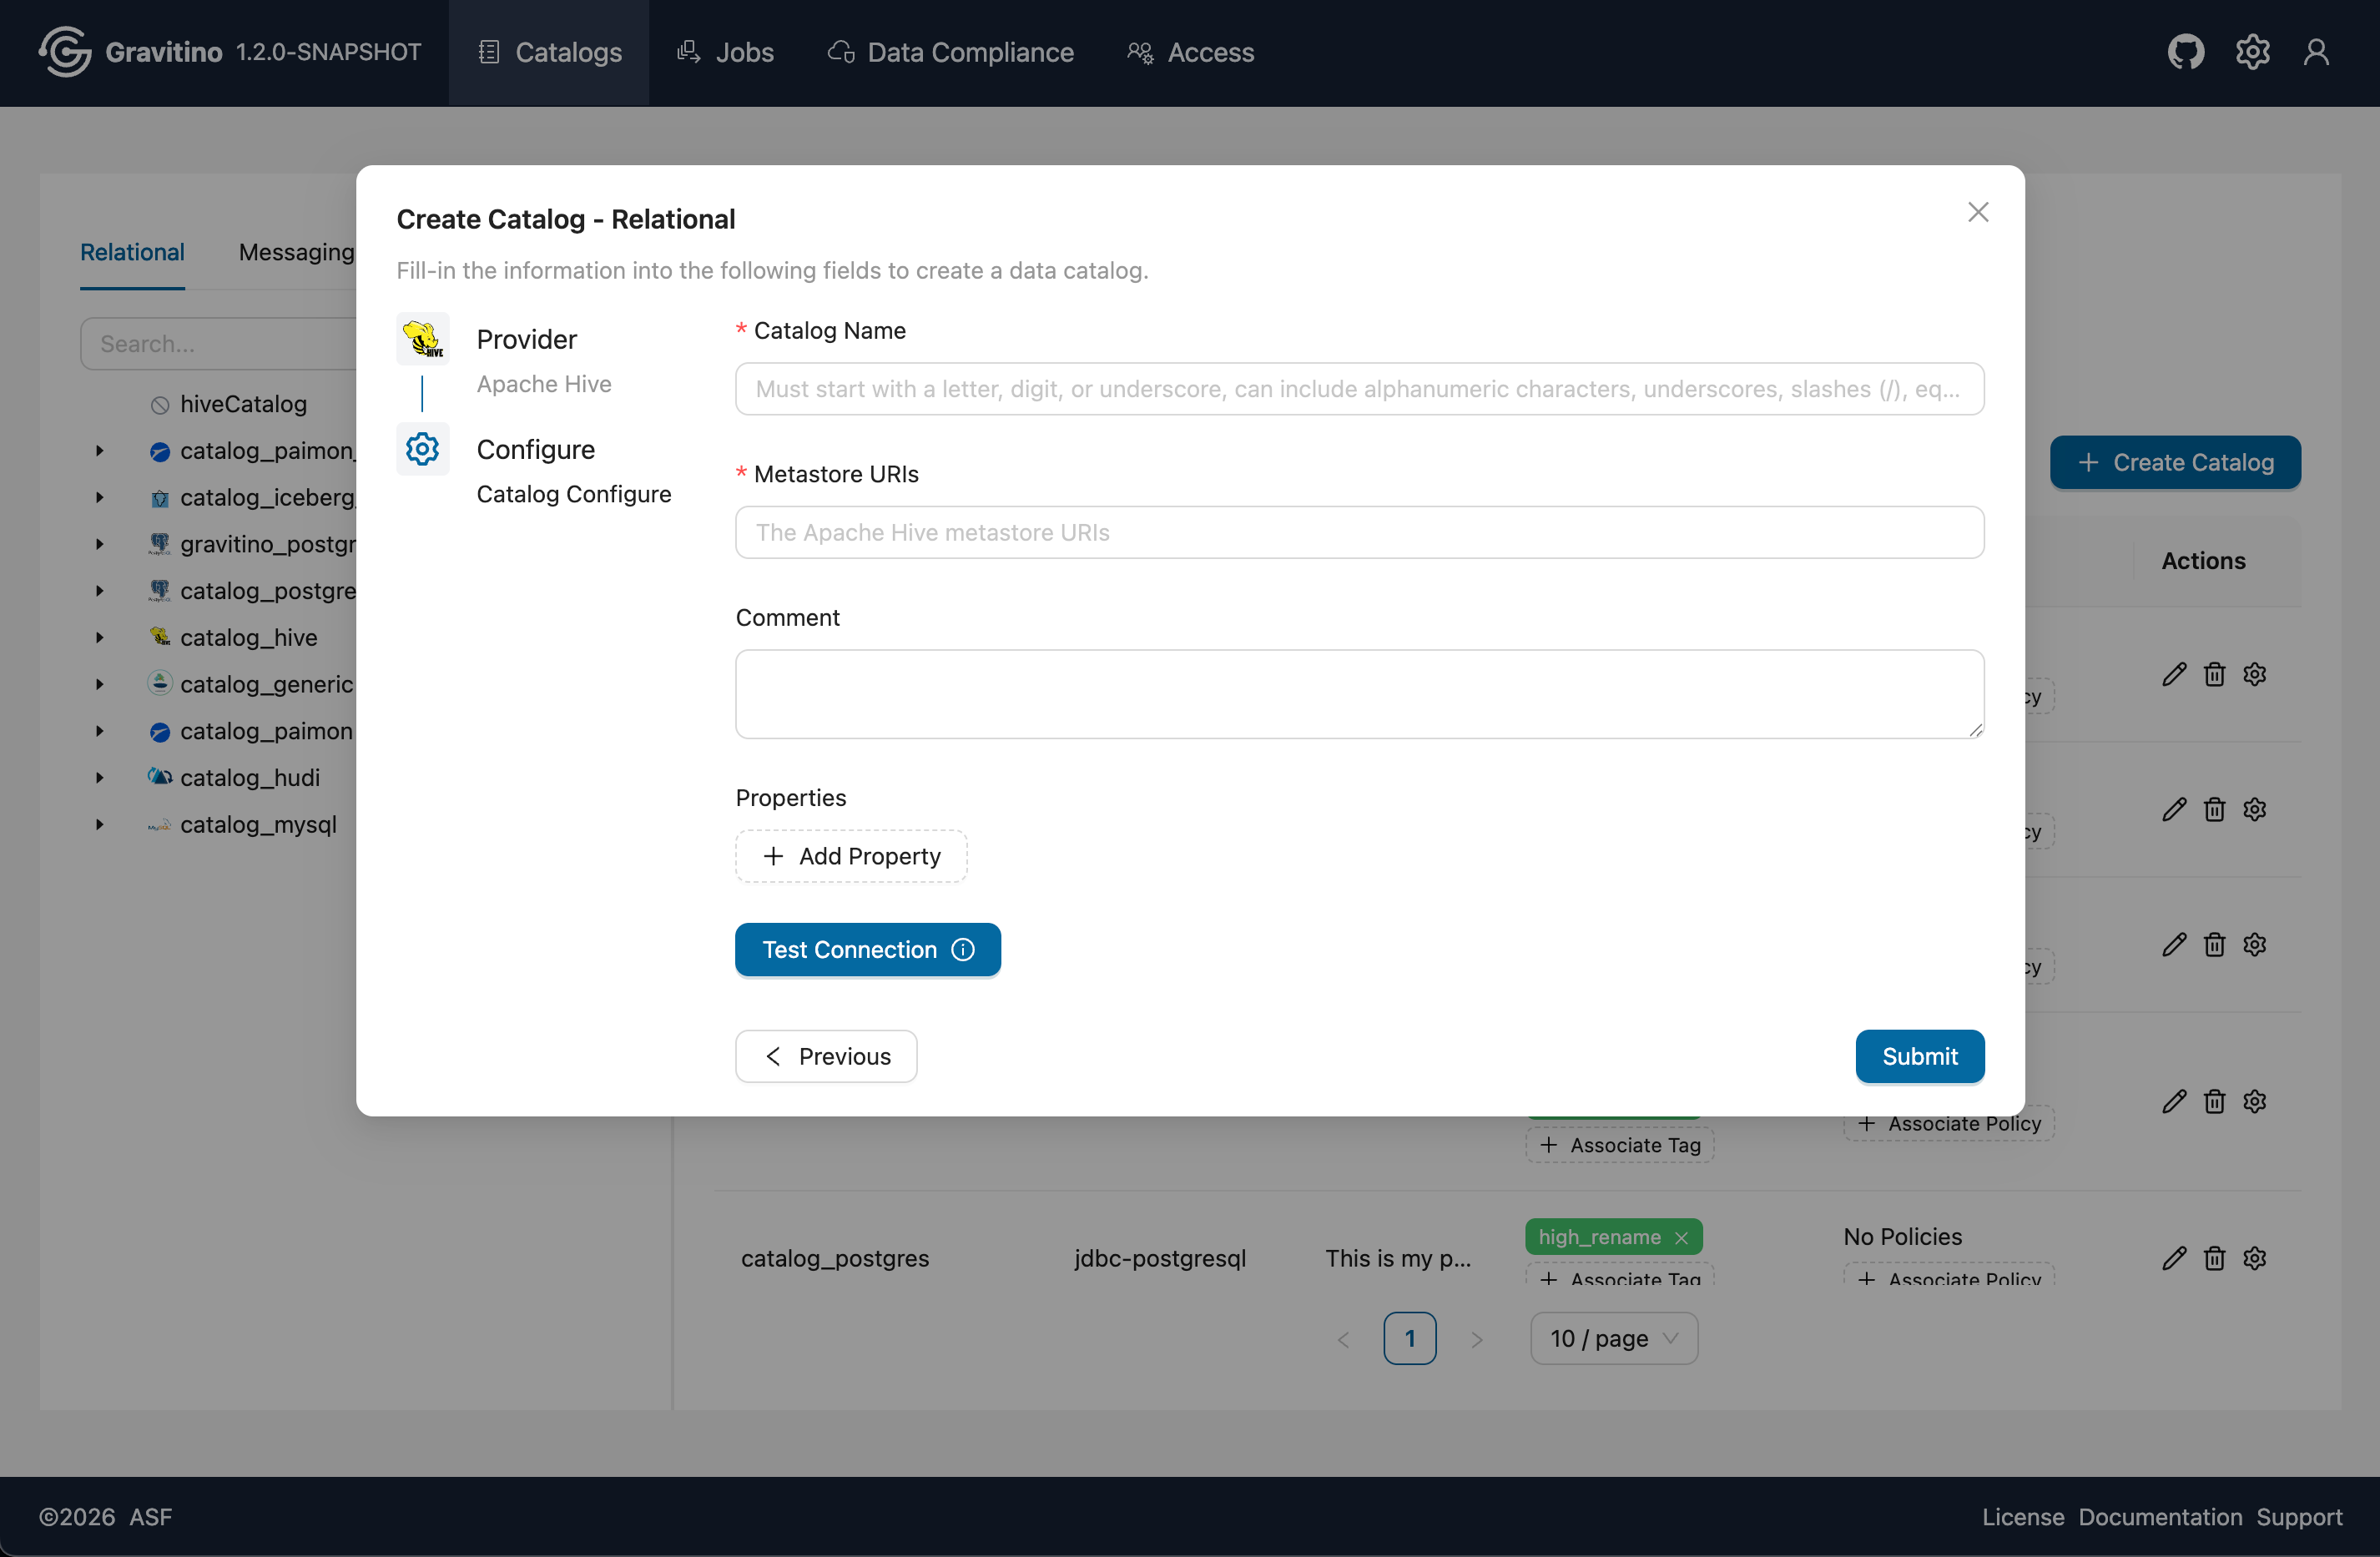
Create catalog (Web V2)
Click Create Catalog to open the creation form for the selected catalog type. In step 1, choose the provider for the selected type. Click Next to go to step 2, fill in the required properties, and submit to create the catalog. Some providers support Test Connection so you can validate connectivity before submitting.
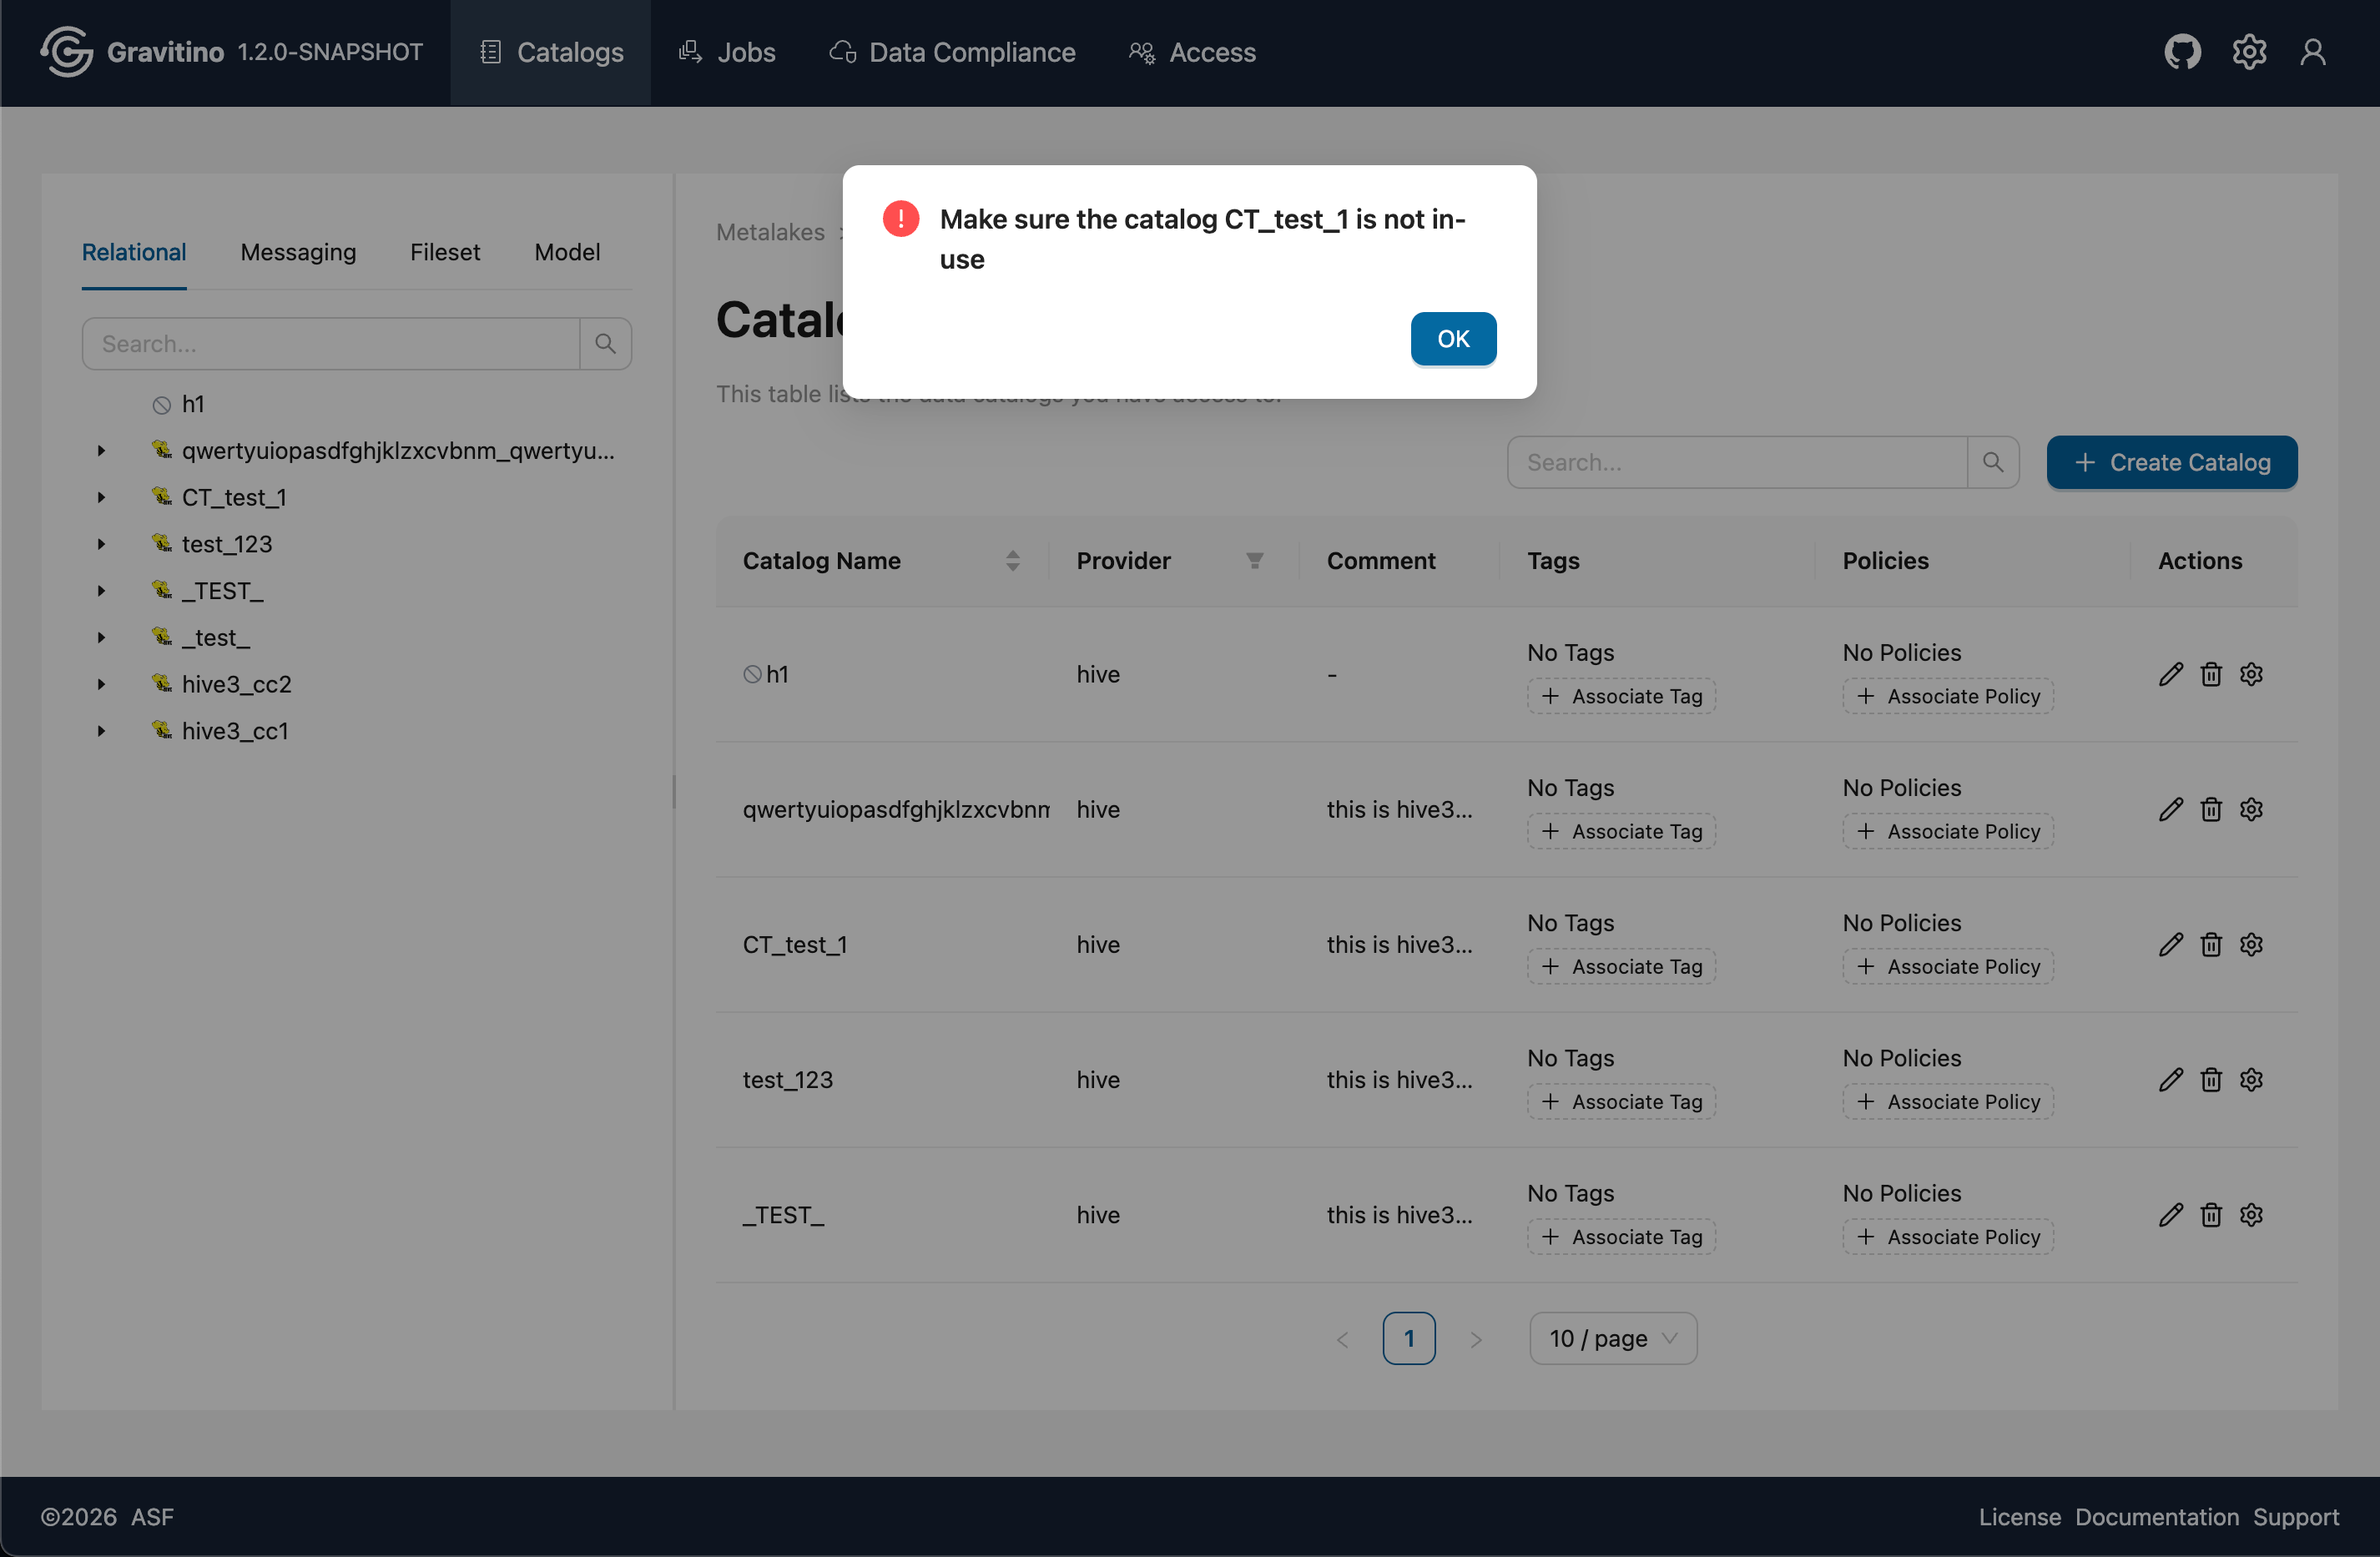
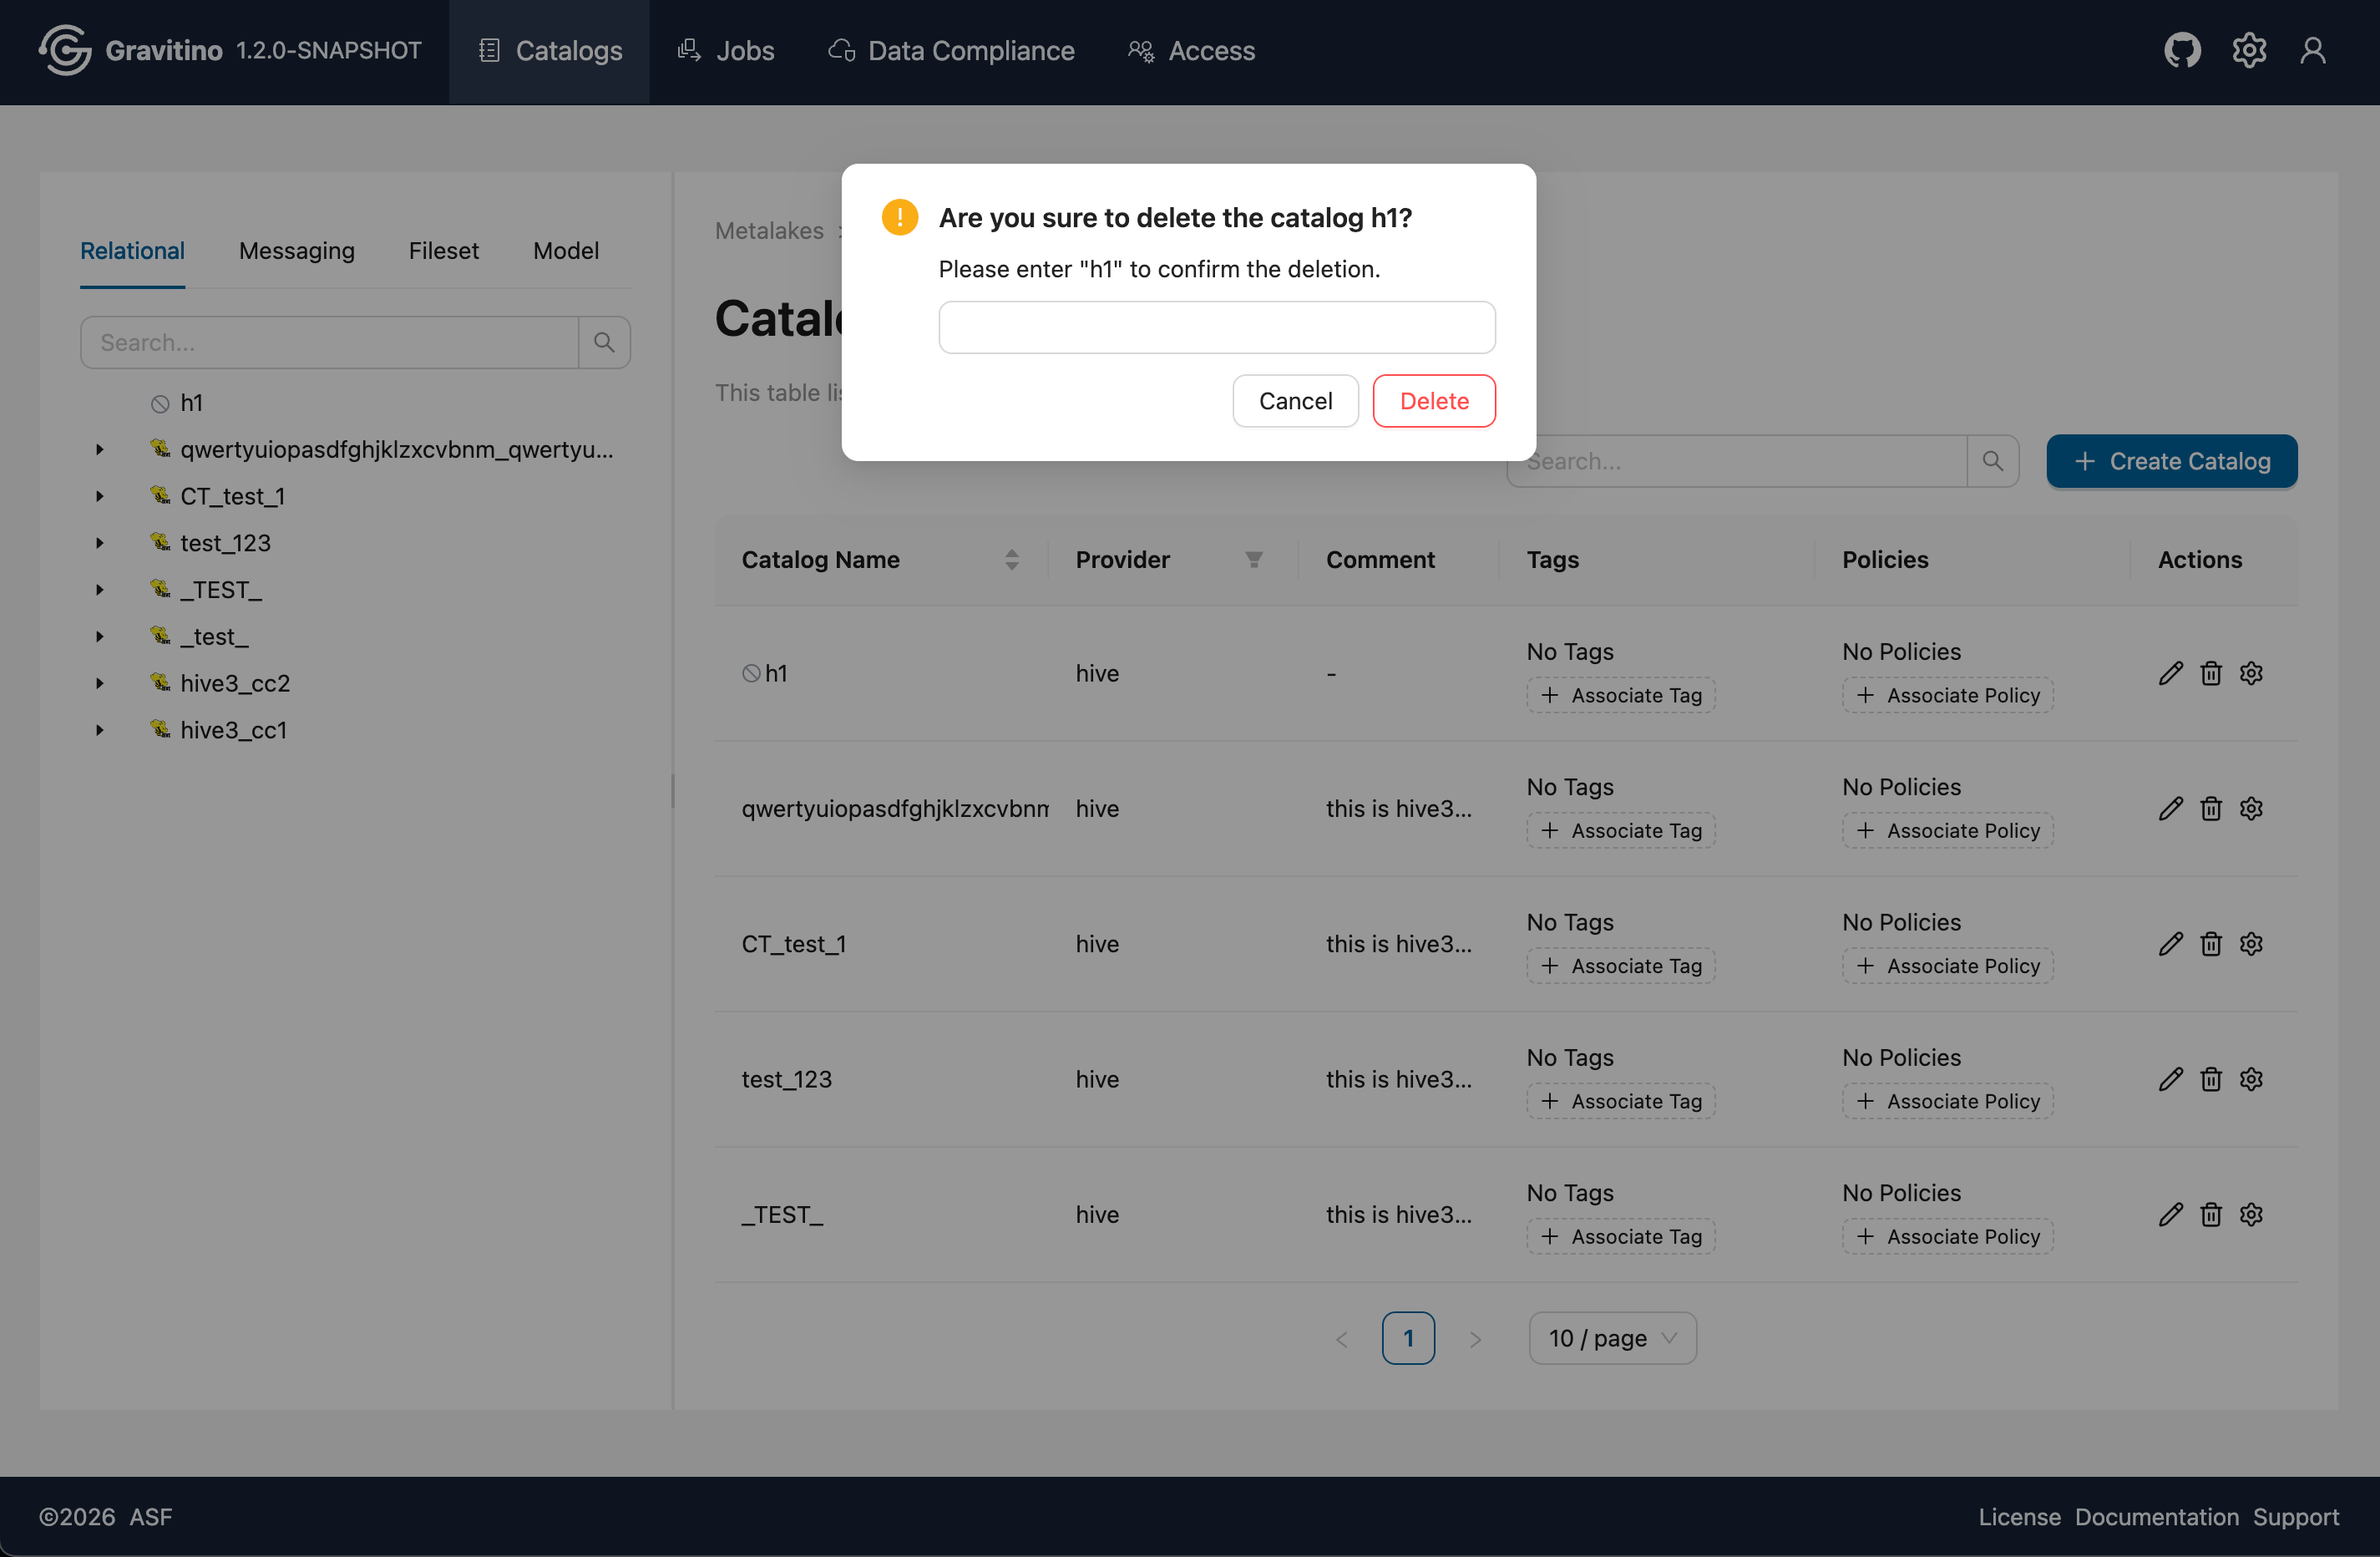
Delete catalog (Web V2)
If the catalog is still in-use, the UI shows the Delete entry as shown in Figure 1 below. After switching the catalog to not in-use (see Disable catalog (Web V2)), the Delete entry changes to Figure 2 below. Enter the catalog name for the second confirmation, then you can delete it.
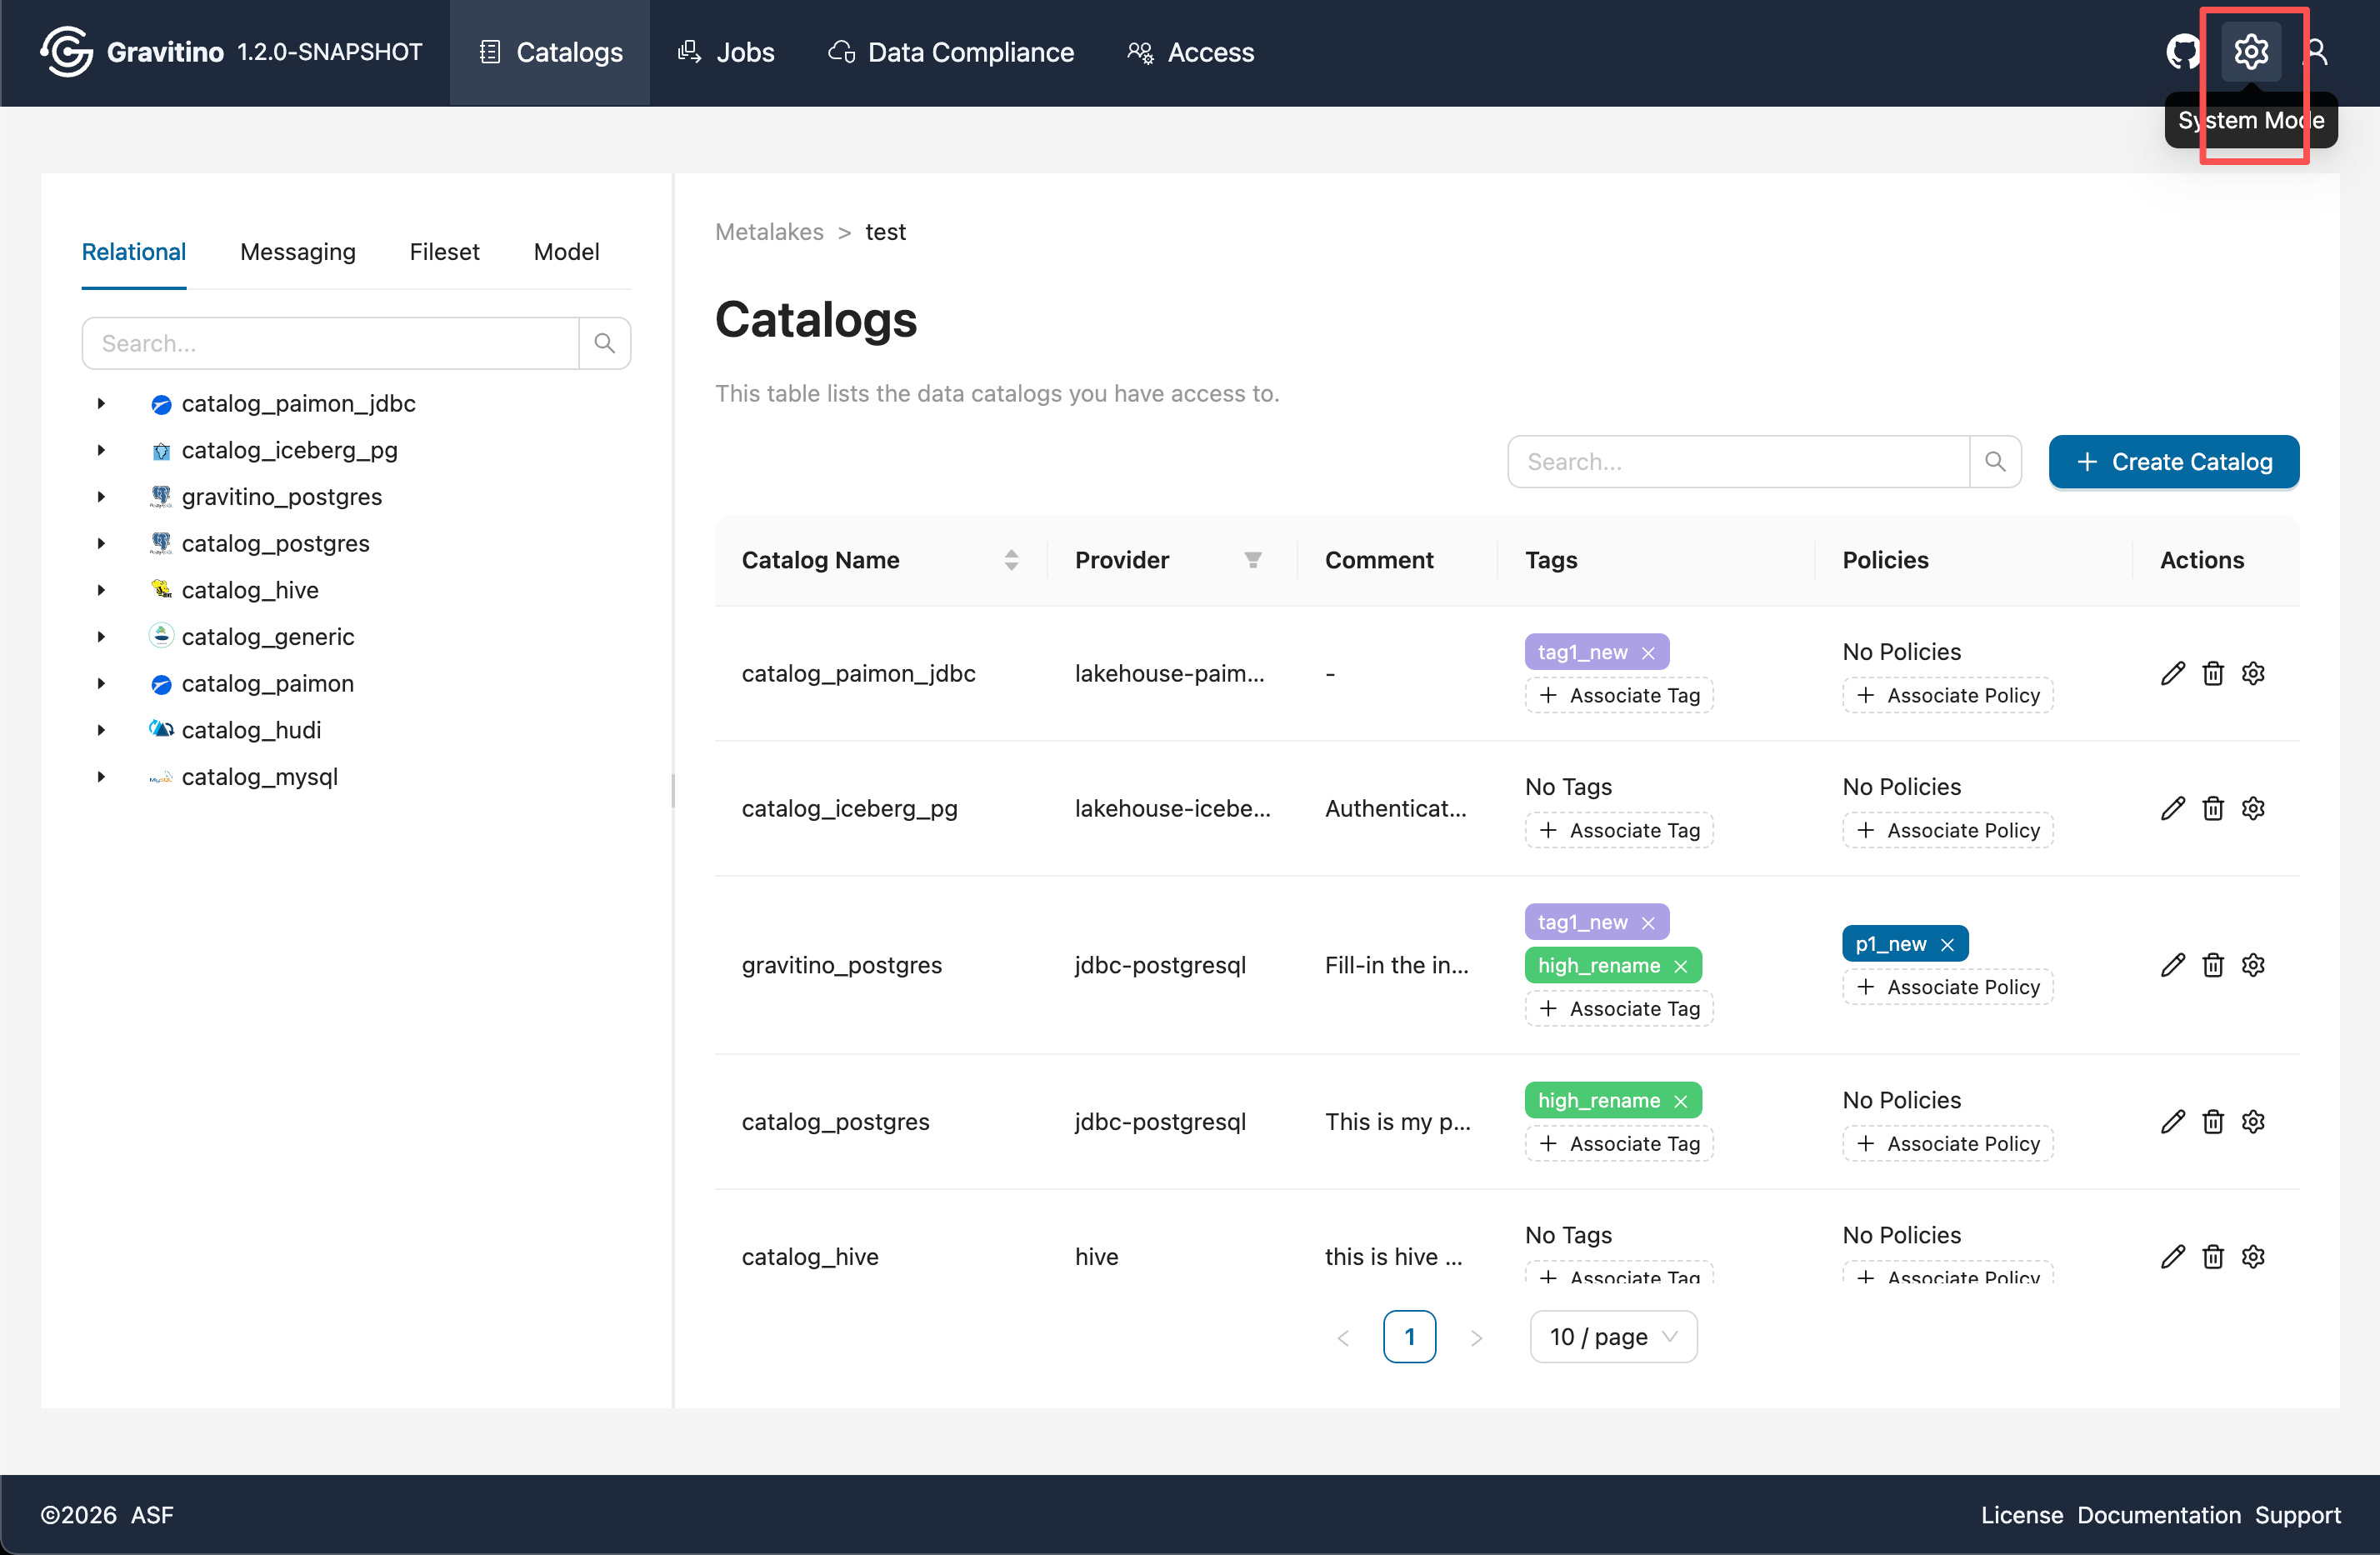
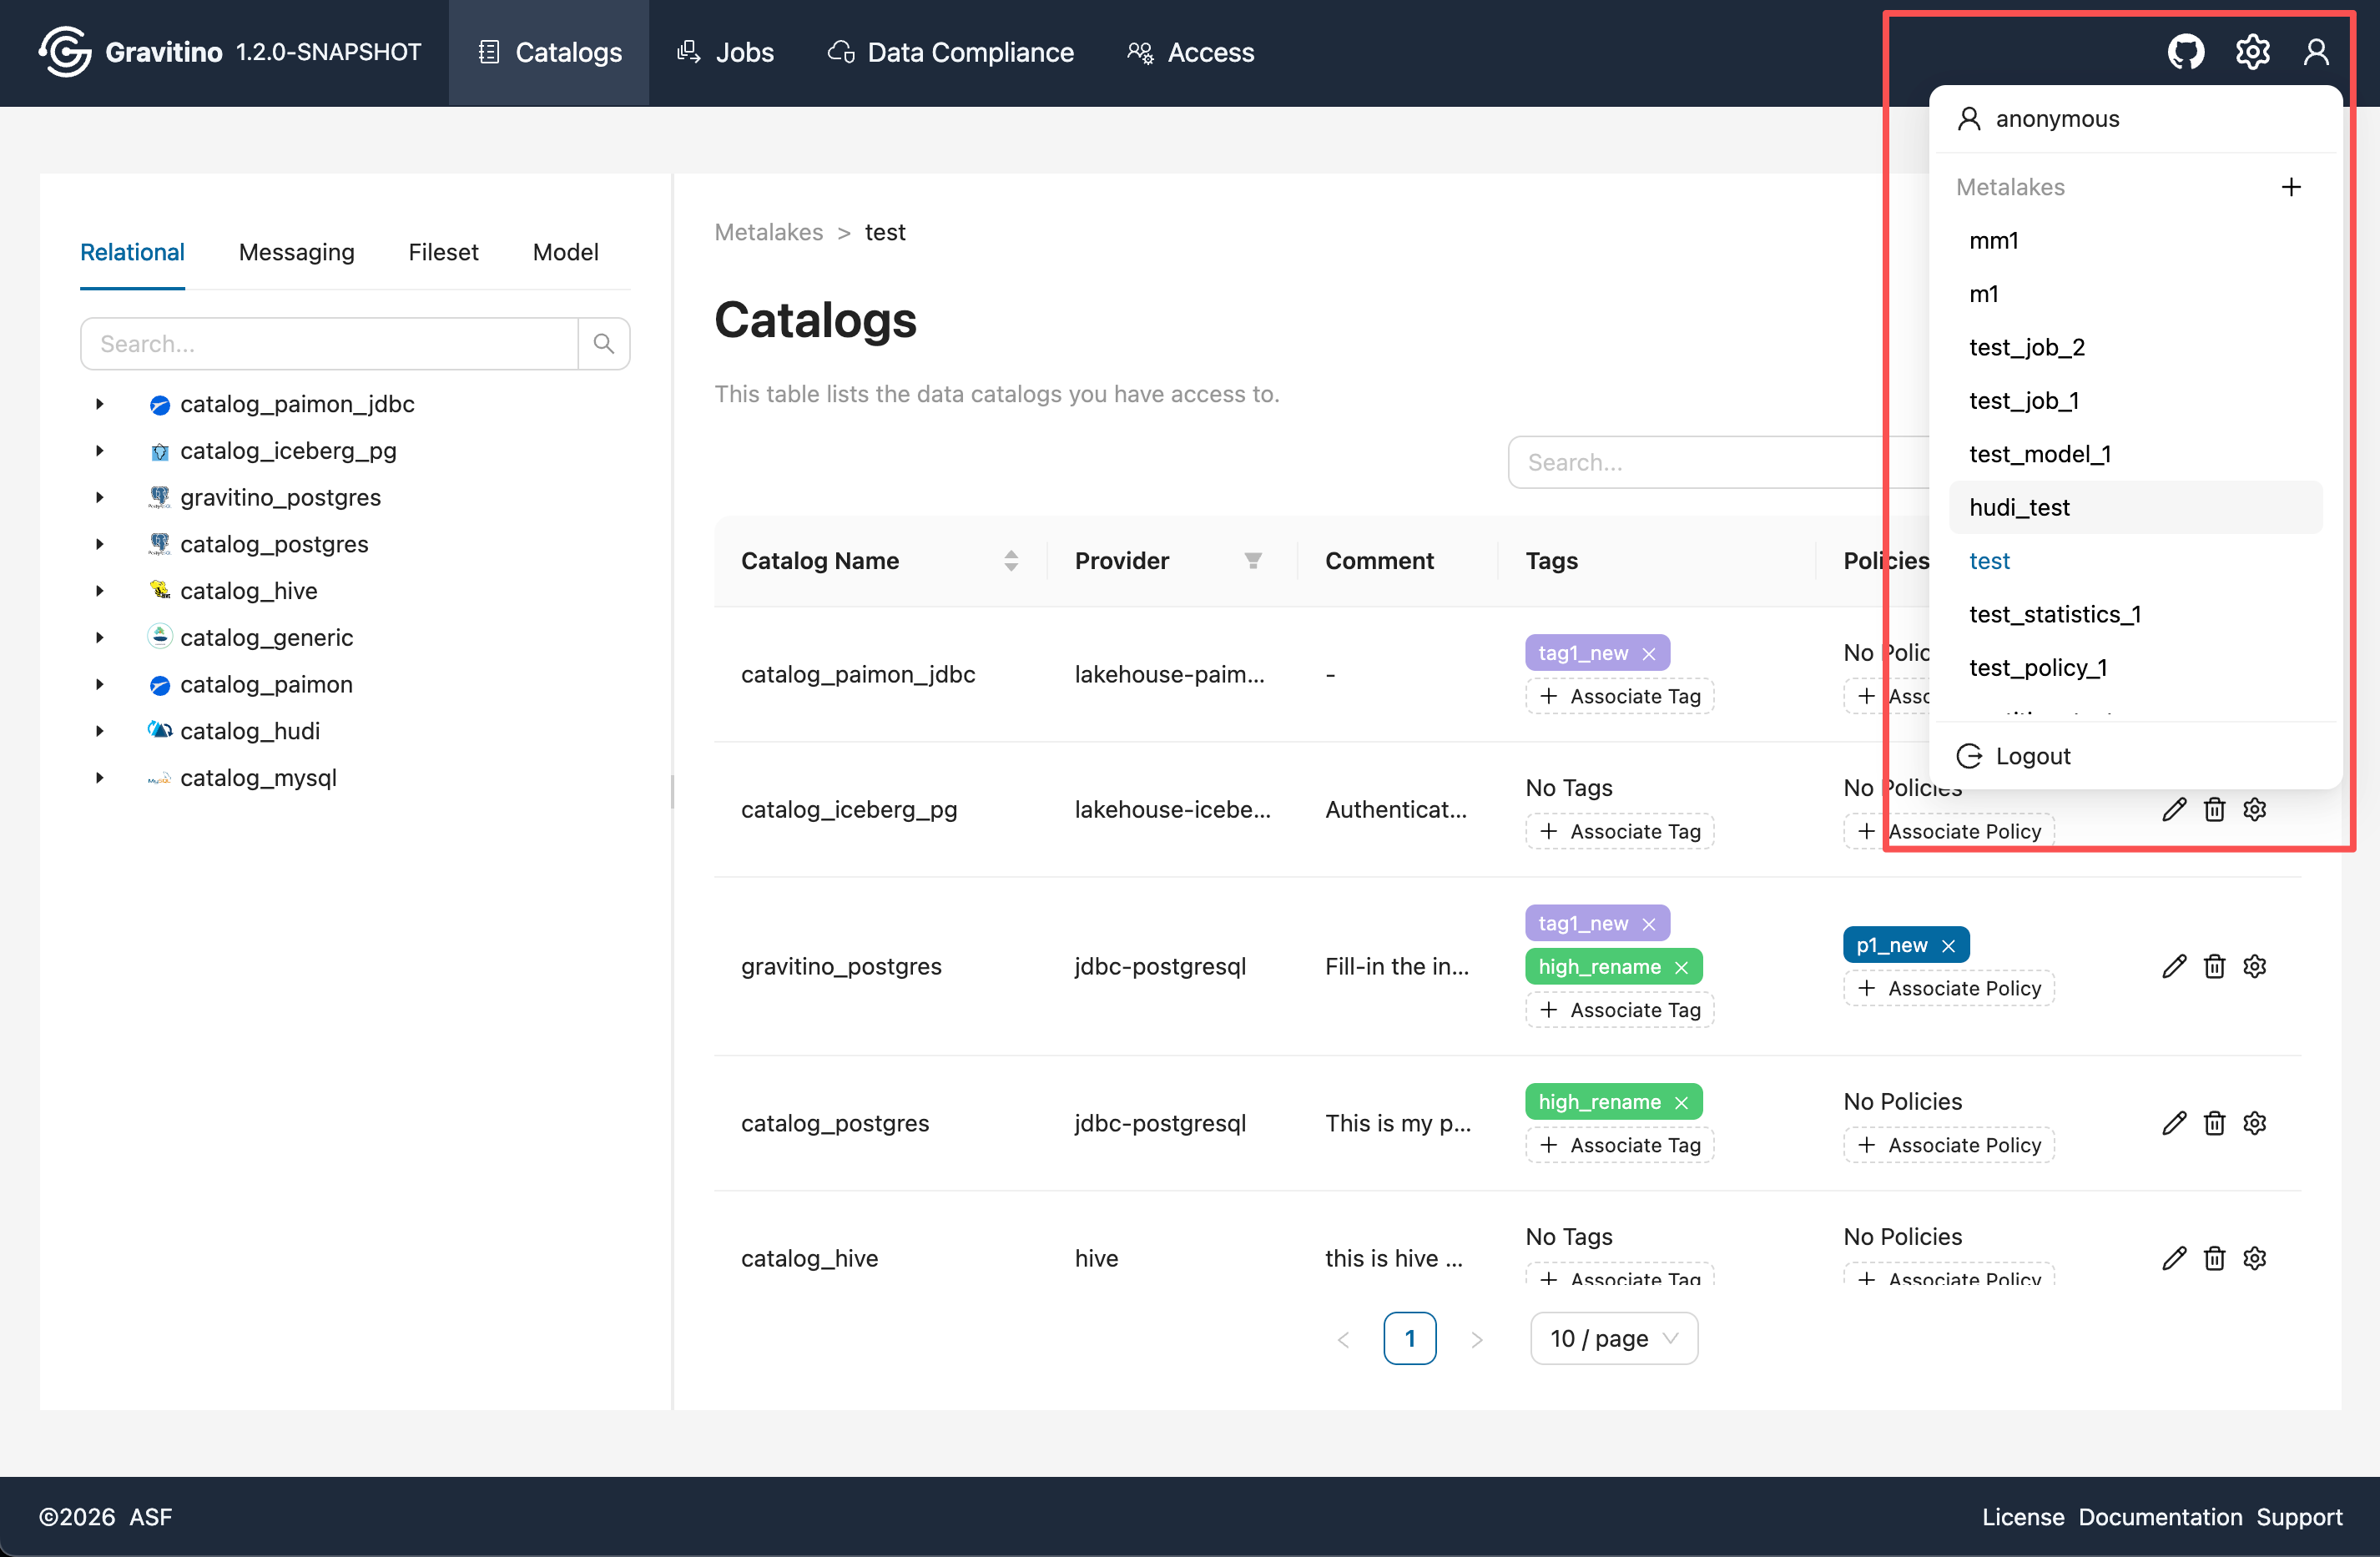
Navbar (Web V2)
The navbar provides the following shortcuts:
- Click the System Mode icon on the right to navigate back to the metalake list page.
- The User icon dropdown shows a list of all metalake names (click to switch).
- When
gravitino.authorization.enable=true, the User icon dropdown also shows the current user name and a Logout button that returns to the login page.
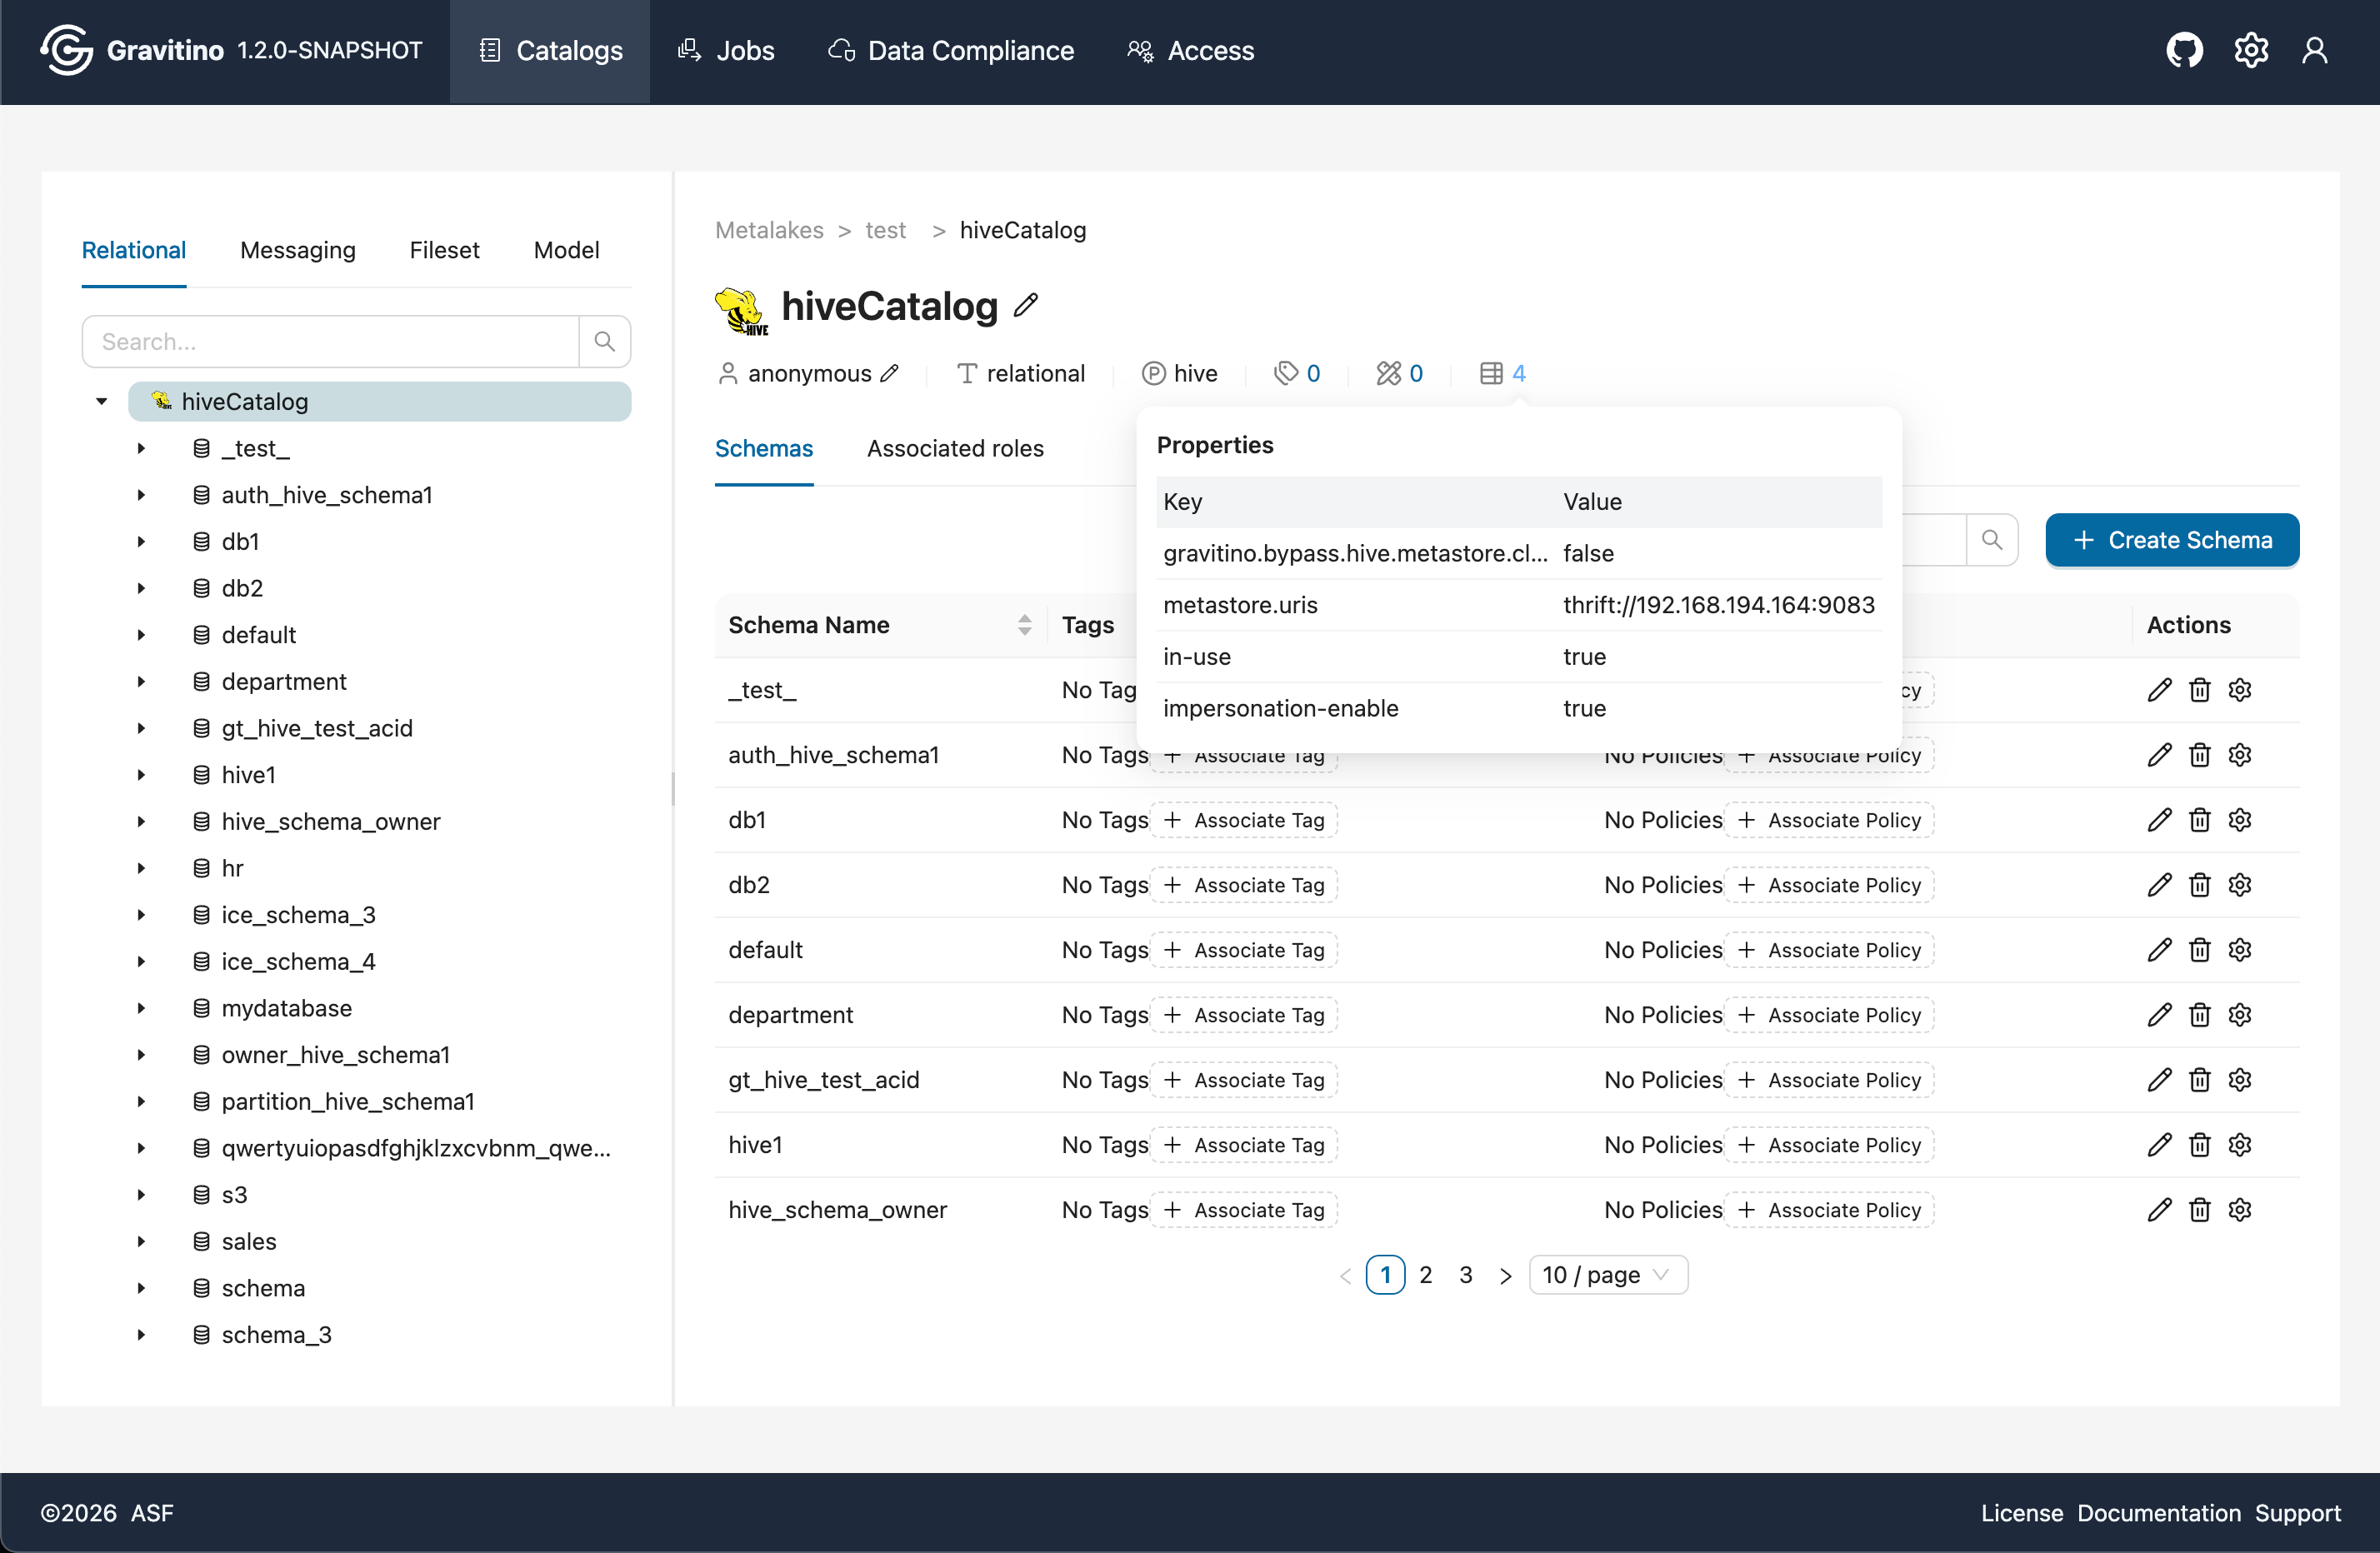
Catalog details & Schemas (Web V2)
You can enter the catalog details page by clicking the catalog name either from the left tree or from the catalog name in the right list. The catalog name shows basic catalog information underneath it. Hover over the highlighted numbers to open a popover with more details.
Below the catalog information, the page shows the Schemas list and the catalog's Associated Roles. The Associated Roles section is visible only when gravitino.authorization.enable=true, and it lists the role name and its privileges.
Schemas list (Web V2)
Overview for Schemas in the Web V2.
Associated Roles (Web V2)
Overview for Associated Roles in the Web V2. (visible only when gravitino.authorization.enable=true)

The Apache Gravitino Spark connector supports loading user-defined functions (UDFs) registered
in the Gravitino function registry. Once a function is
registered in Gravitino, Spark can discover and
invoke it through standard Spark SQL syntax — no additional CREATE FUNCTION statement is needed.
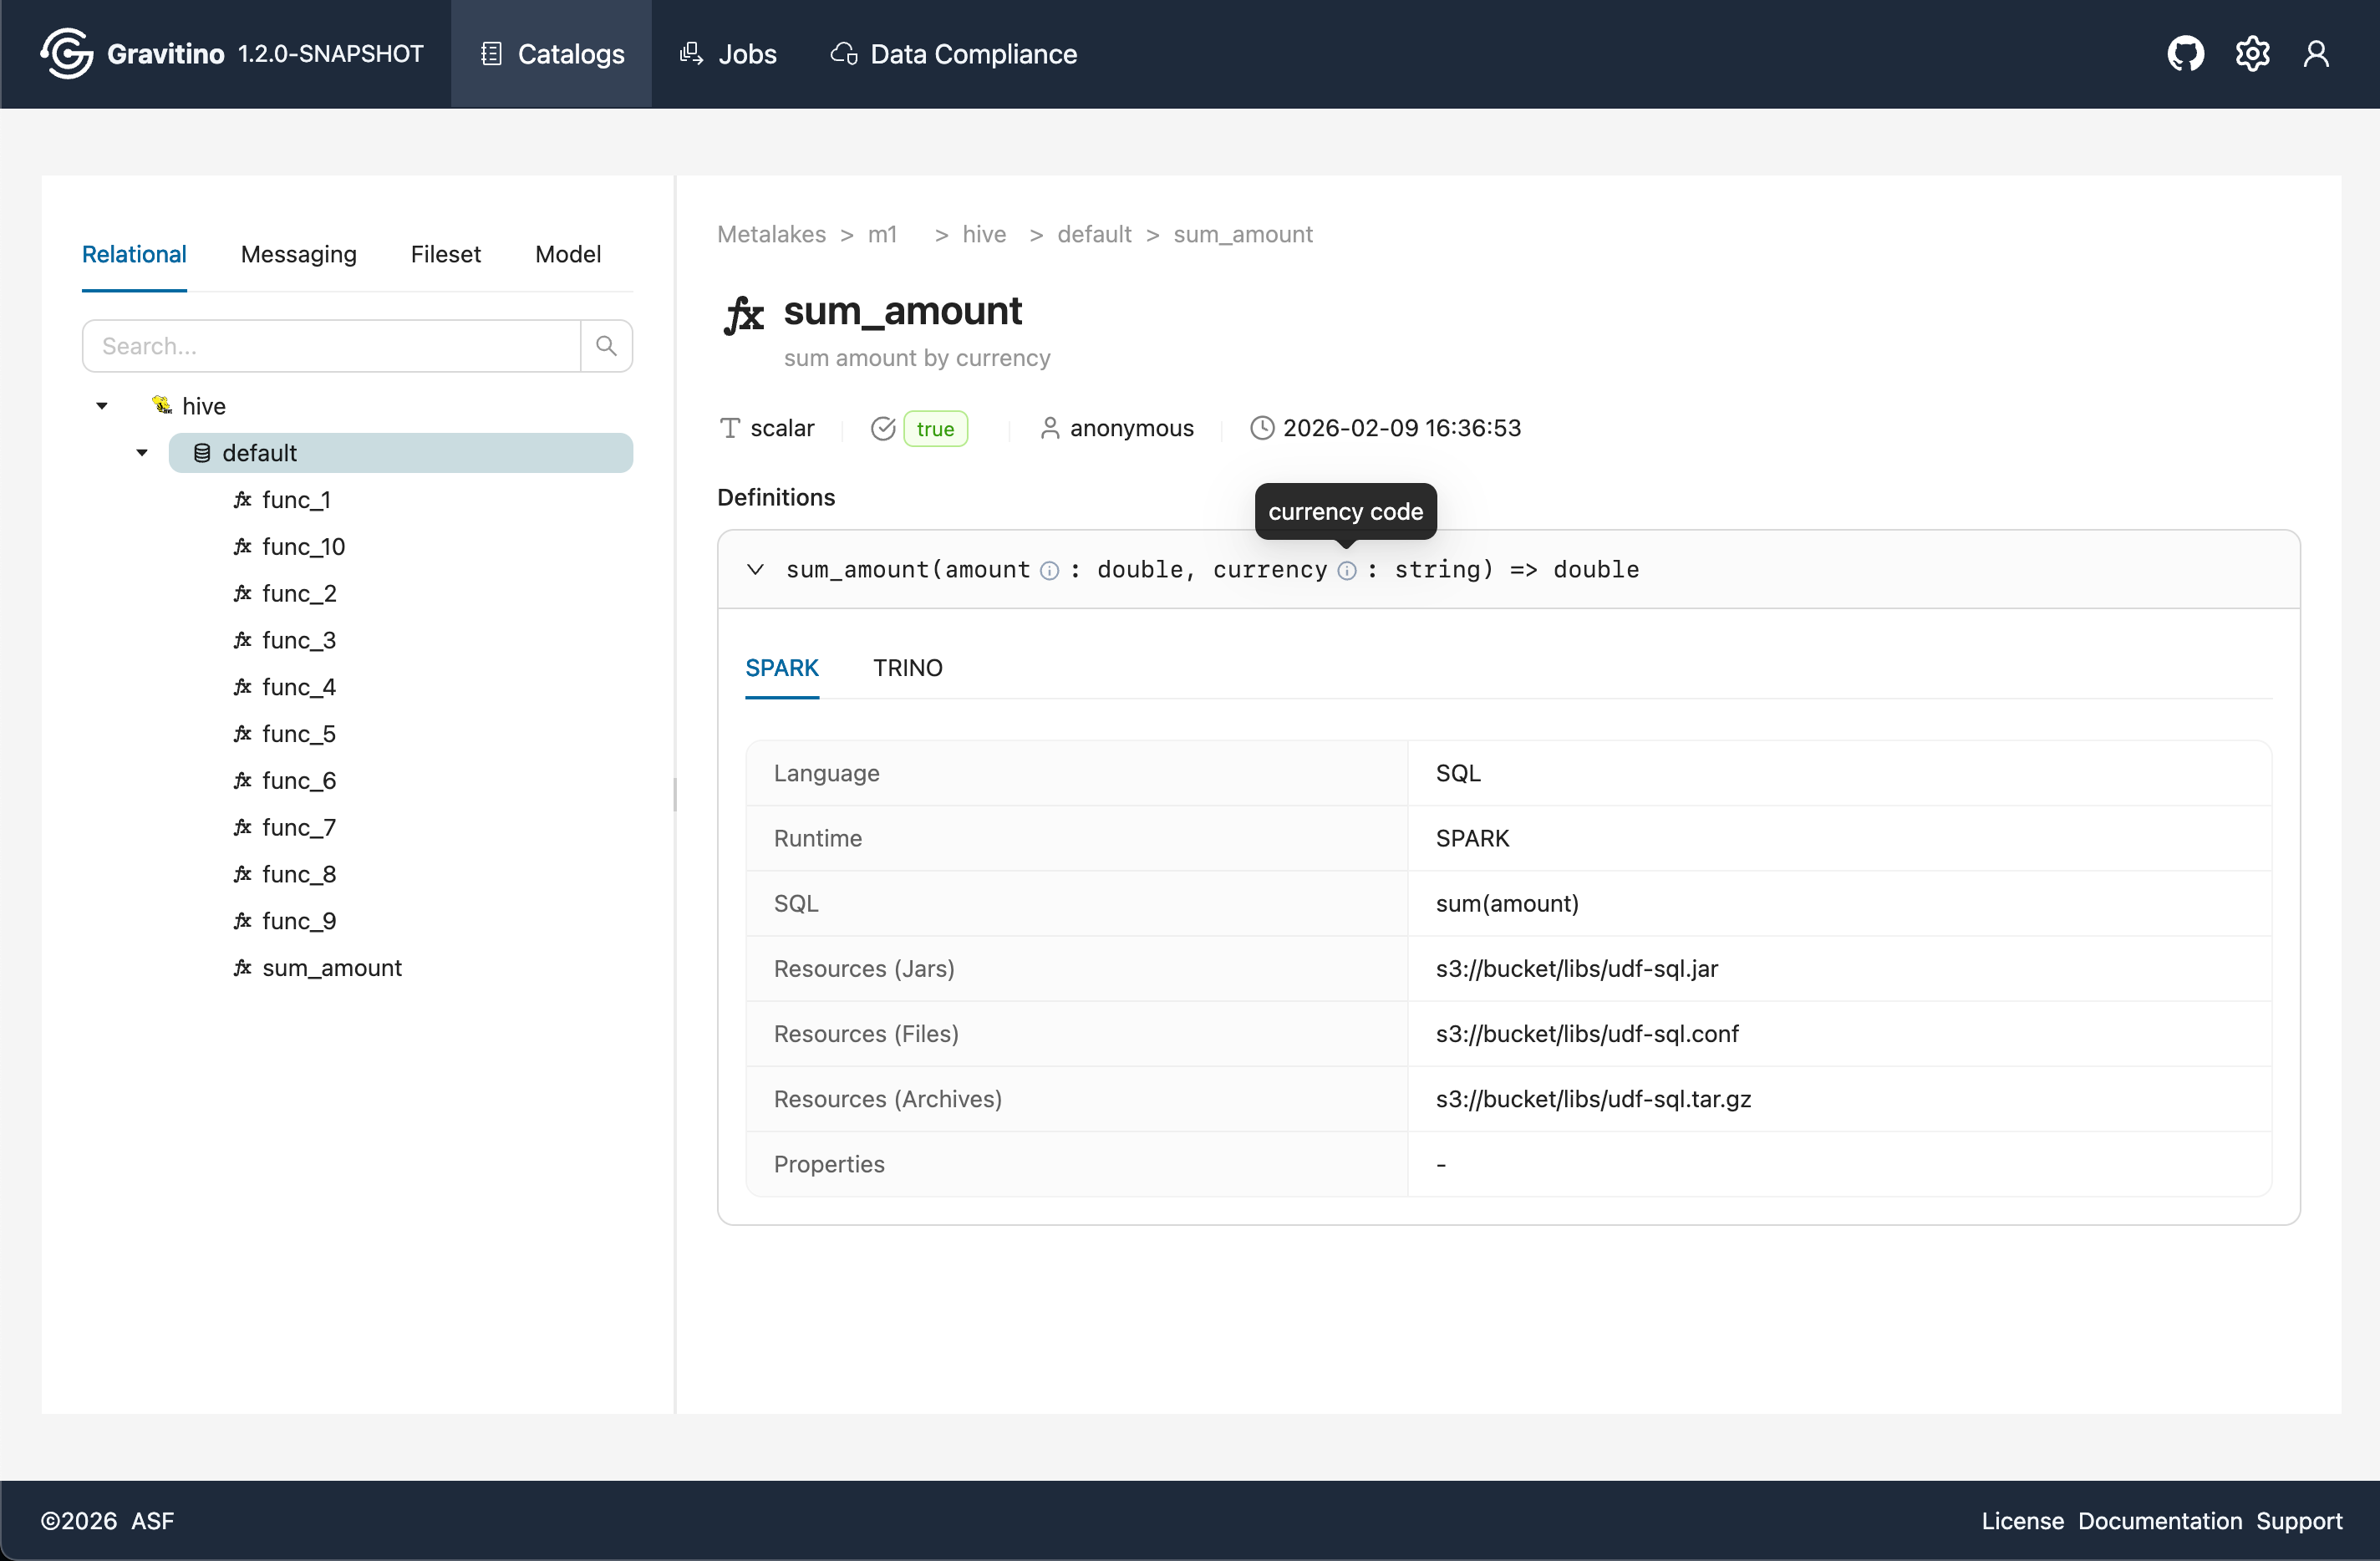
If a UDF is registered, you can see a Functions list tab on the schema details page.
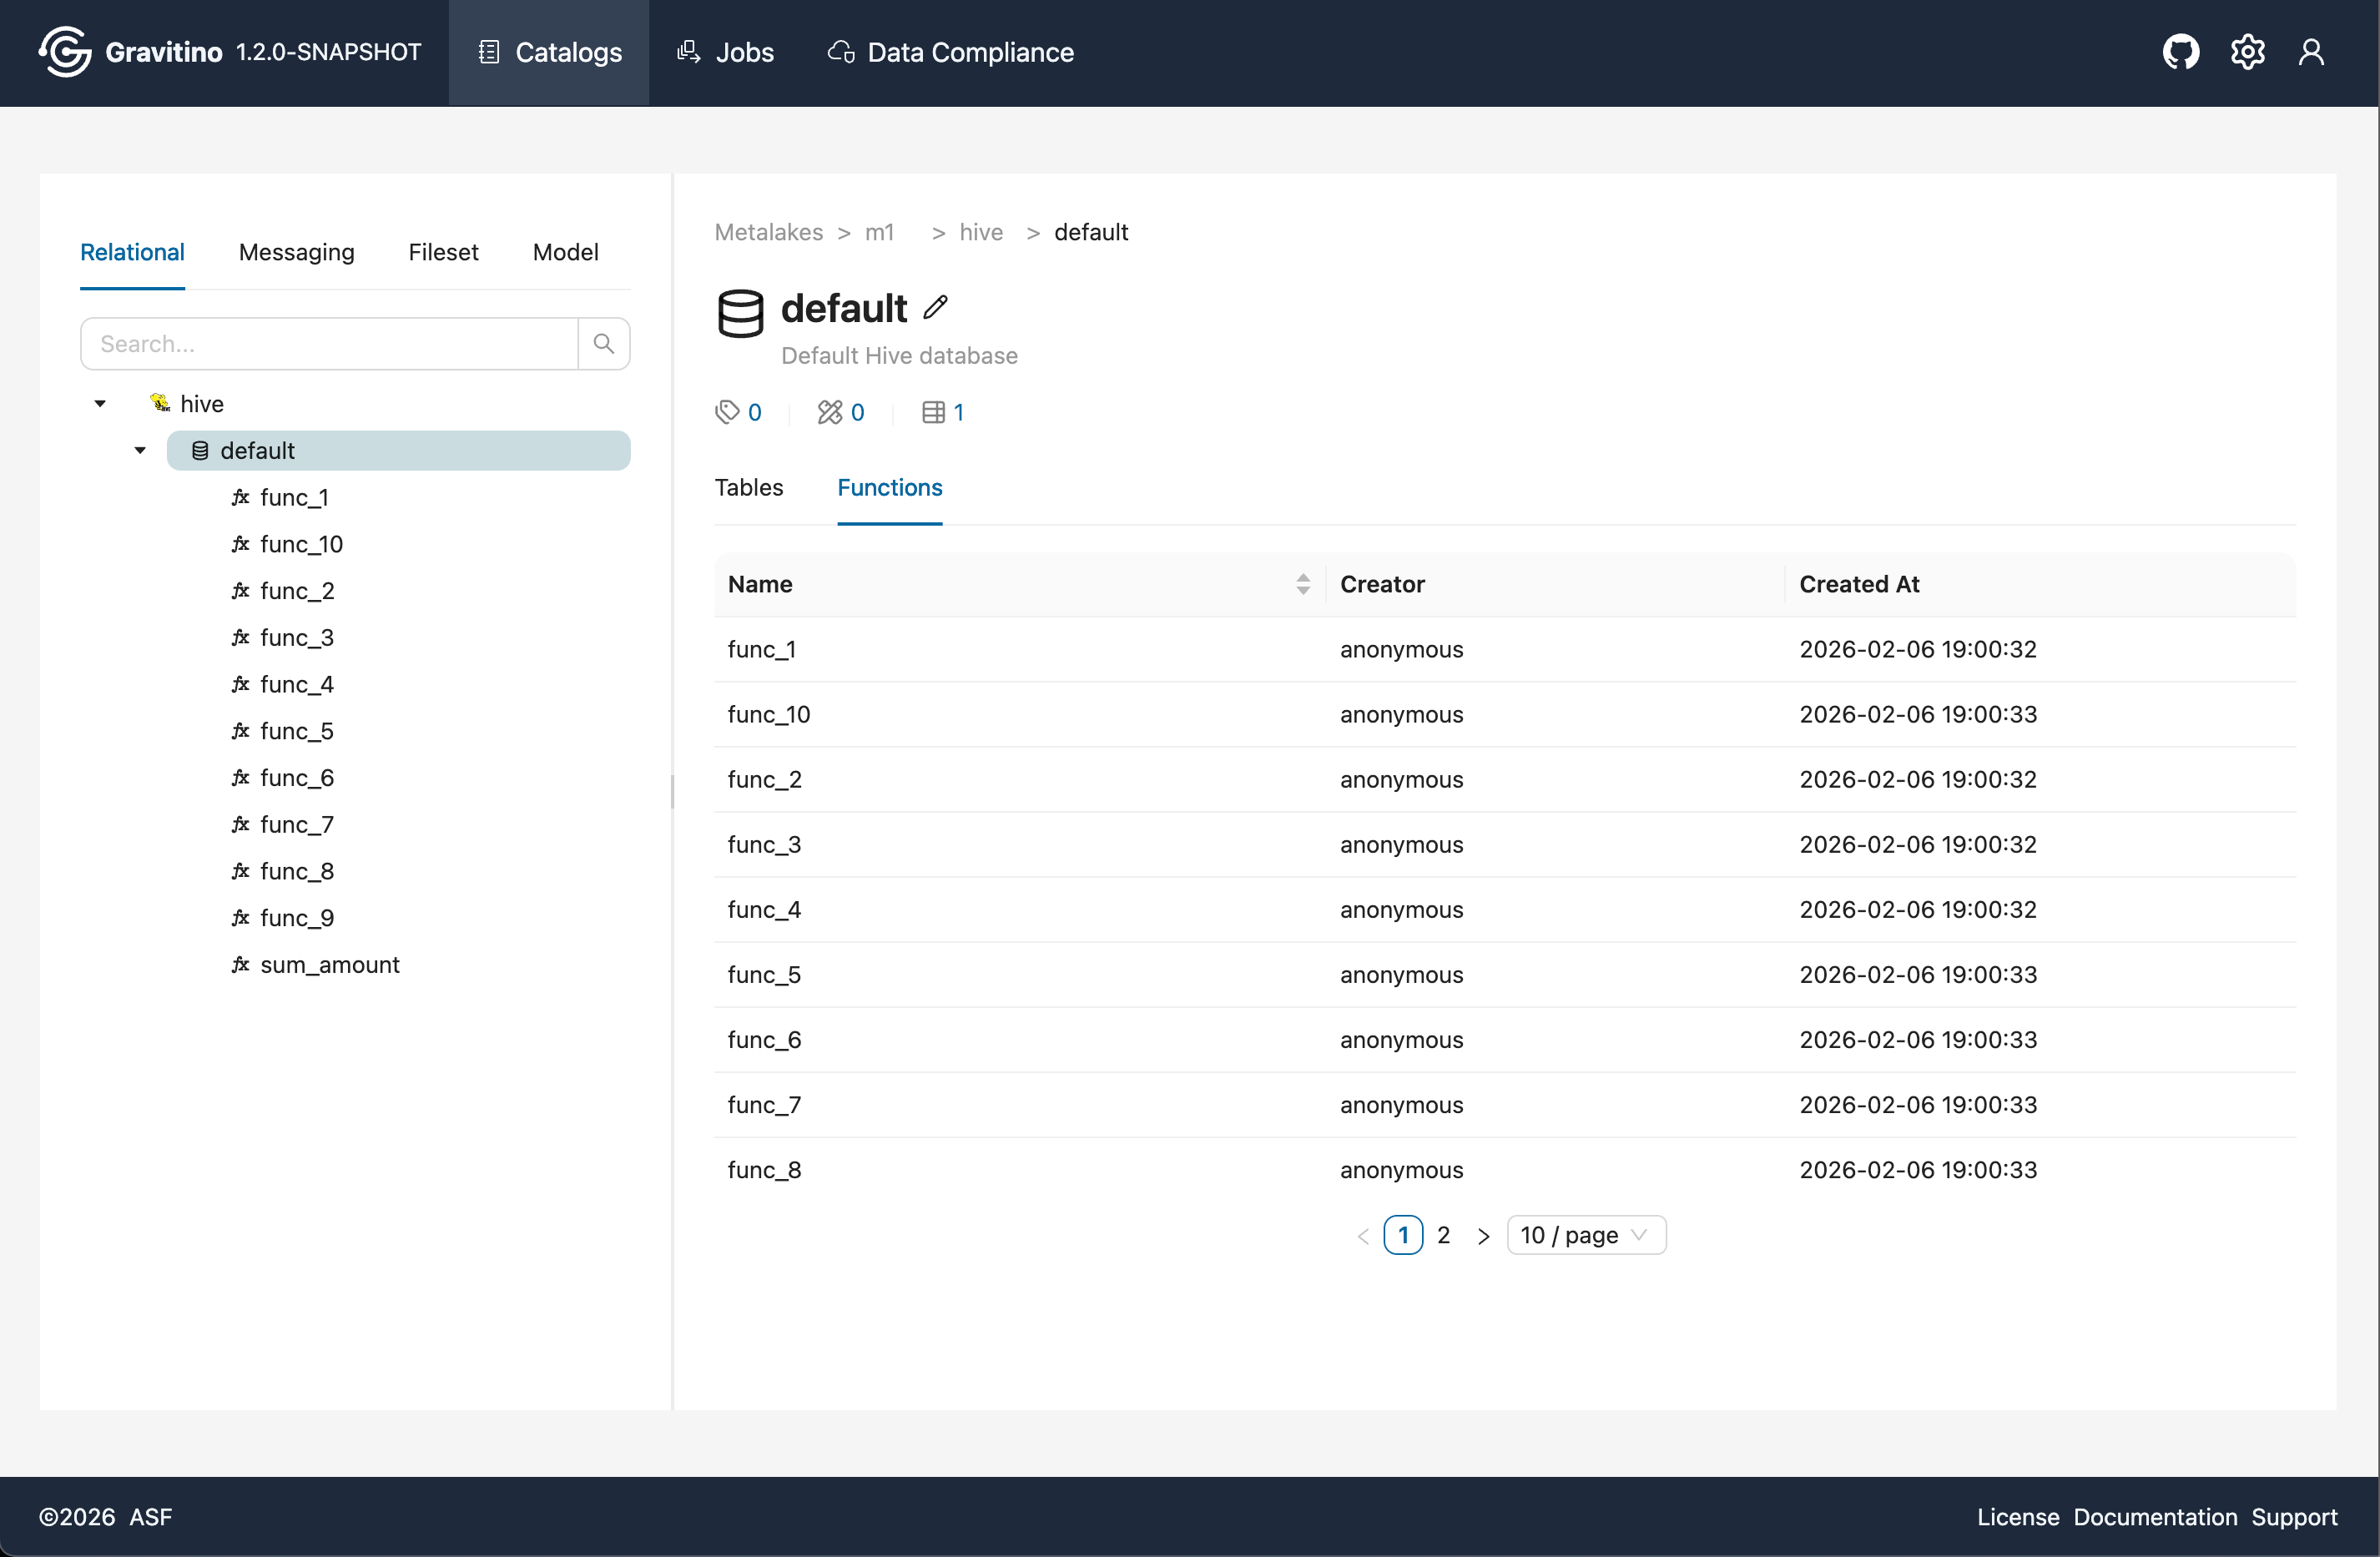
Click a function tree node or a function name in the list to view detailed parameters for the function definition.
Tables (Web V2)
Overview for Table in the Web V2.
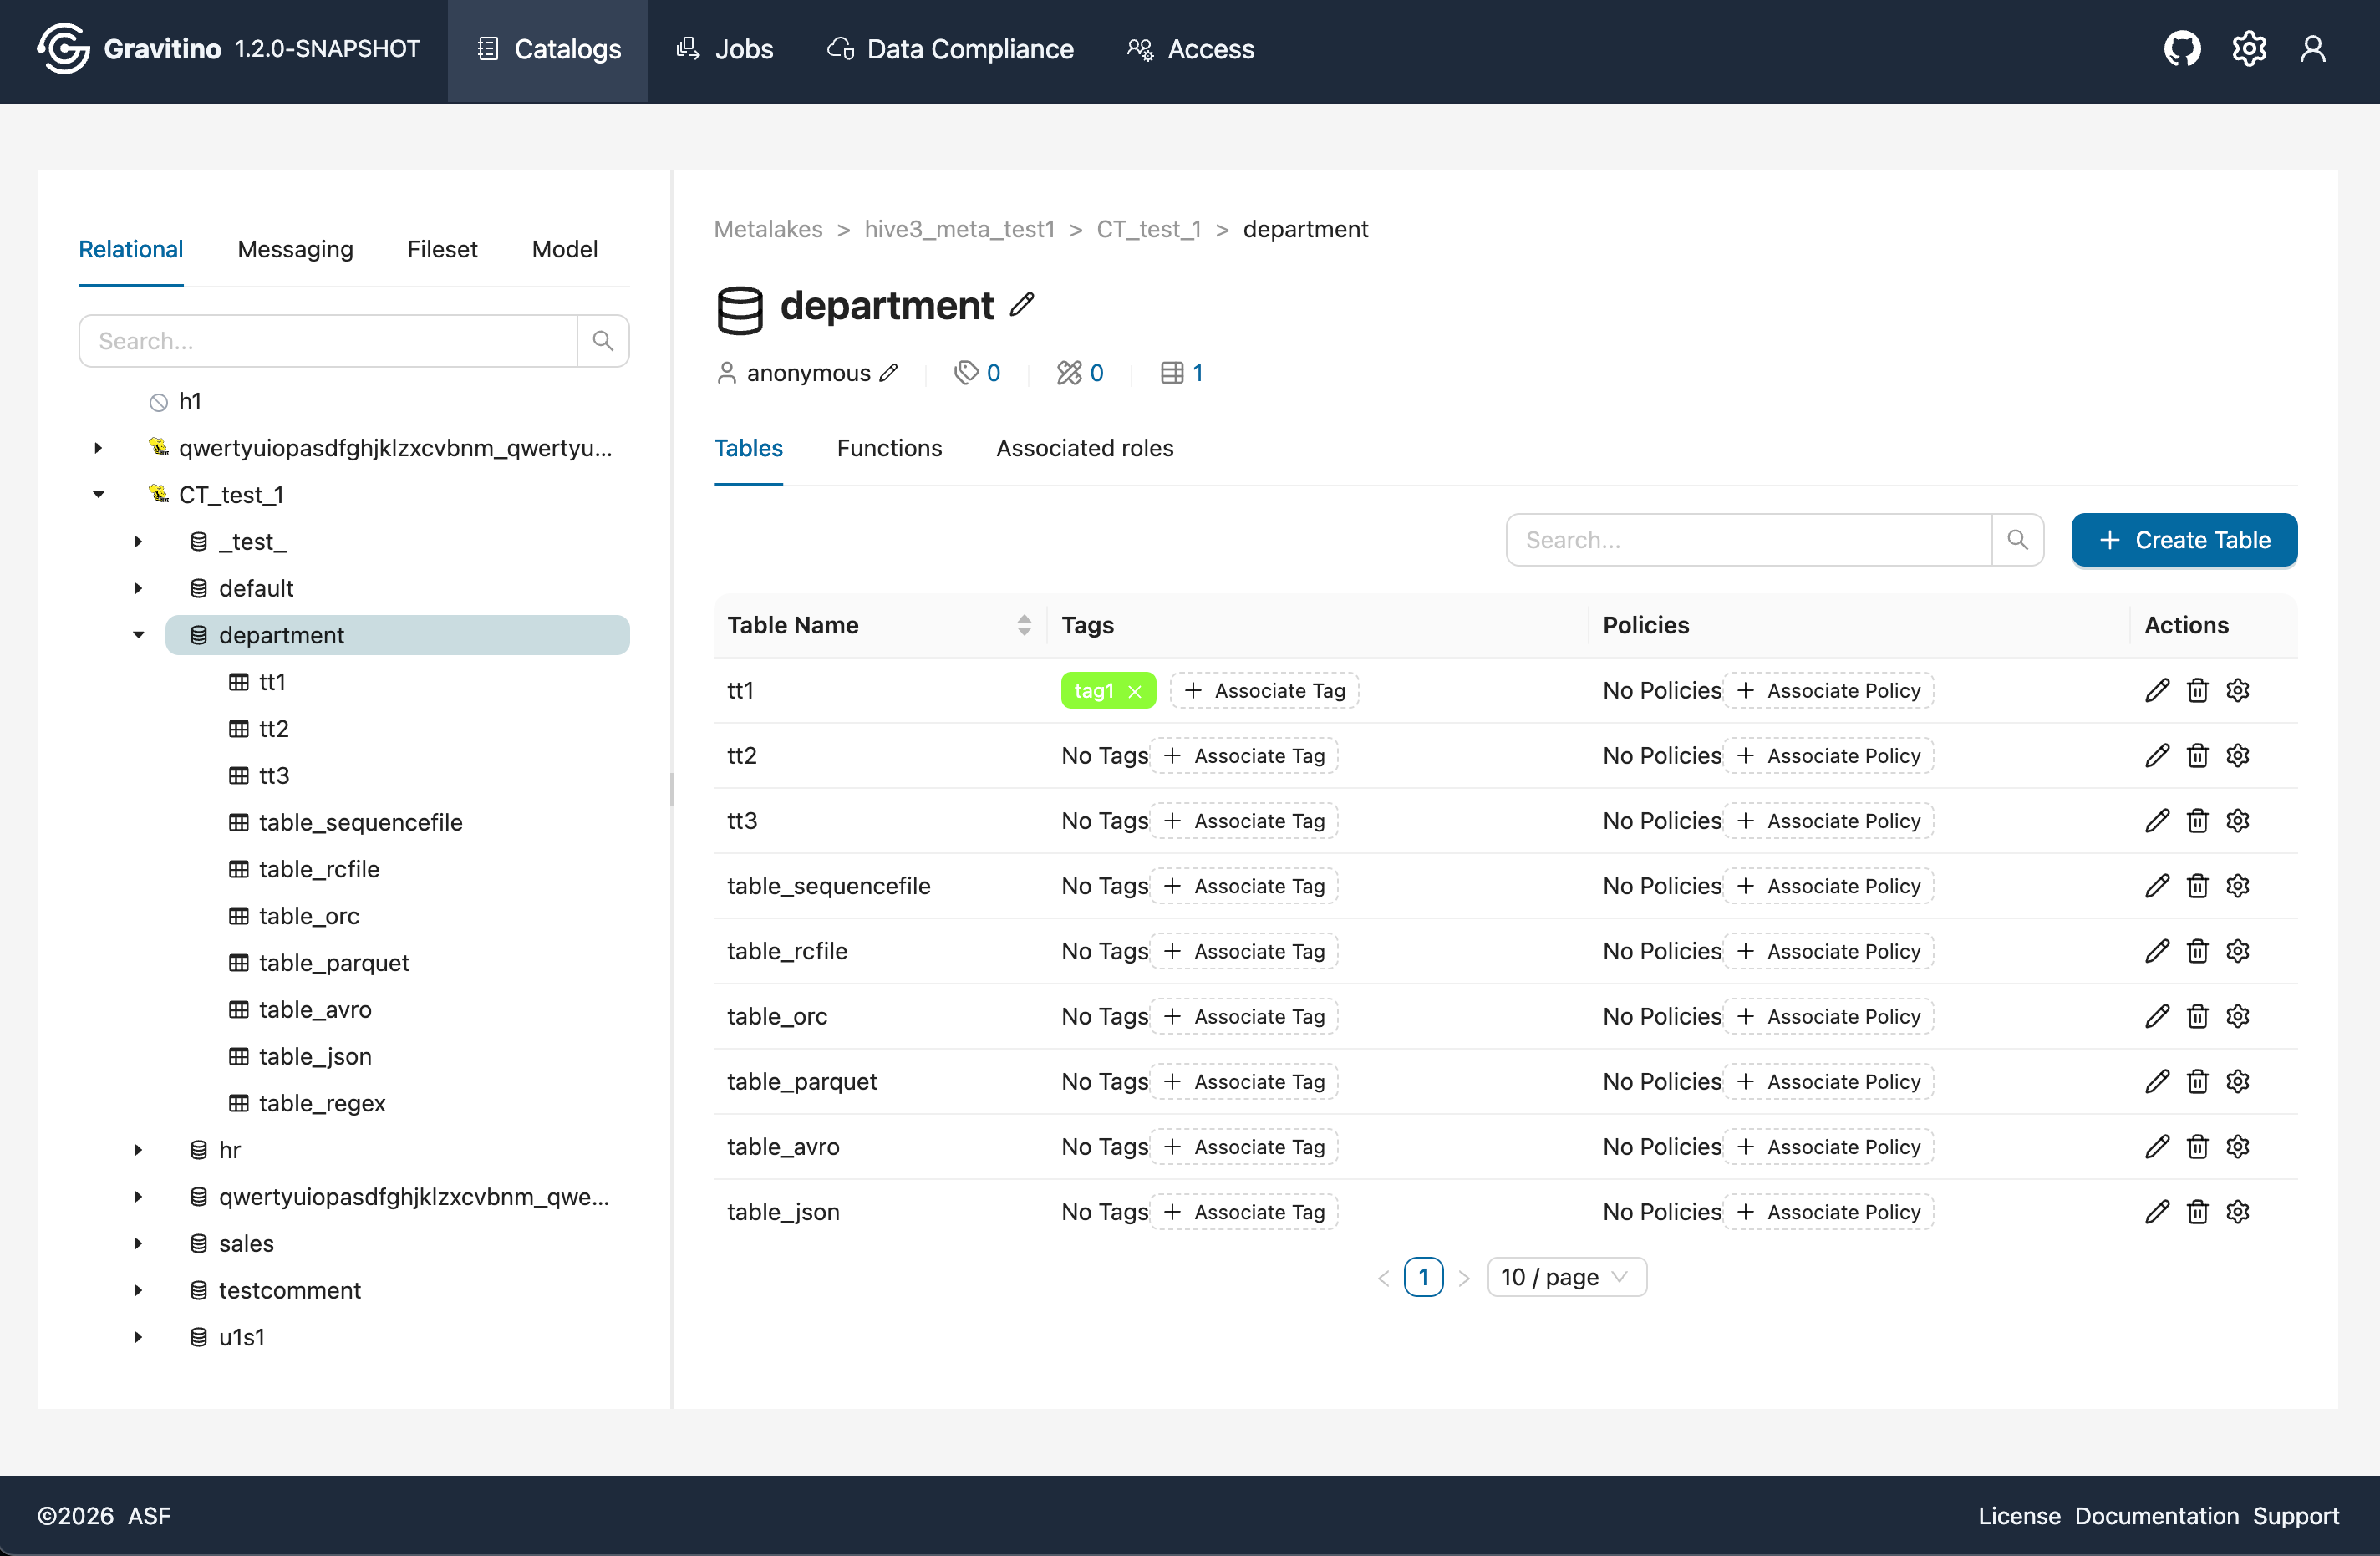
Create Table (Web V2)
In the Schema details page, the list shows all tables under the selected schema. Click Create Table to open the table creation form.
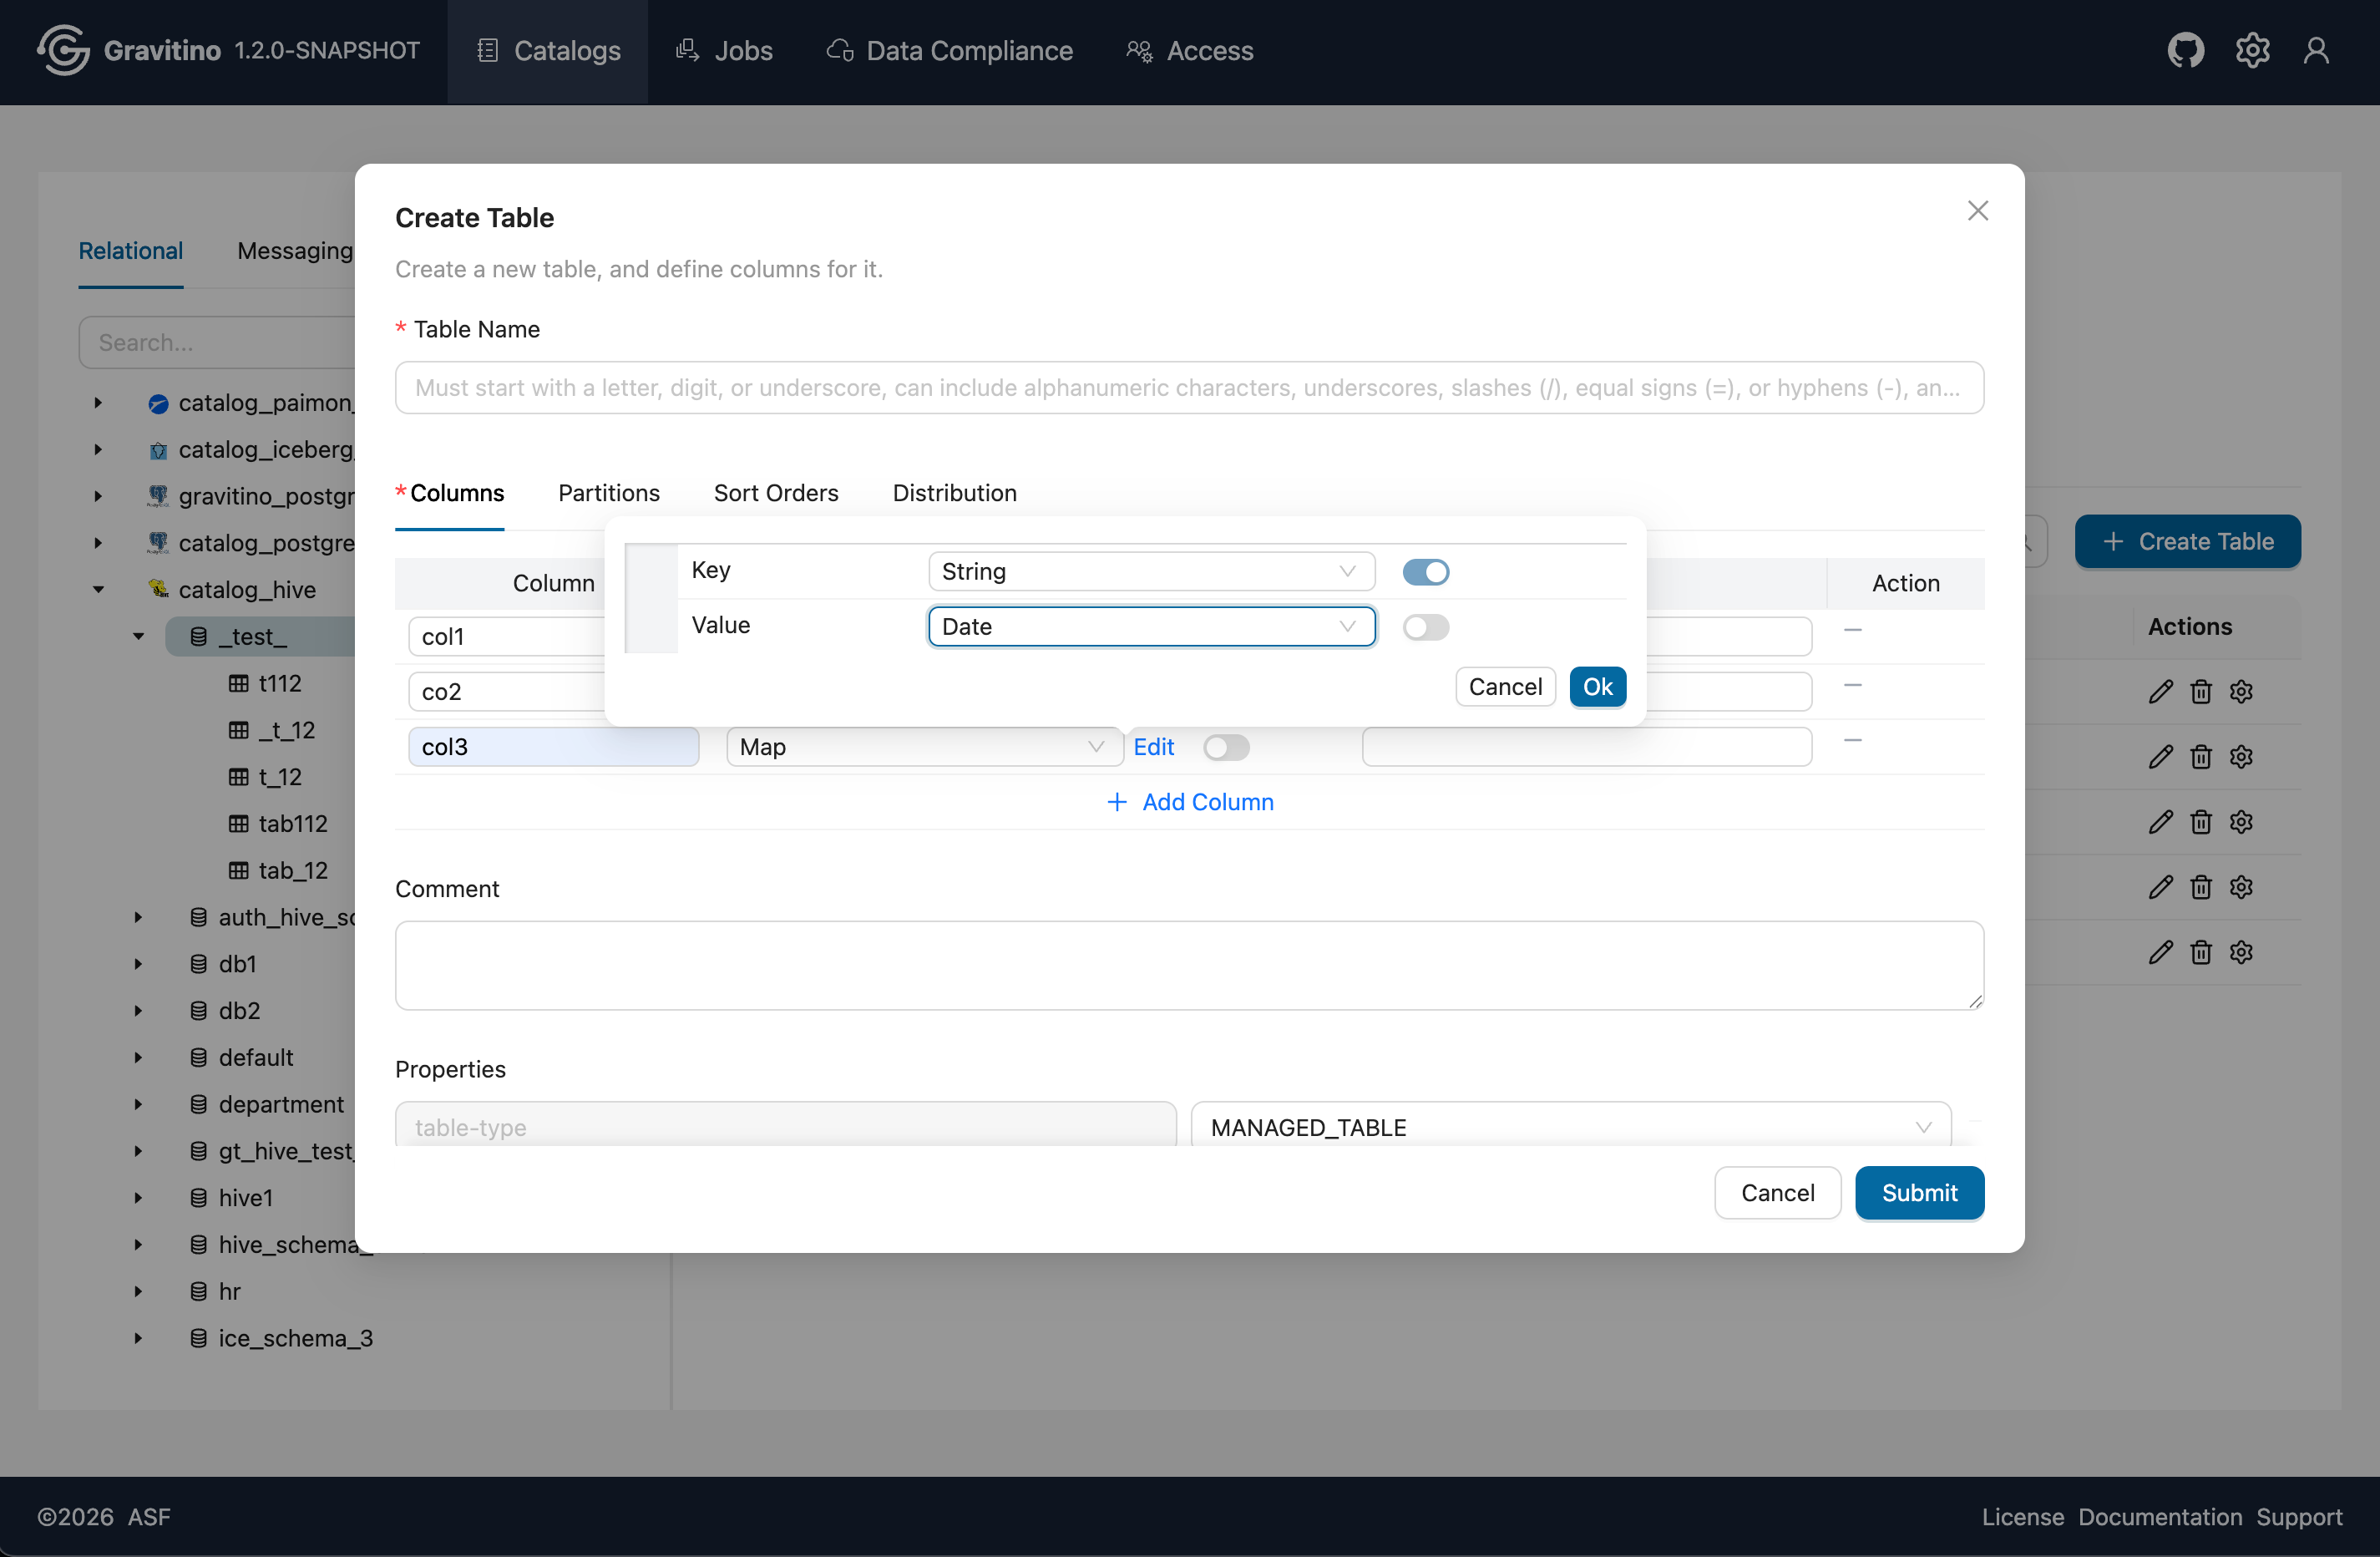
In the form, add columns and select column types. The Web V2 supports composite inputs for char, varchar, and decimal. Some complex types are supported (for example list, map, struct, union) depending on the provider.
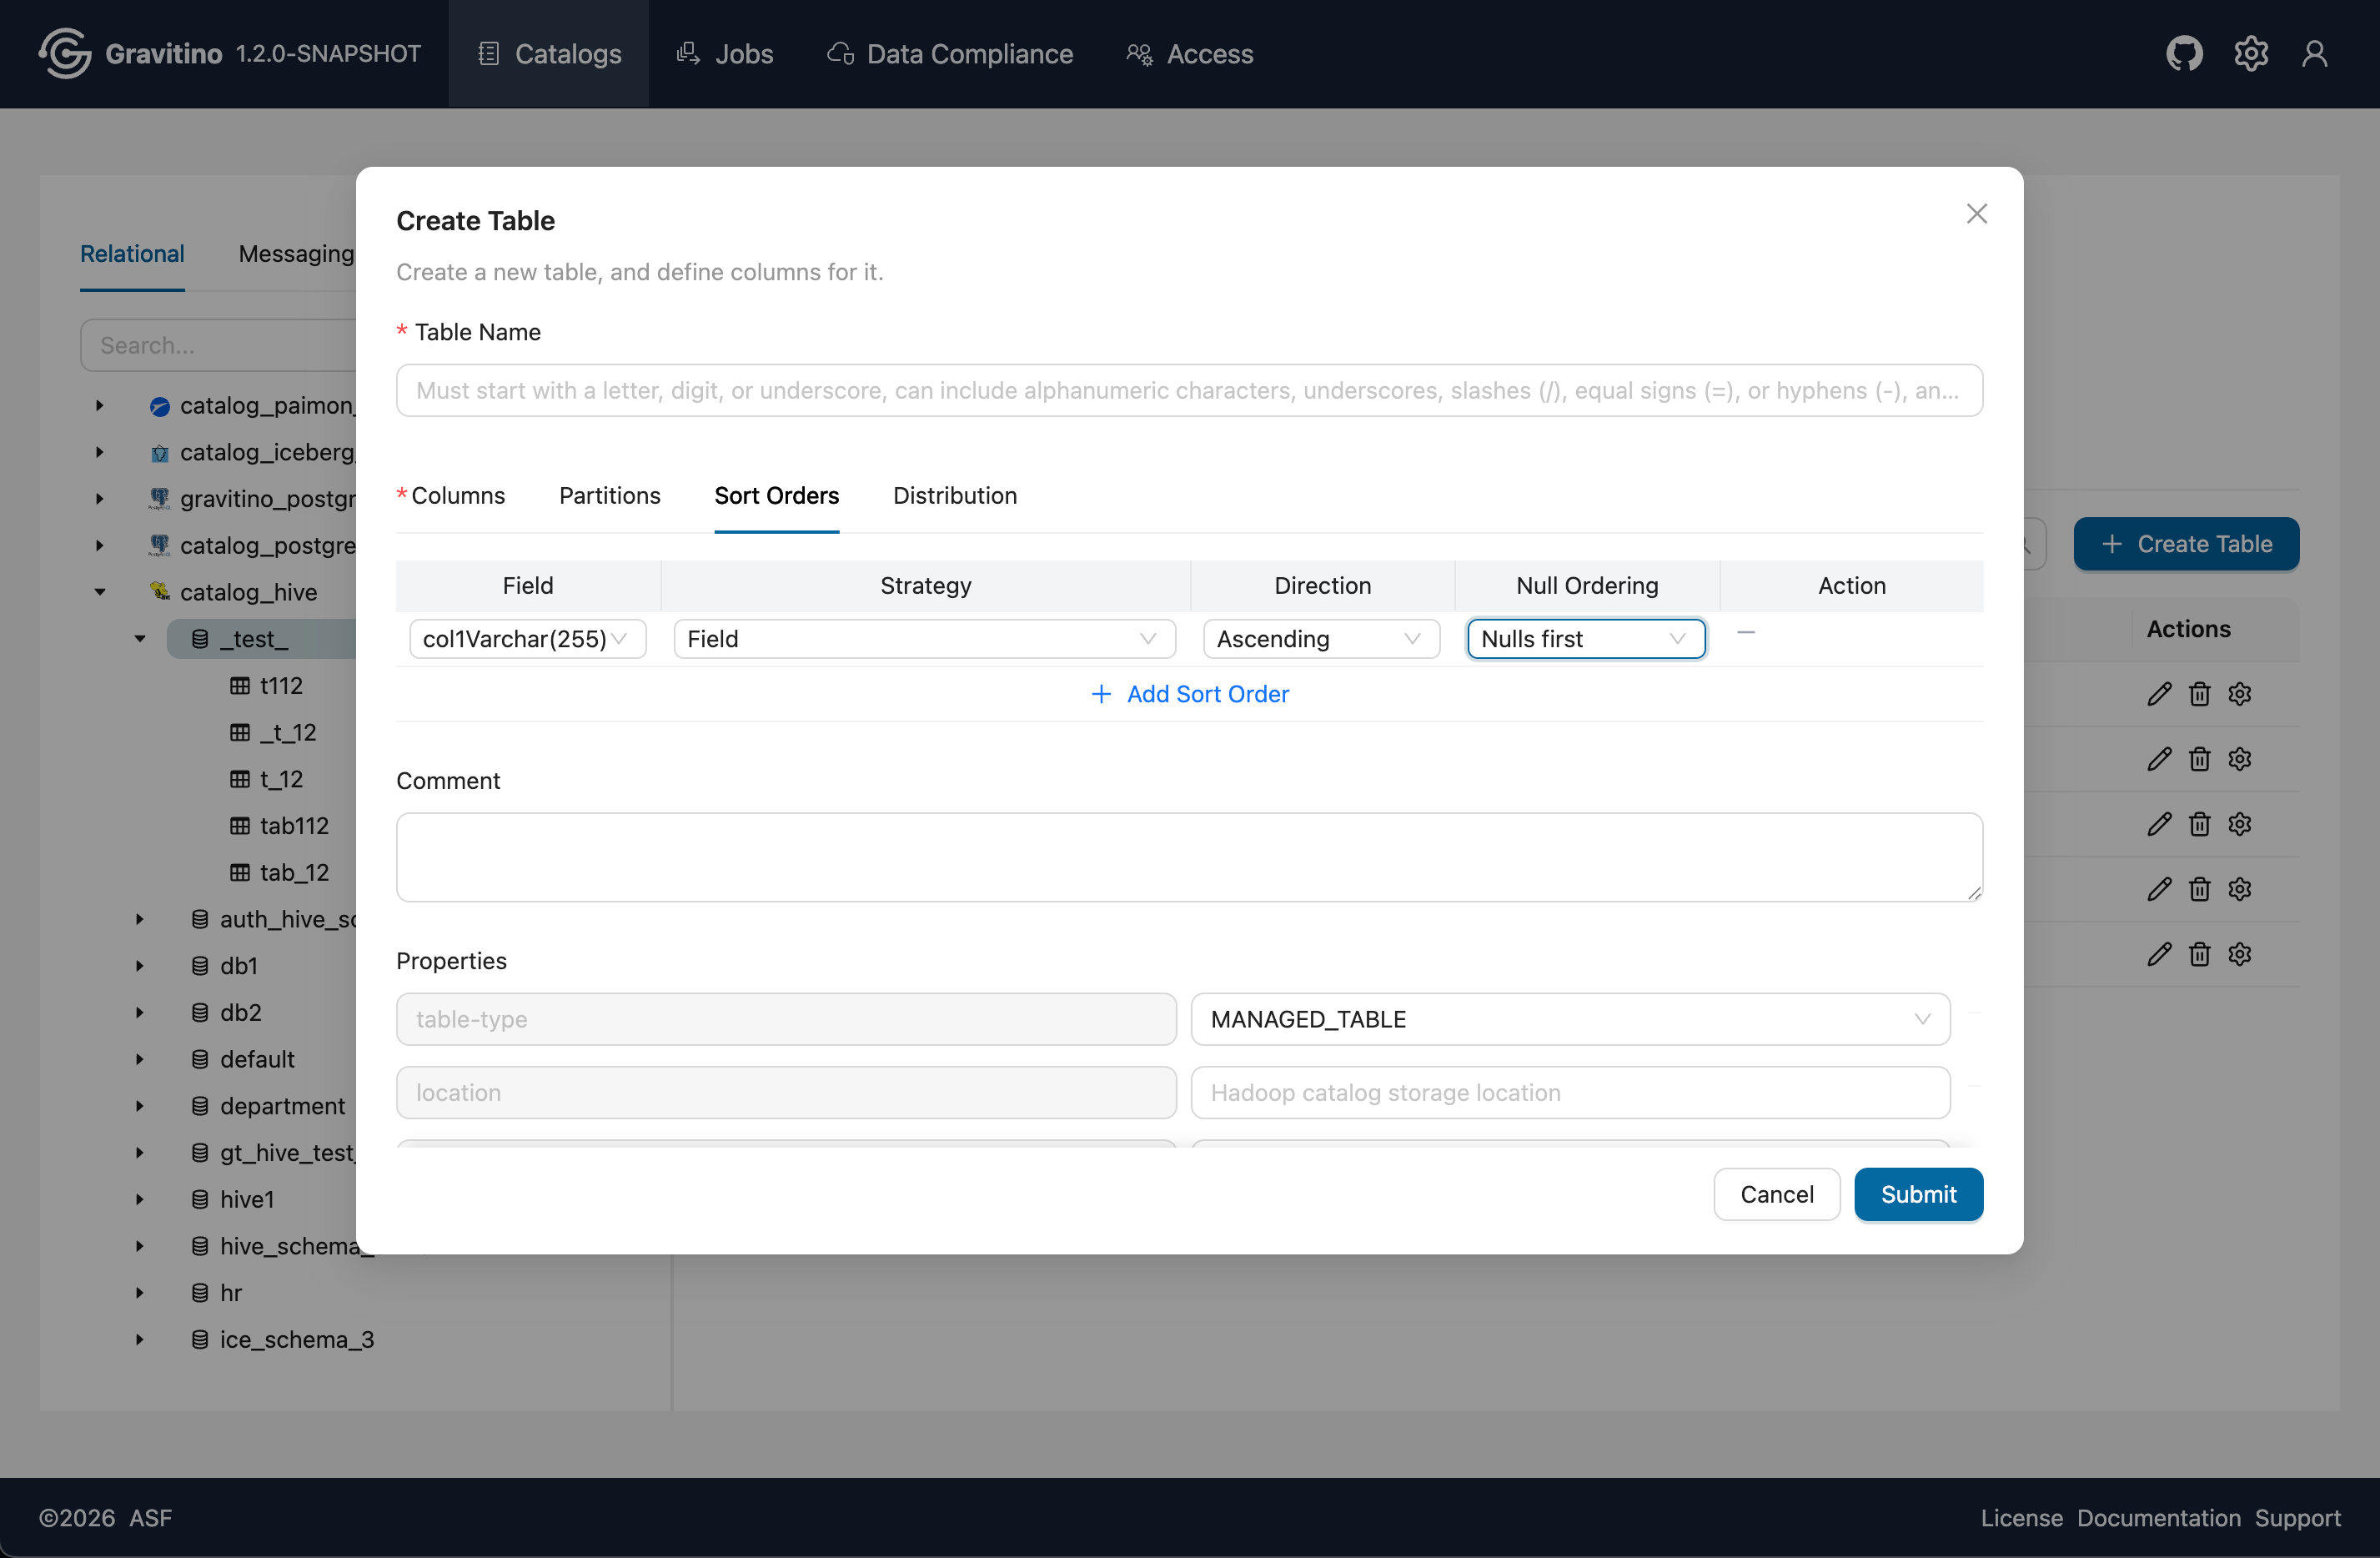
Depending on the provider, you can configure Partitions, Sort Orders, and Distribution.
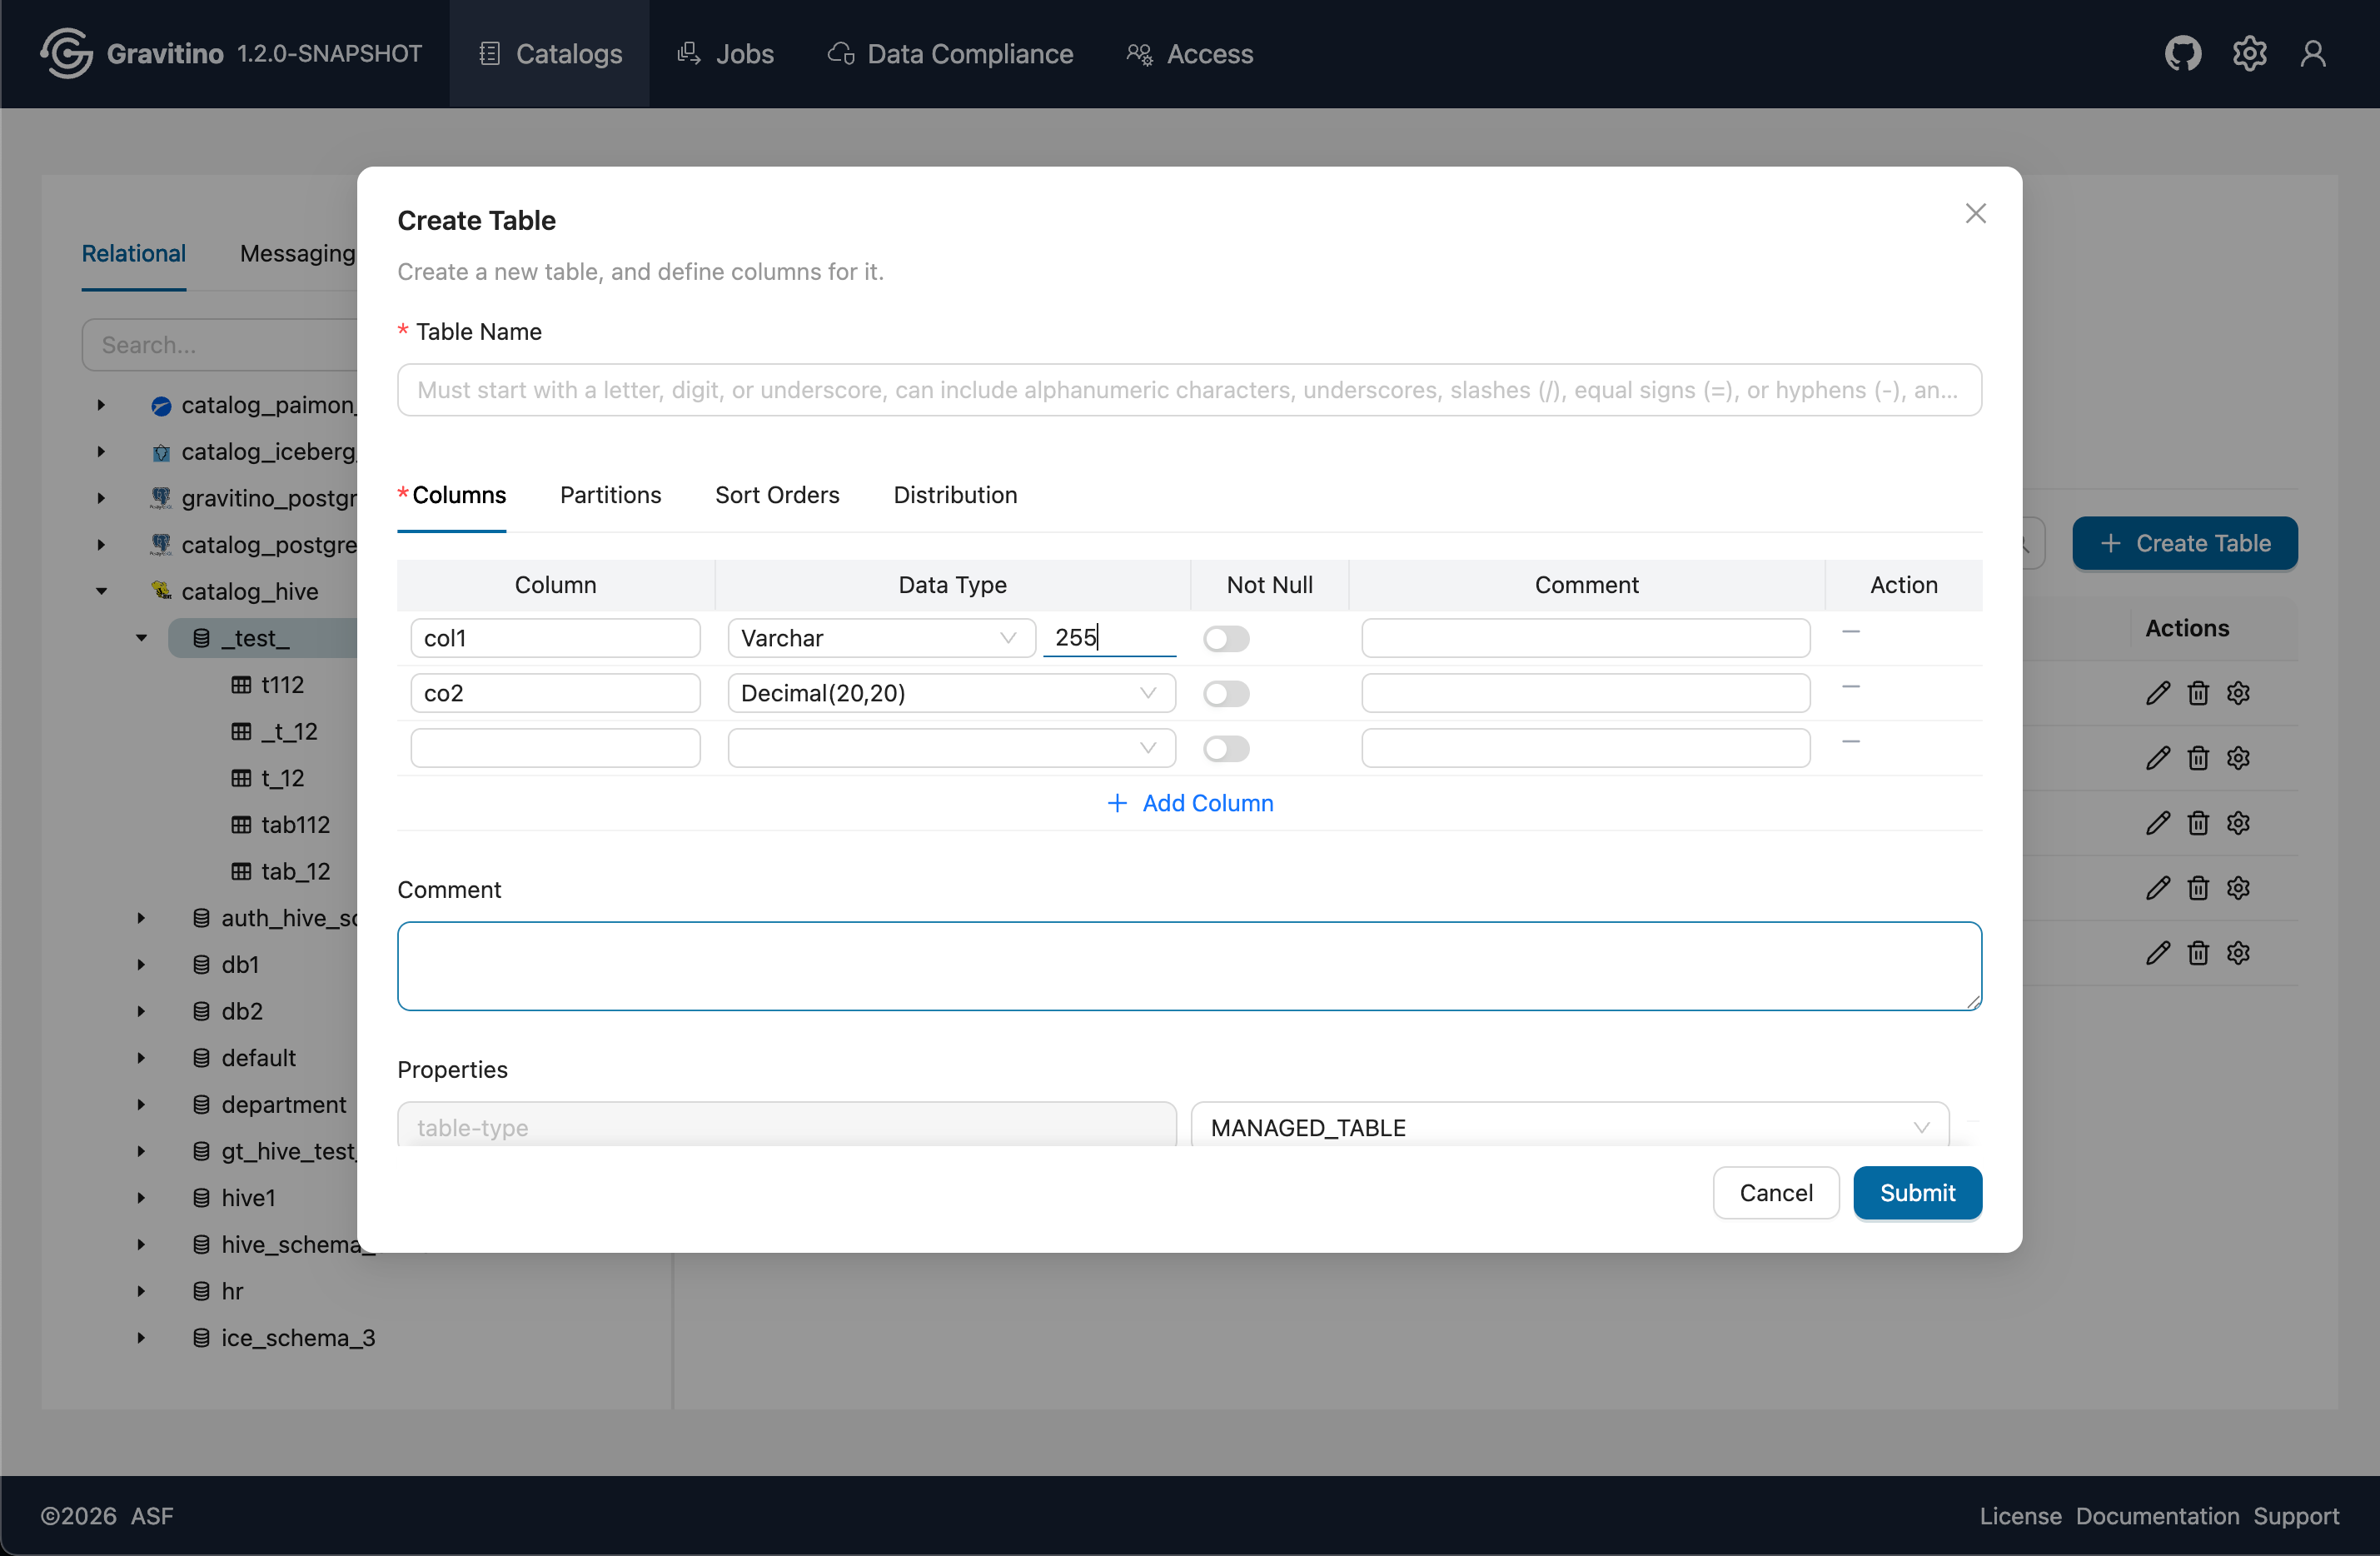
In Properties, default values are prefilled and can be changed. You can reselect and update the values before submitting.
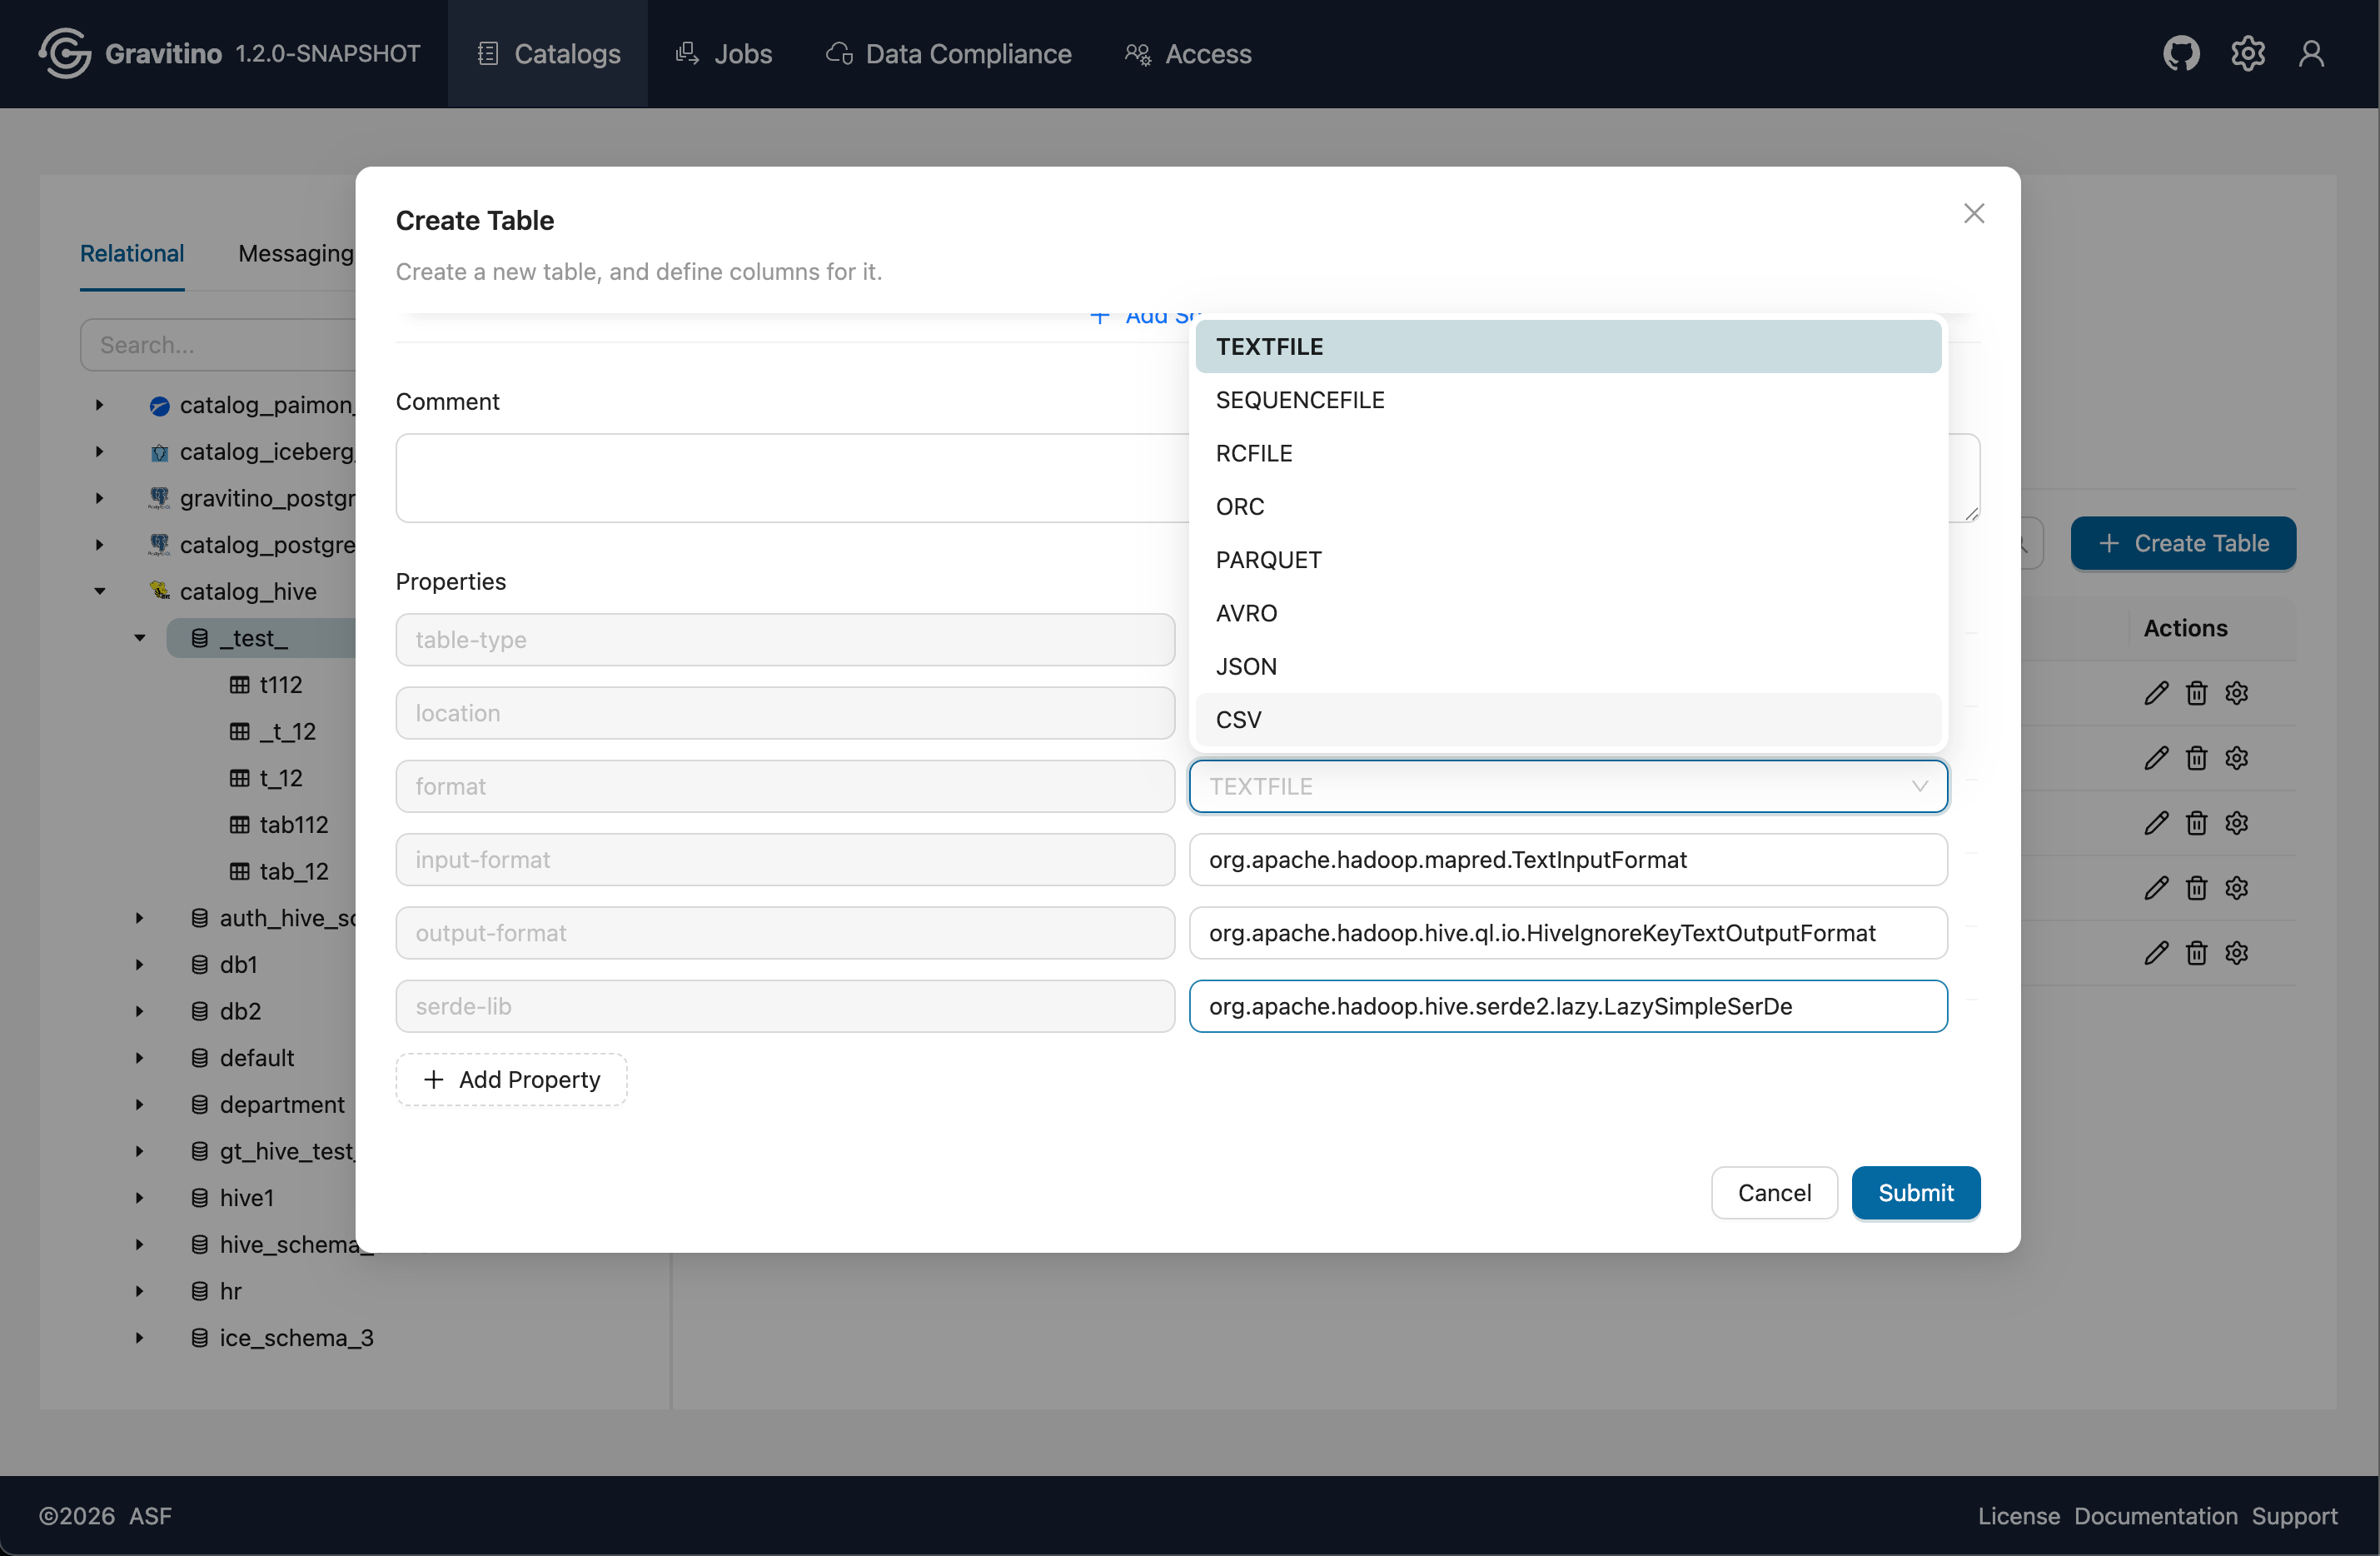
Submit the form to create a complex table.
Filesets (Web V2)
Overview for Fileset in the Web V2.
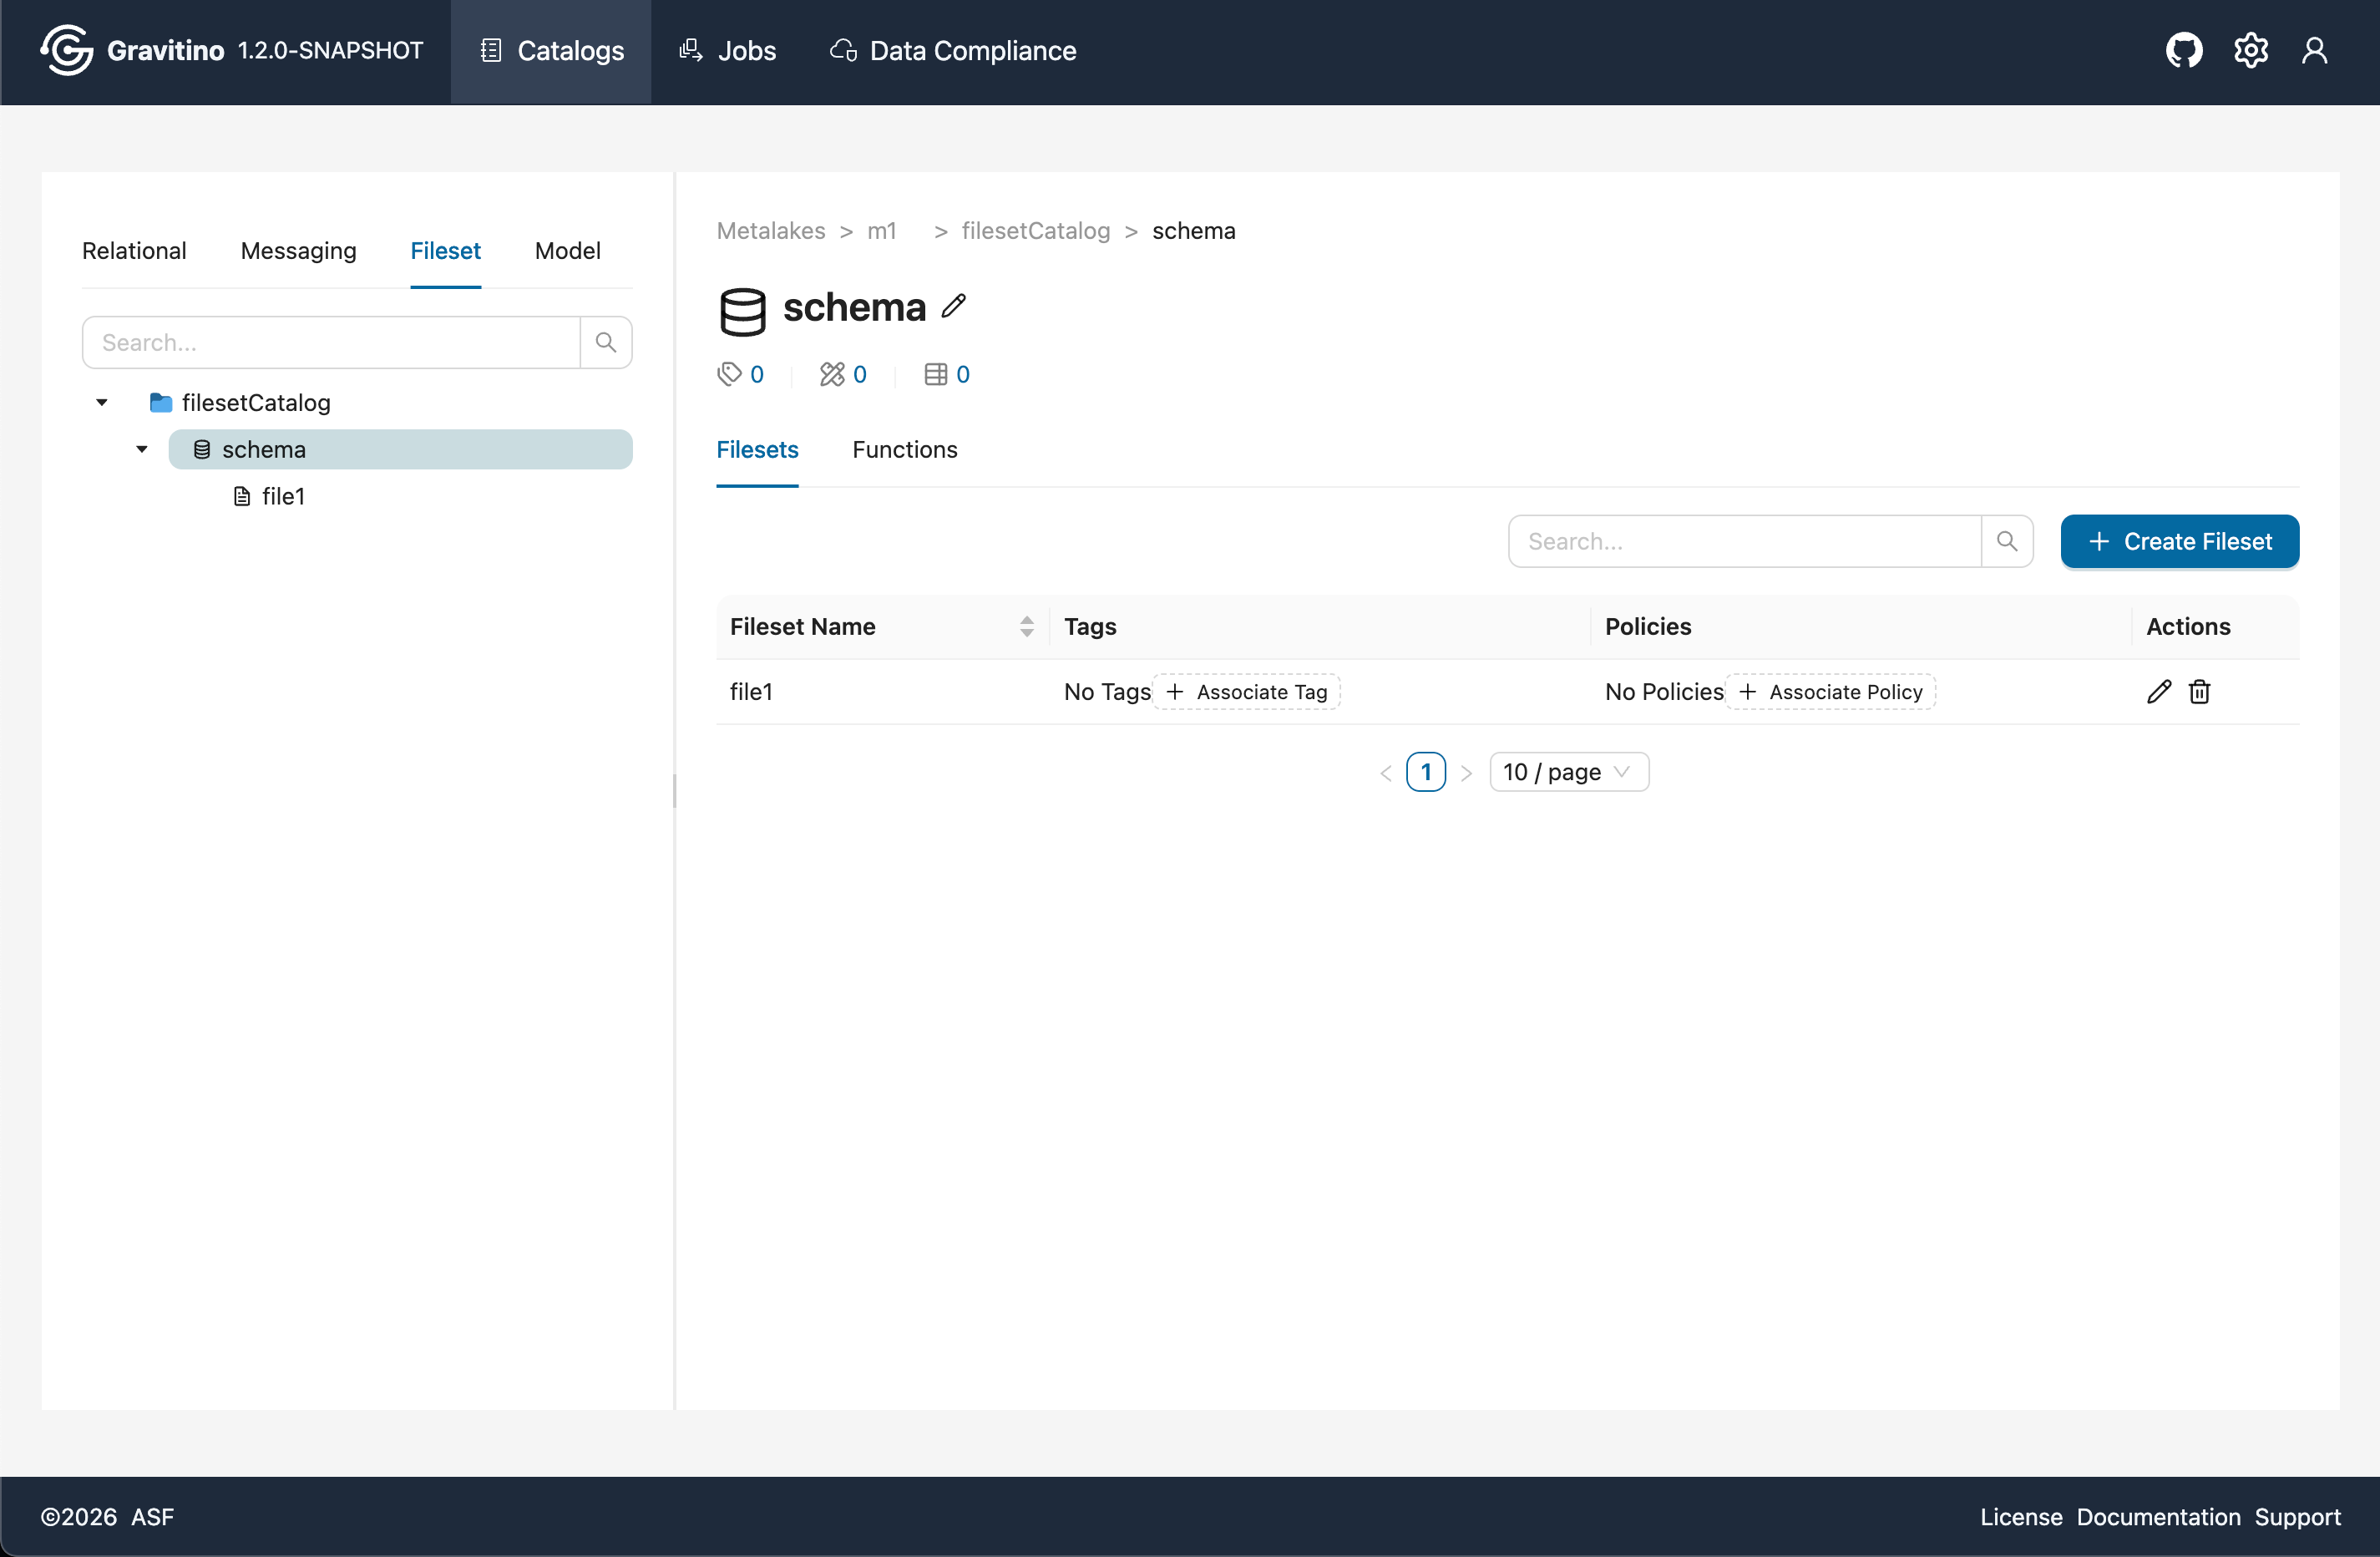
Overview for files under fileset in the Web V2.

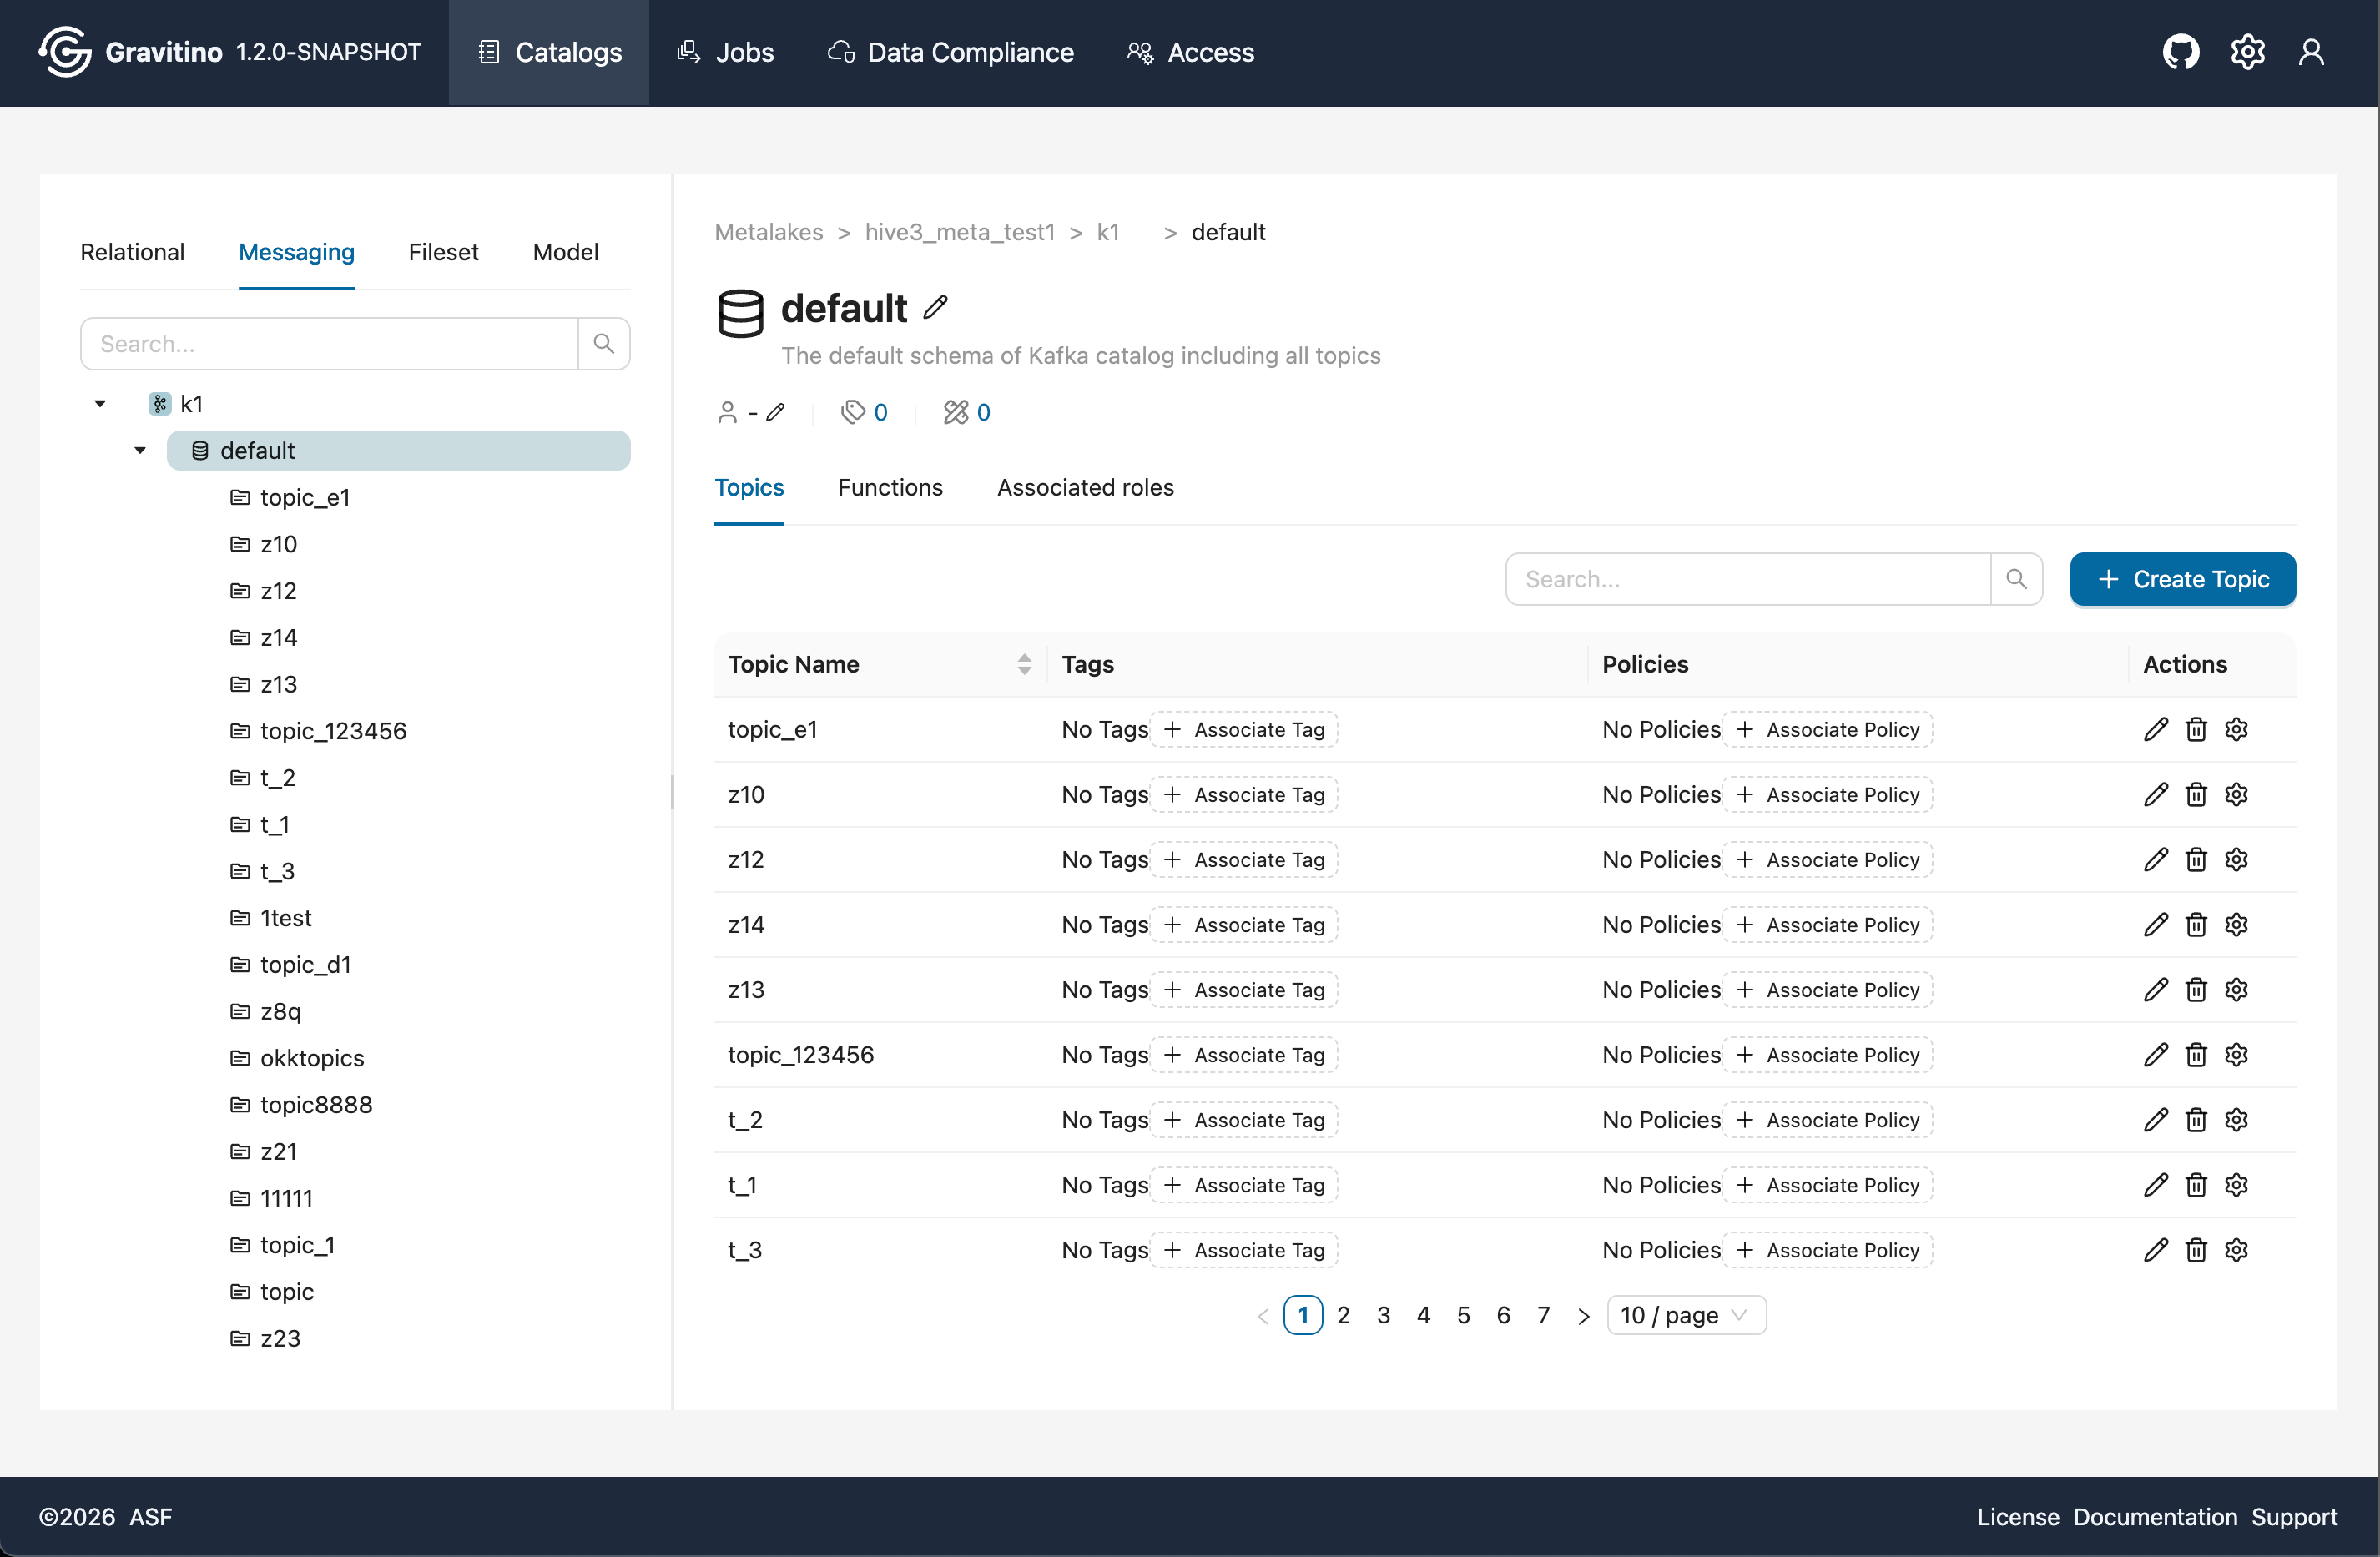
Topics (Web V2)
Overview for Topic in the Web V2.
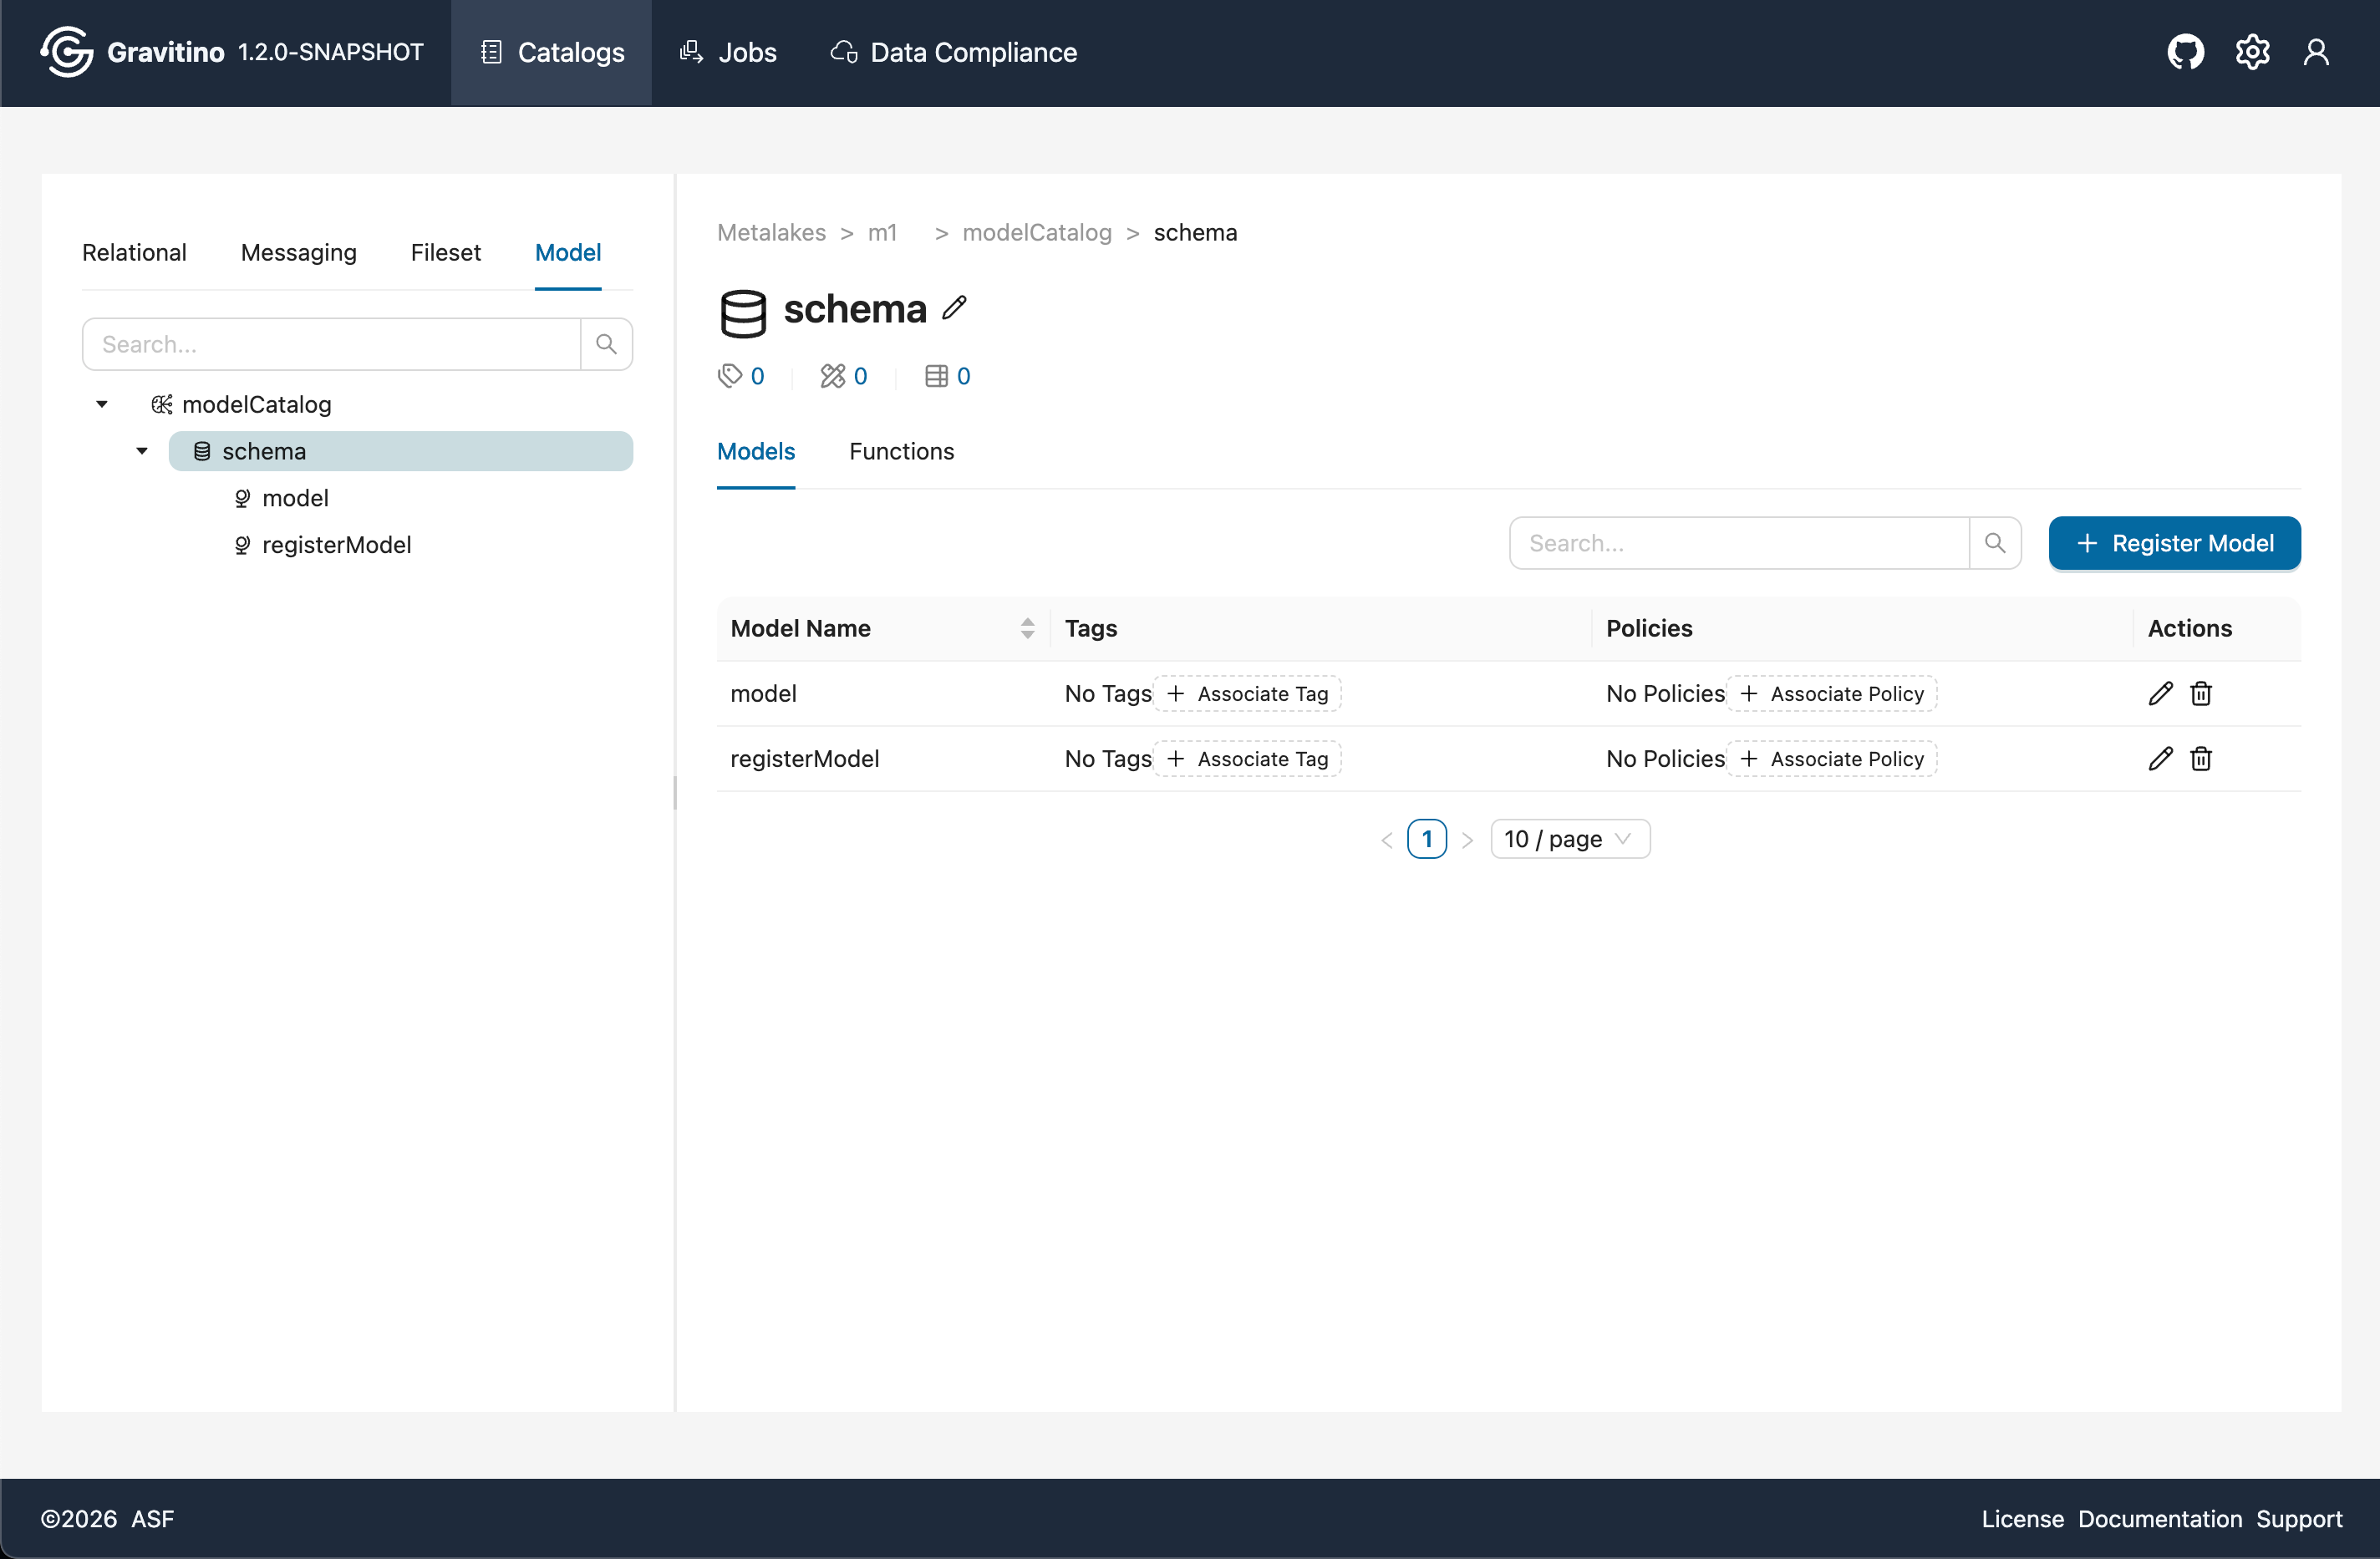
Models (Web V2)
Overview for Model in the Web V2.
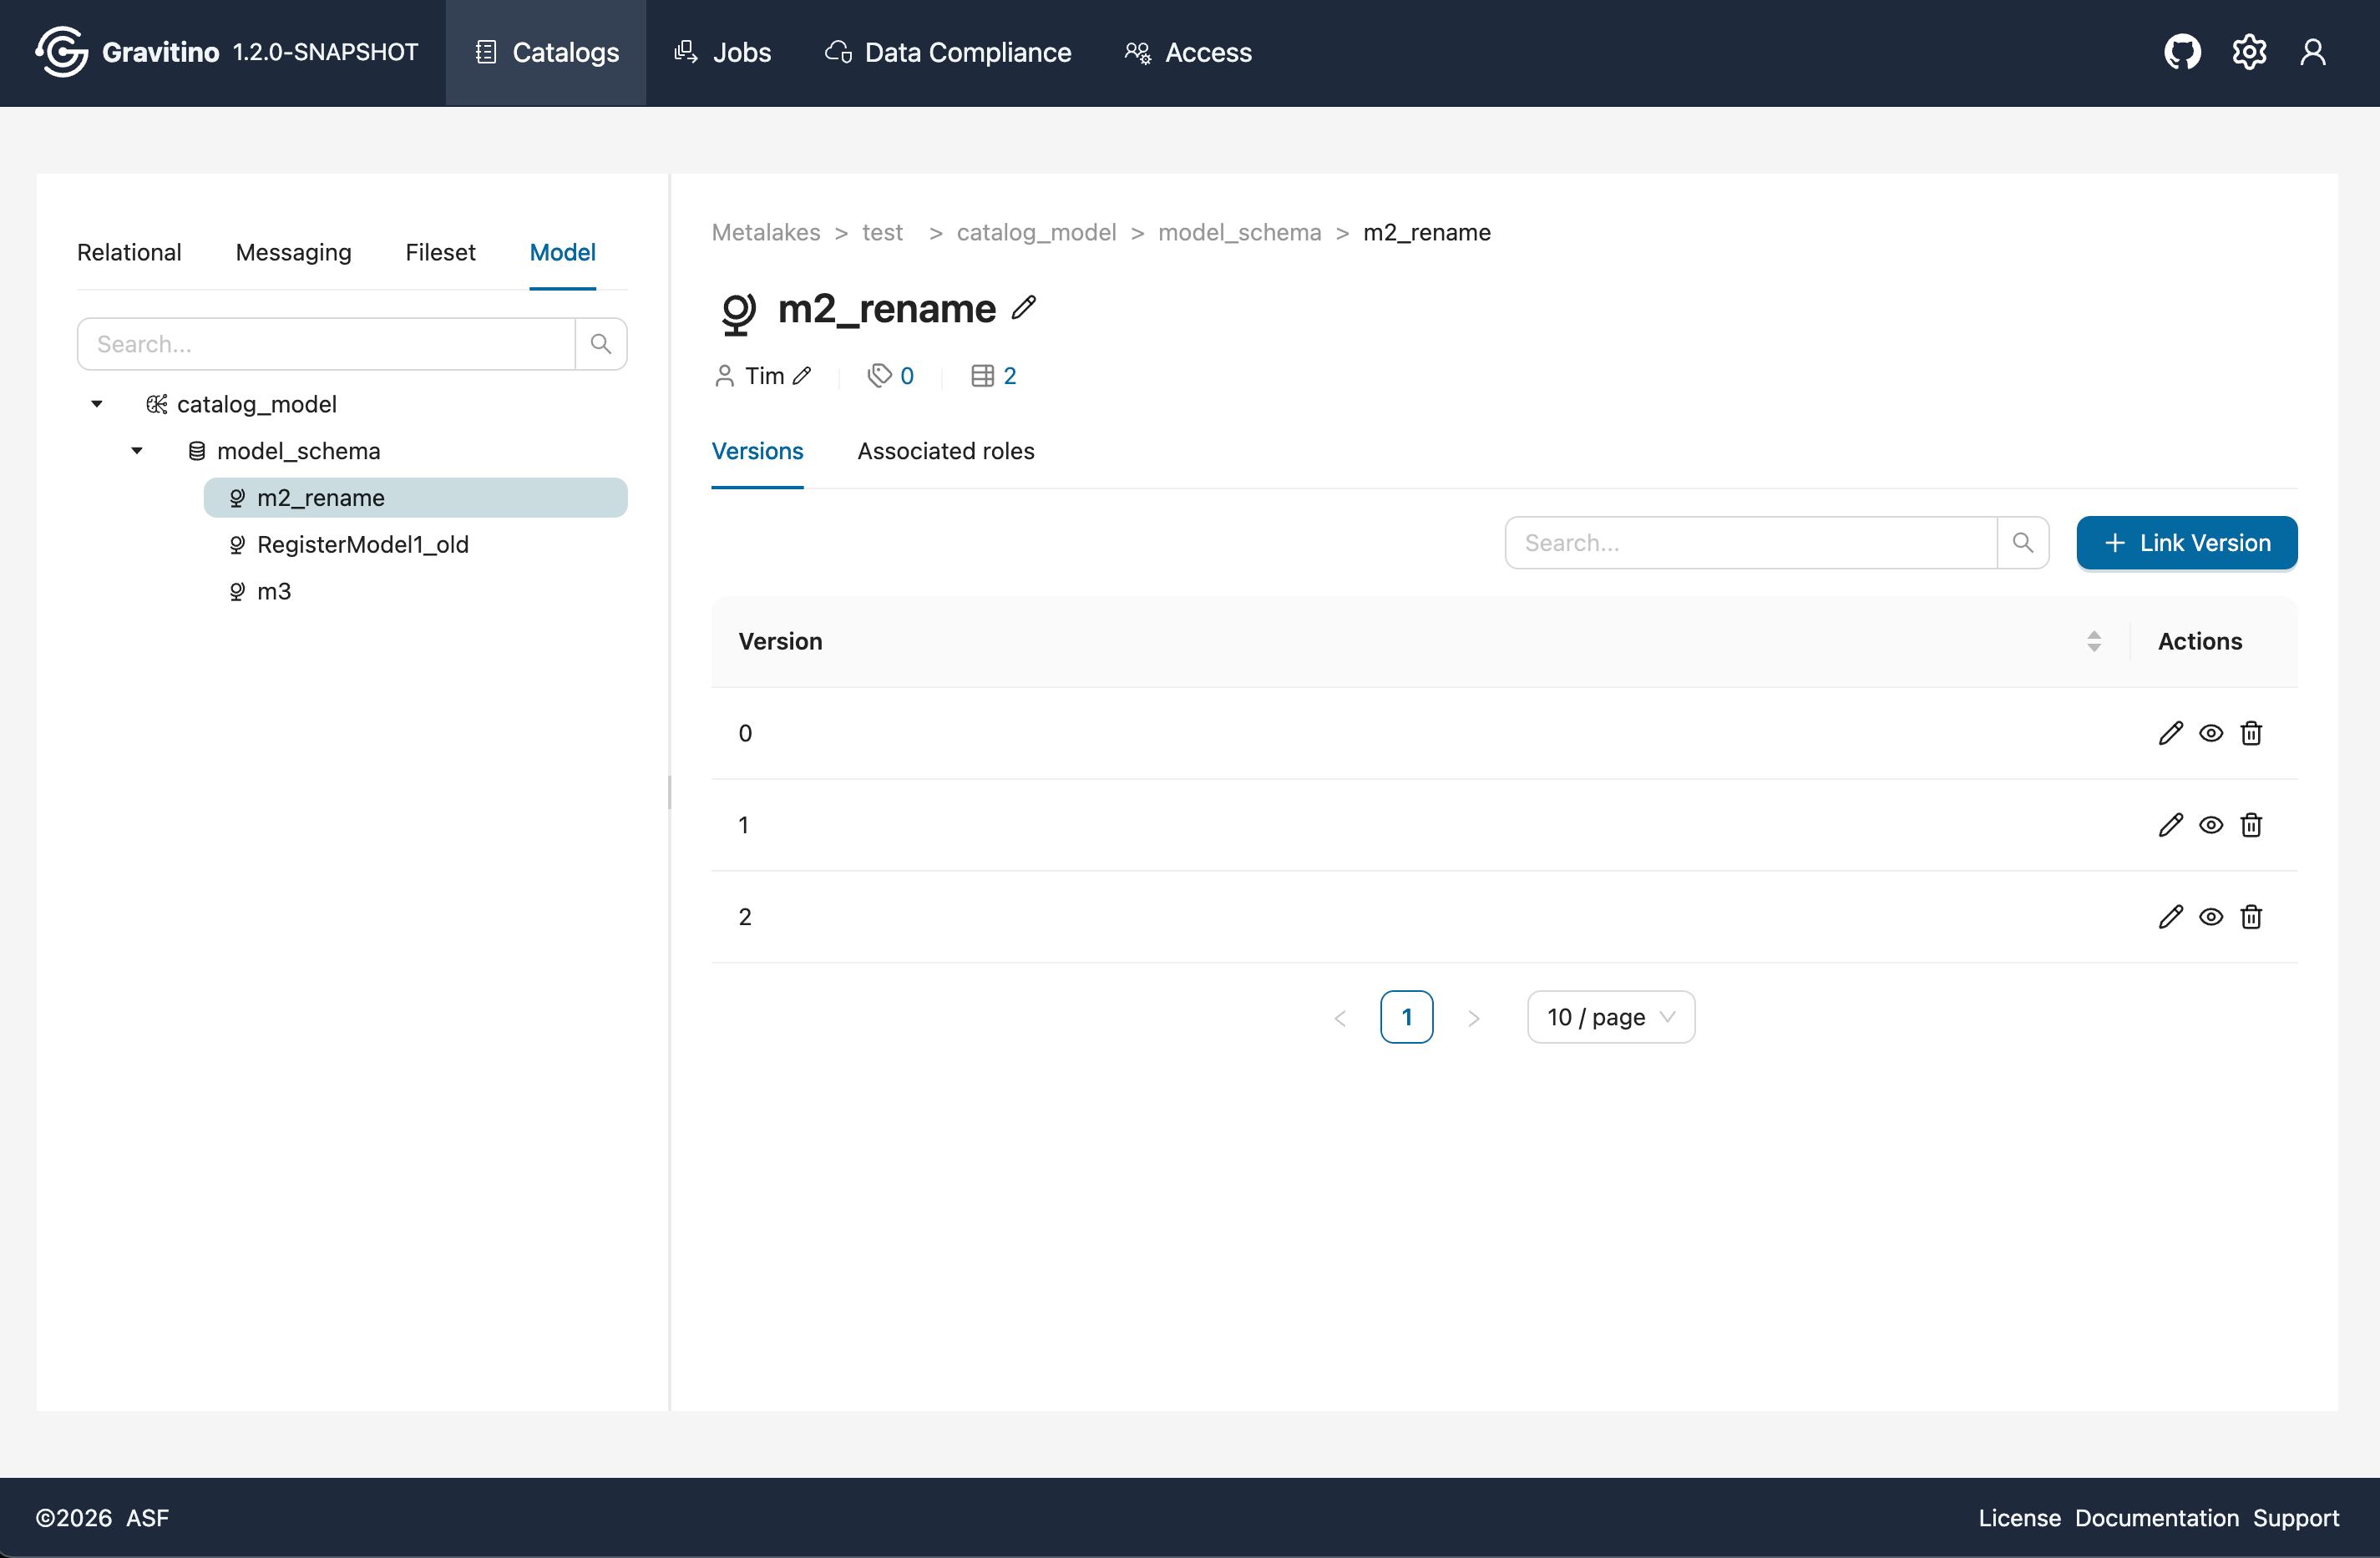
Versions (Web V2)
Overview for Version in the Web V2.
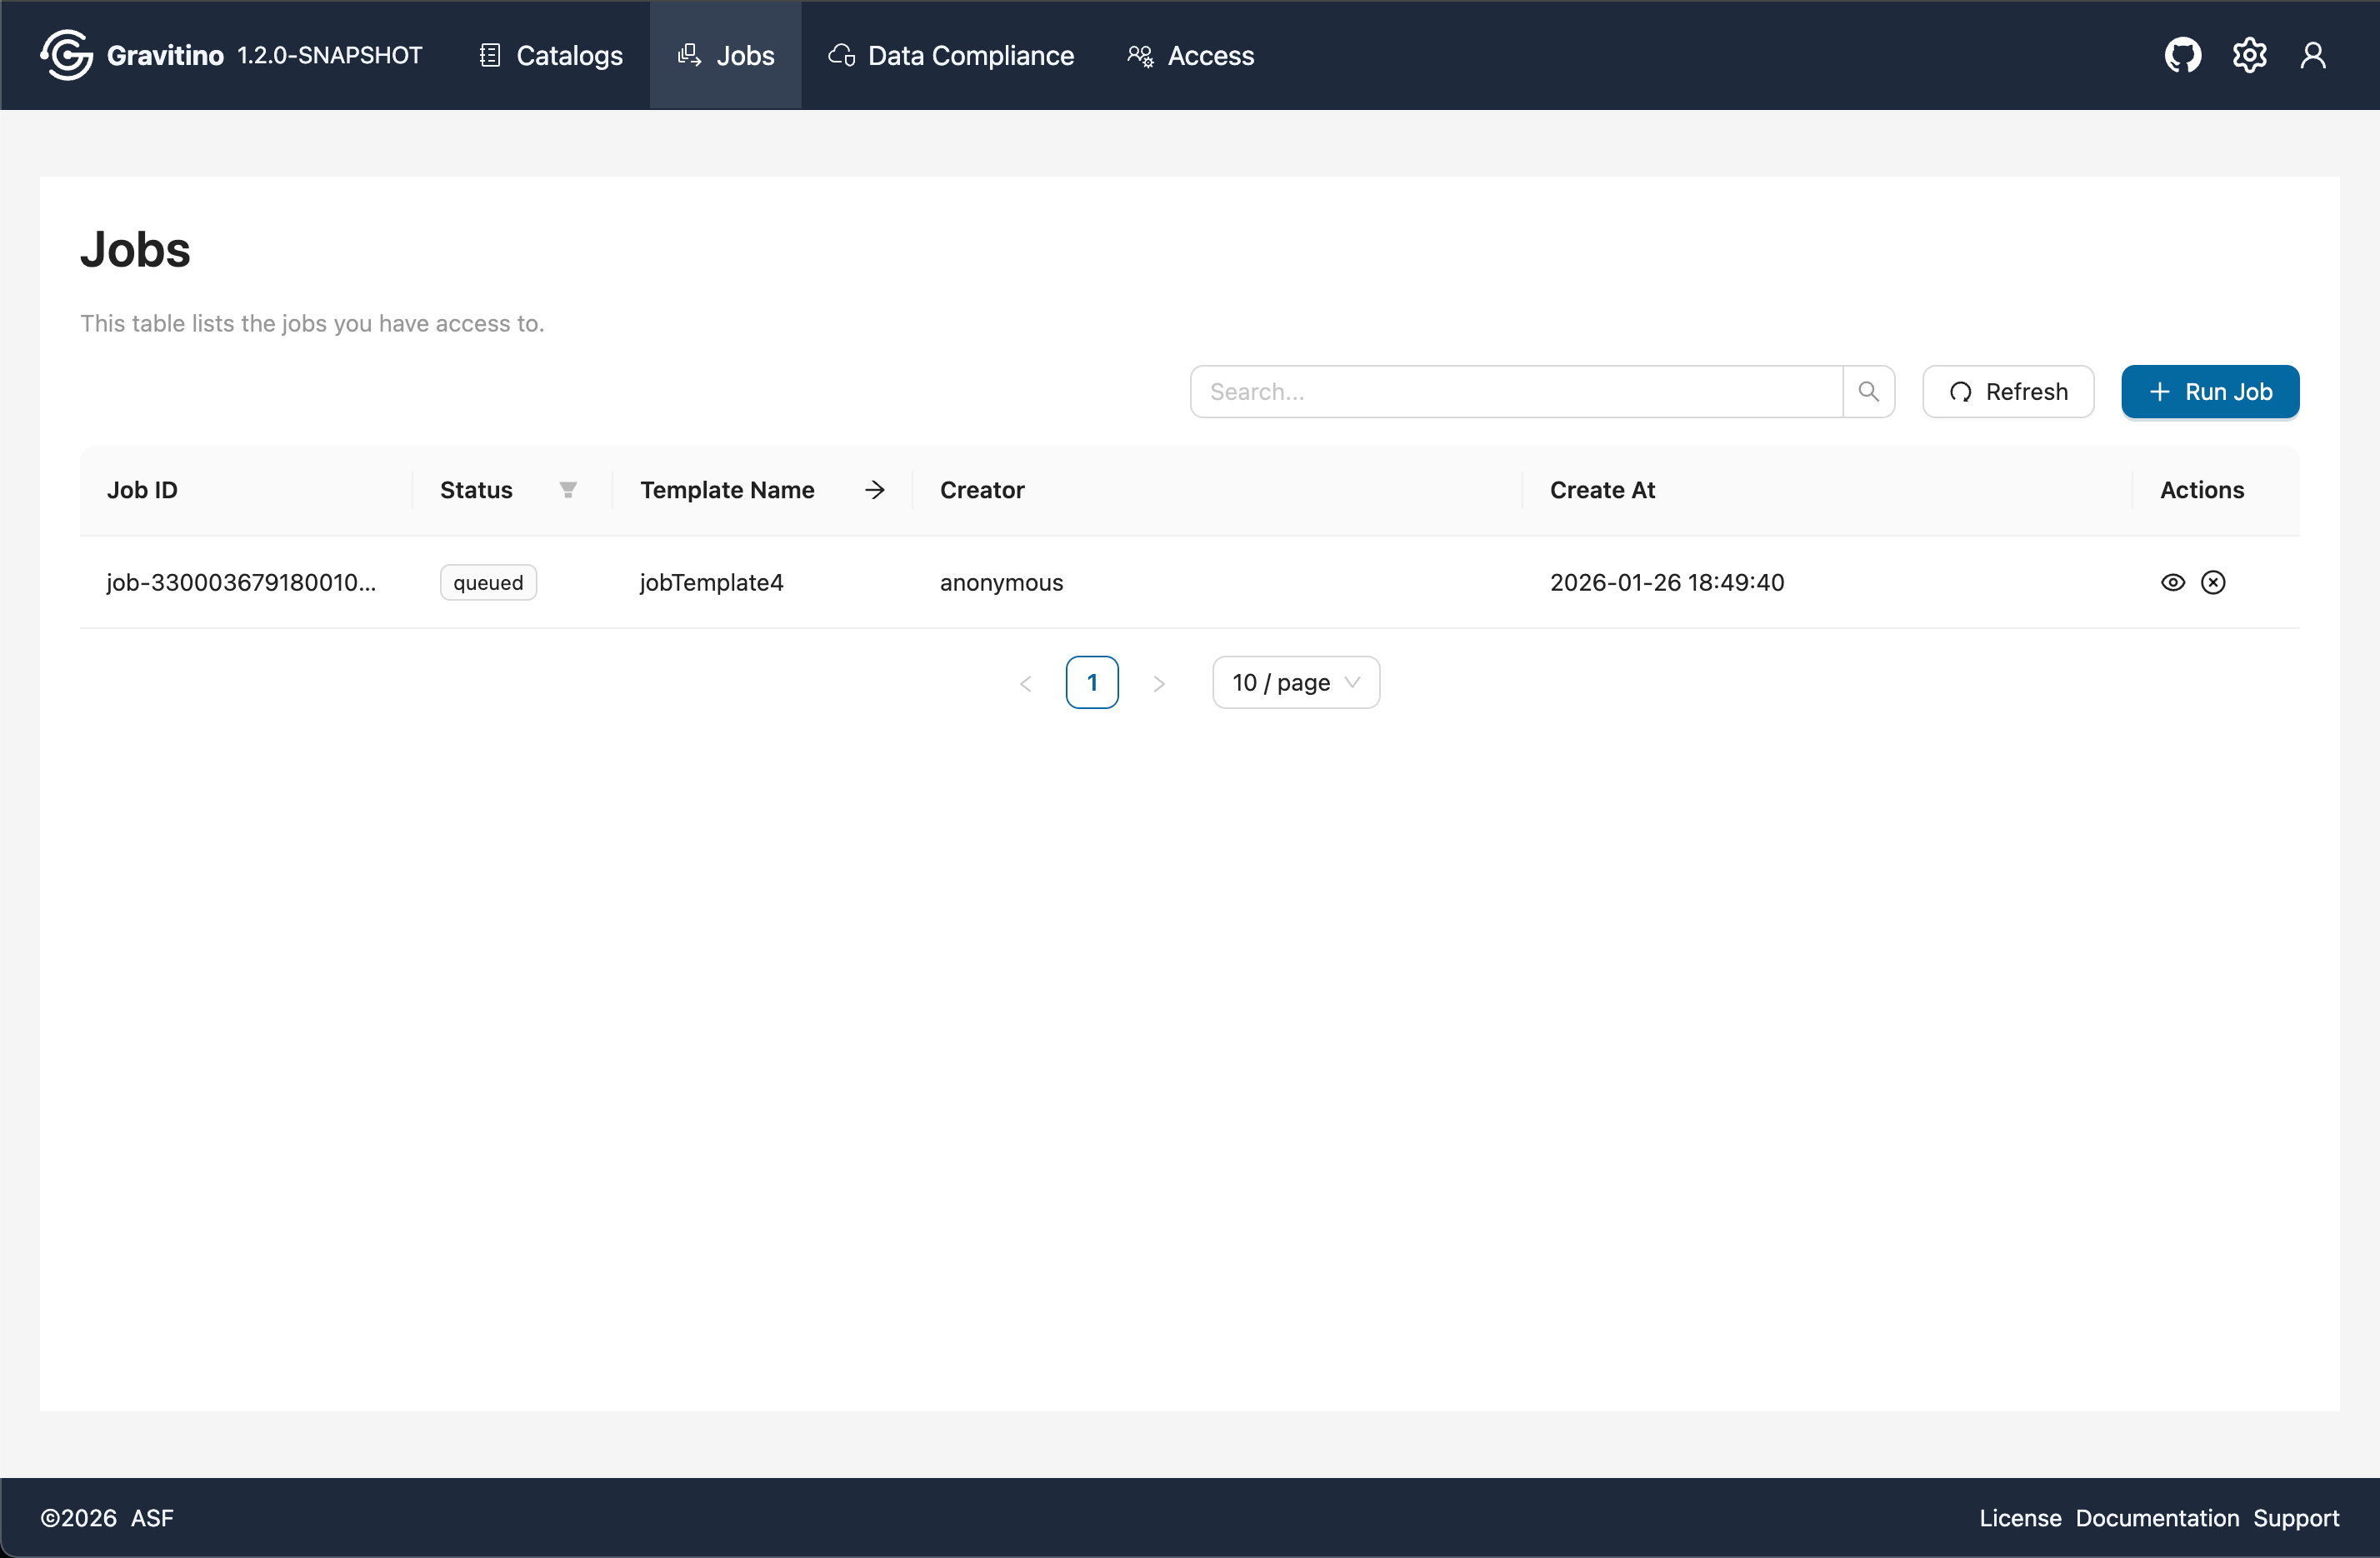
Job (Web V2)
Overview for Job in the Web V2.
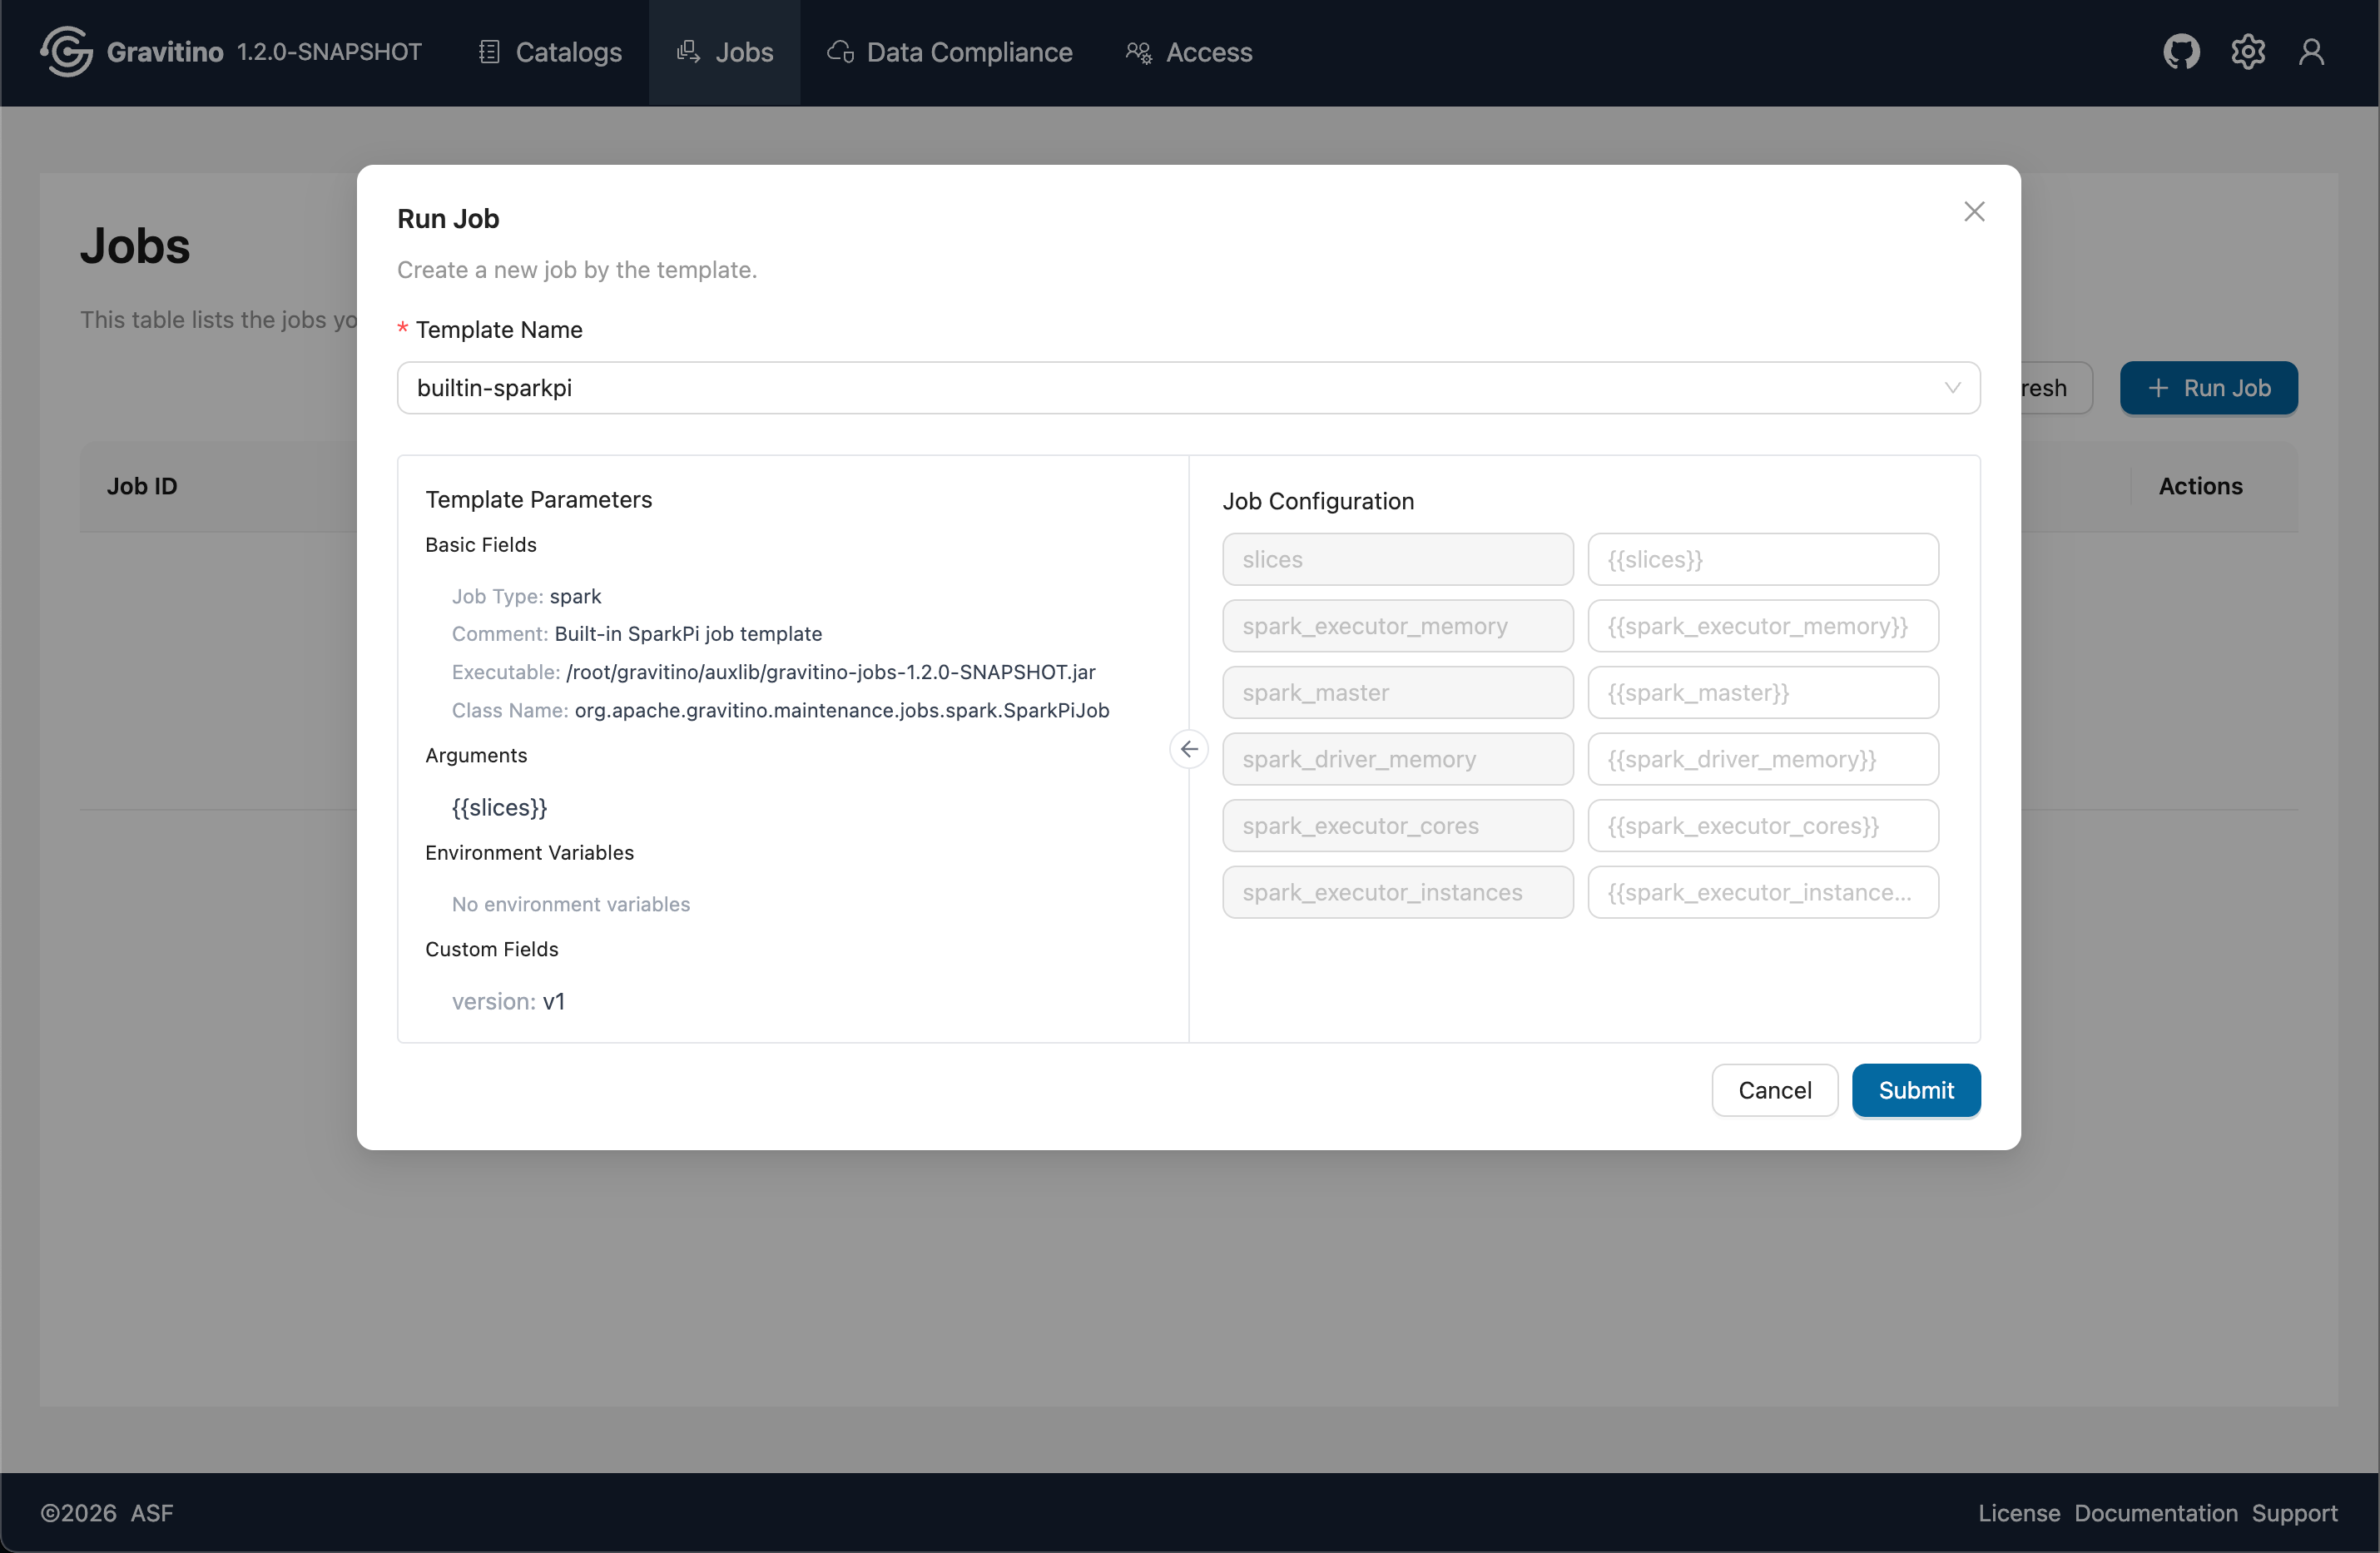
Run Job (Web V2)
Click Run Job, select a job template, and review the template parameters on the left. On the right, use Job Configuration to replace the template placeholders defined with {{}}. After the replacements, the final job script is generated and executed.
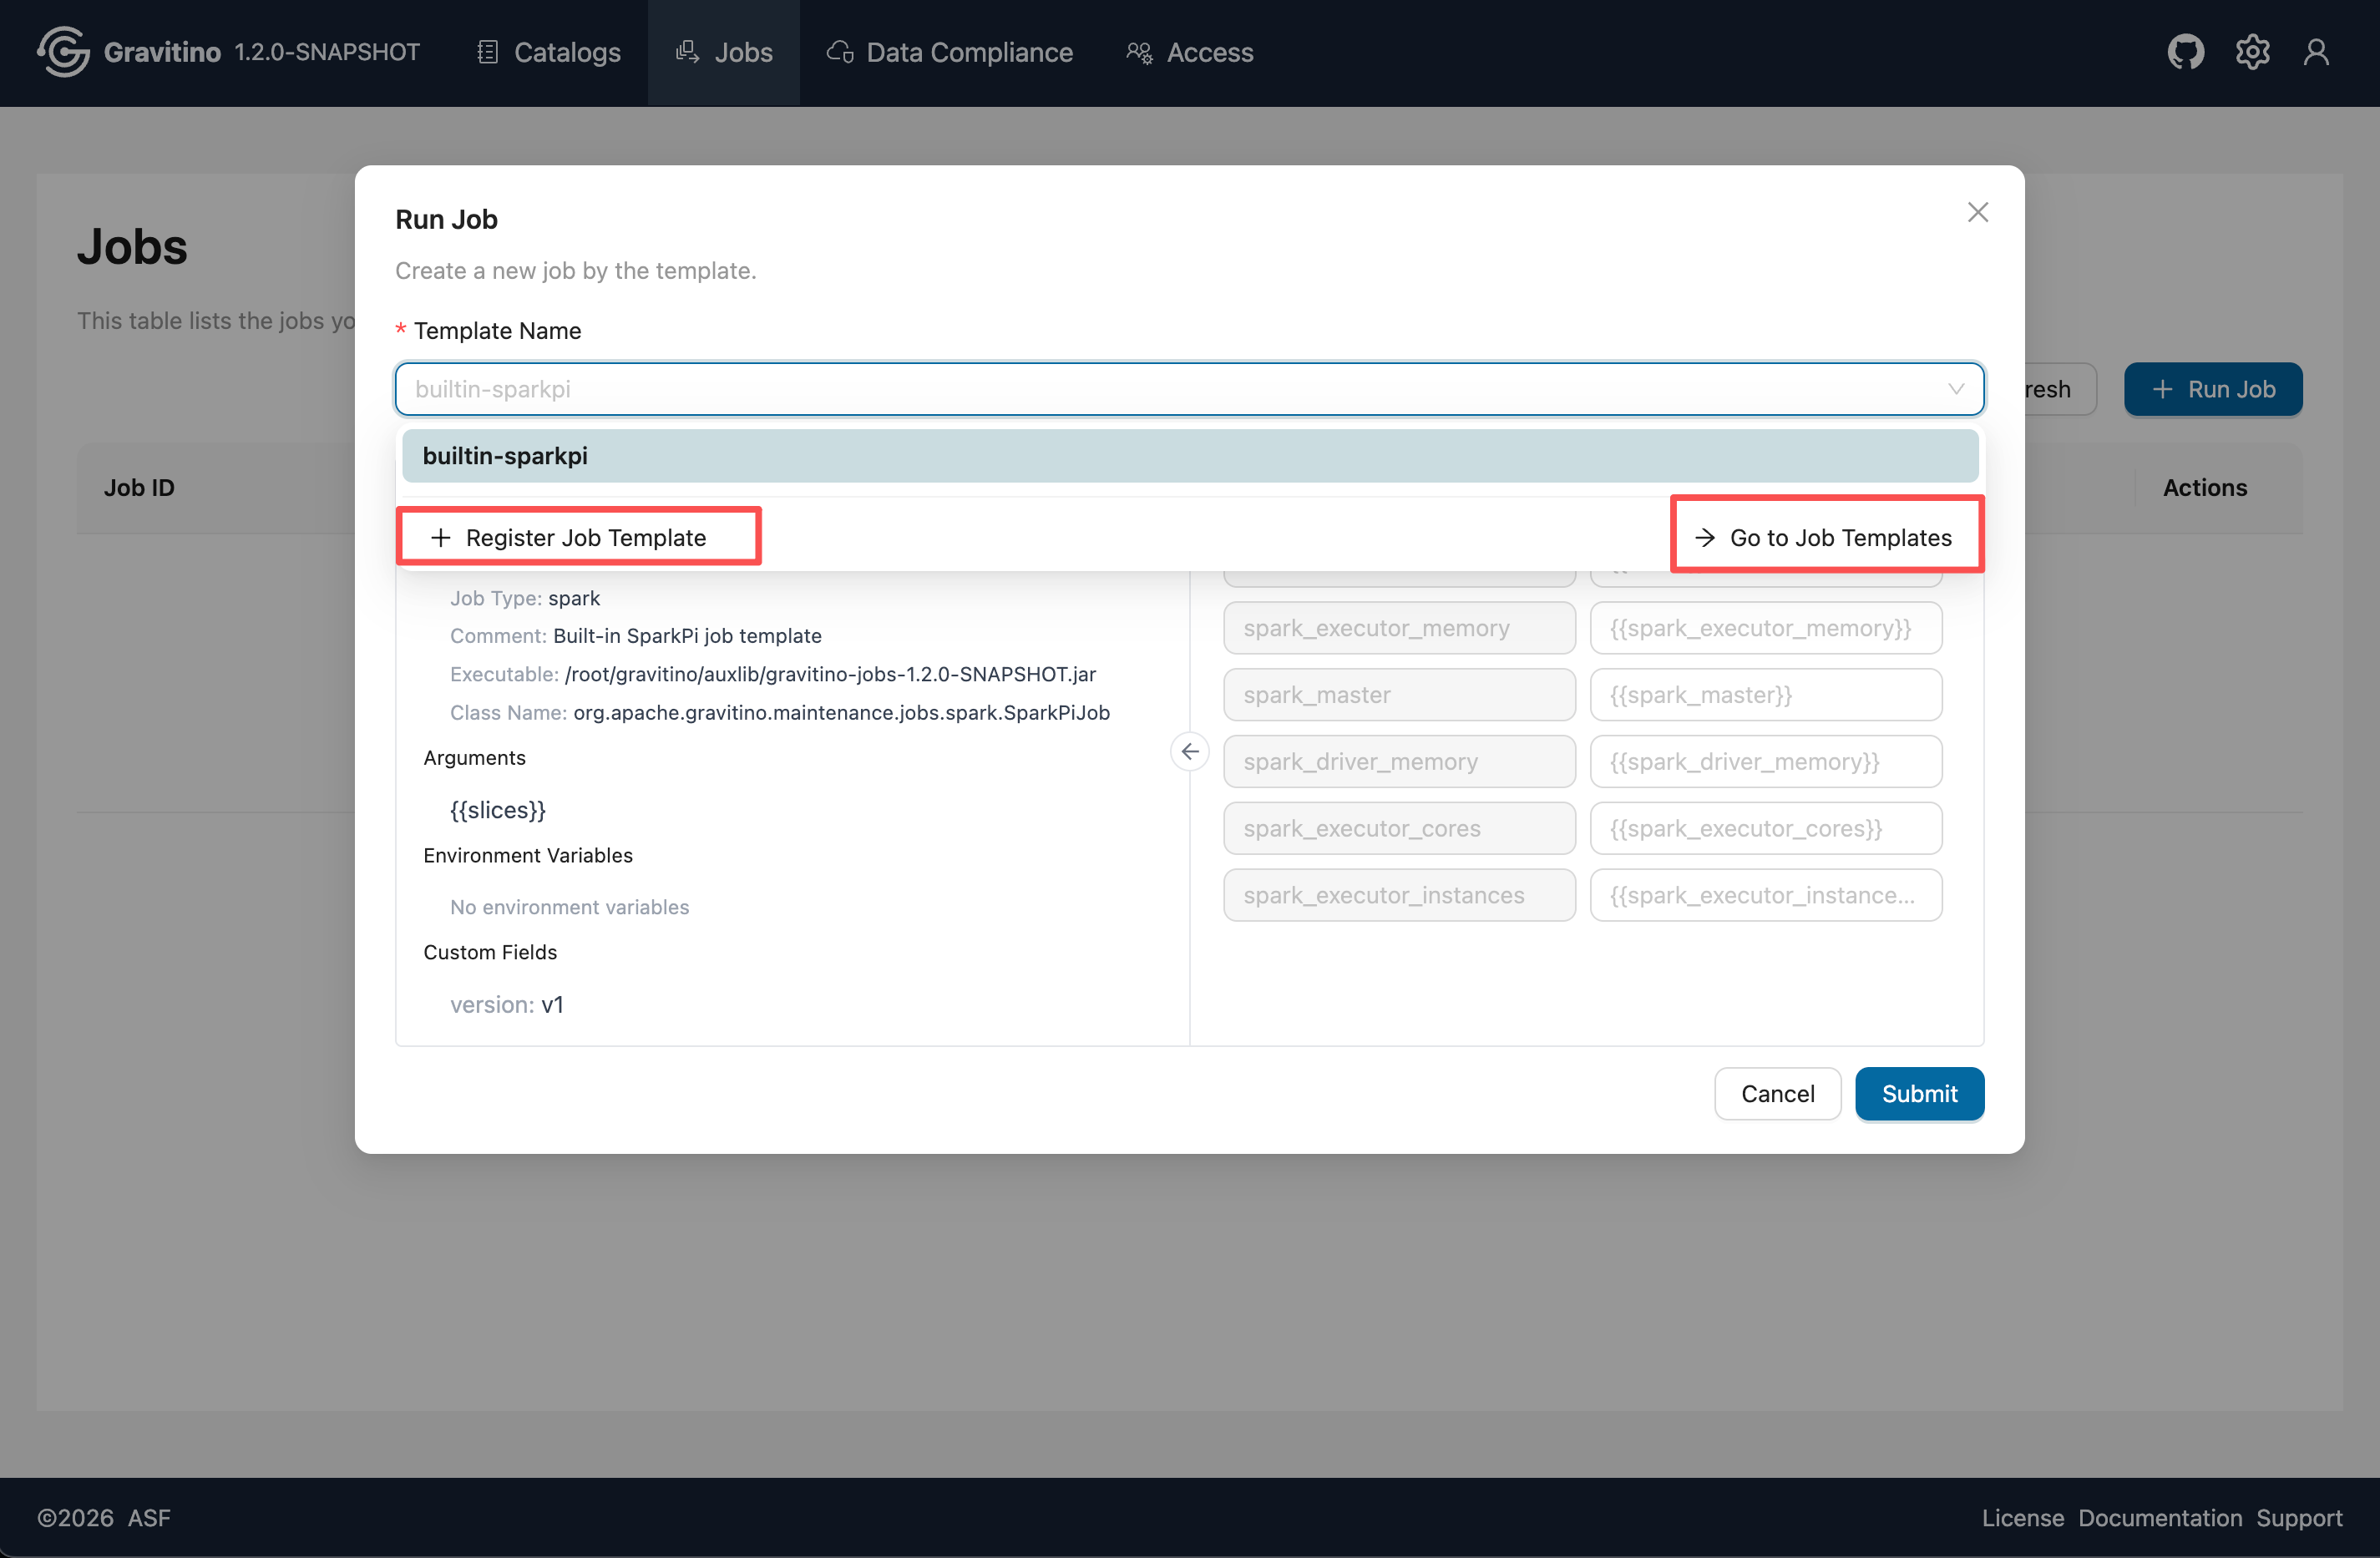
In the job template select dropdown, you can choose Register Job Template to create a new template, or click Go to job templates to navigate to the job template list page.
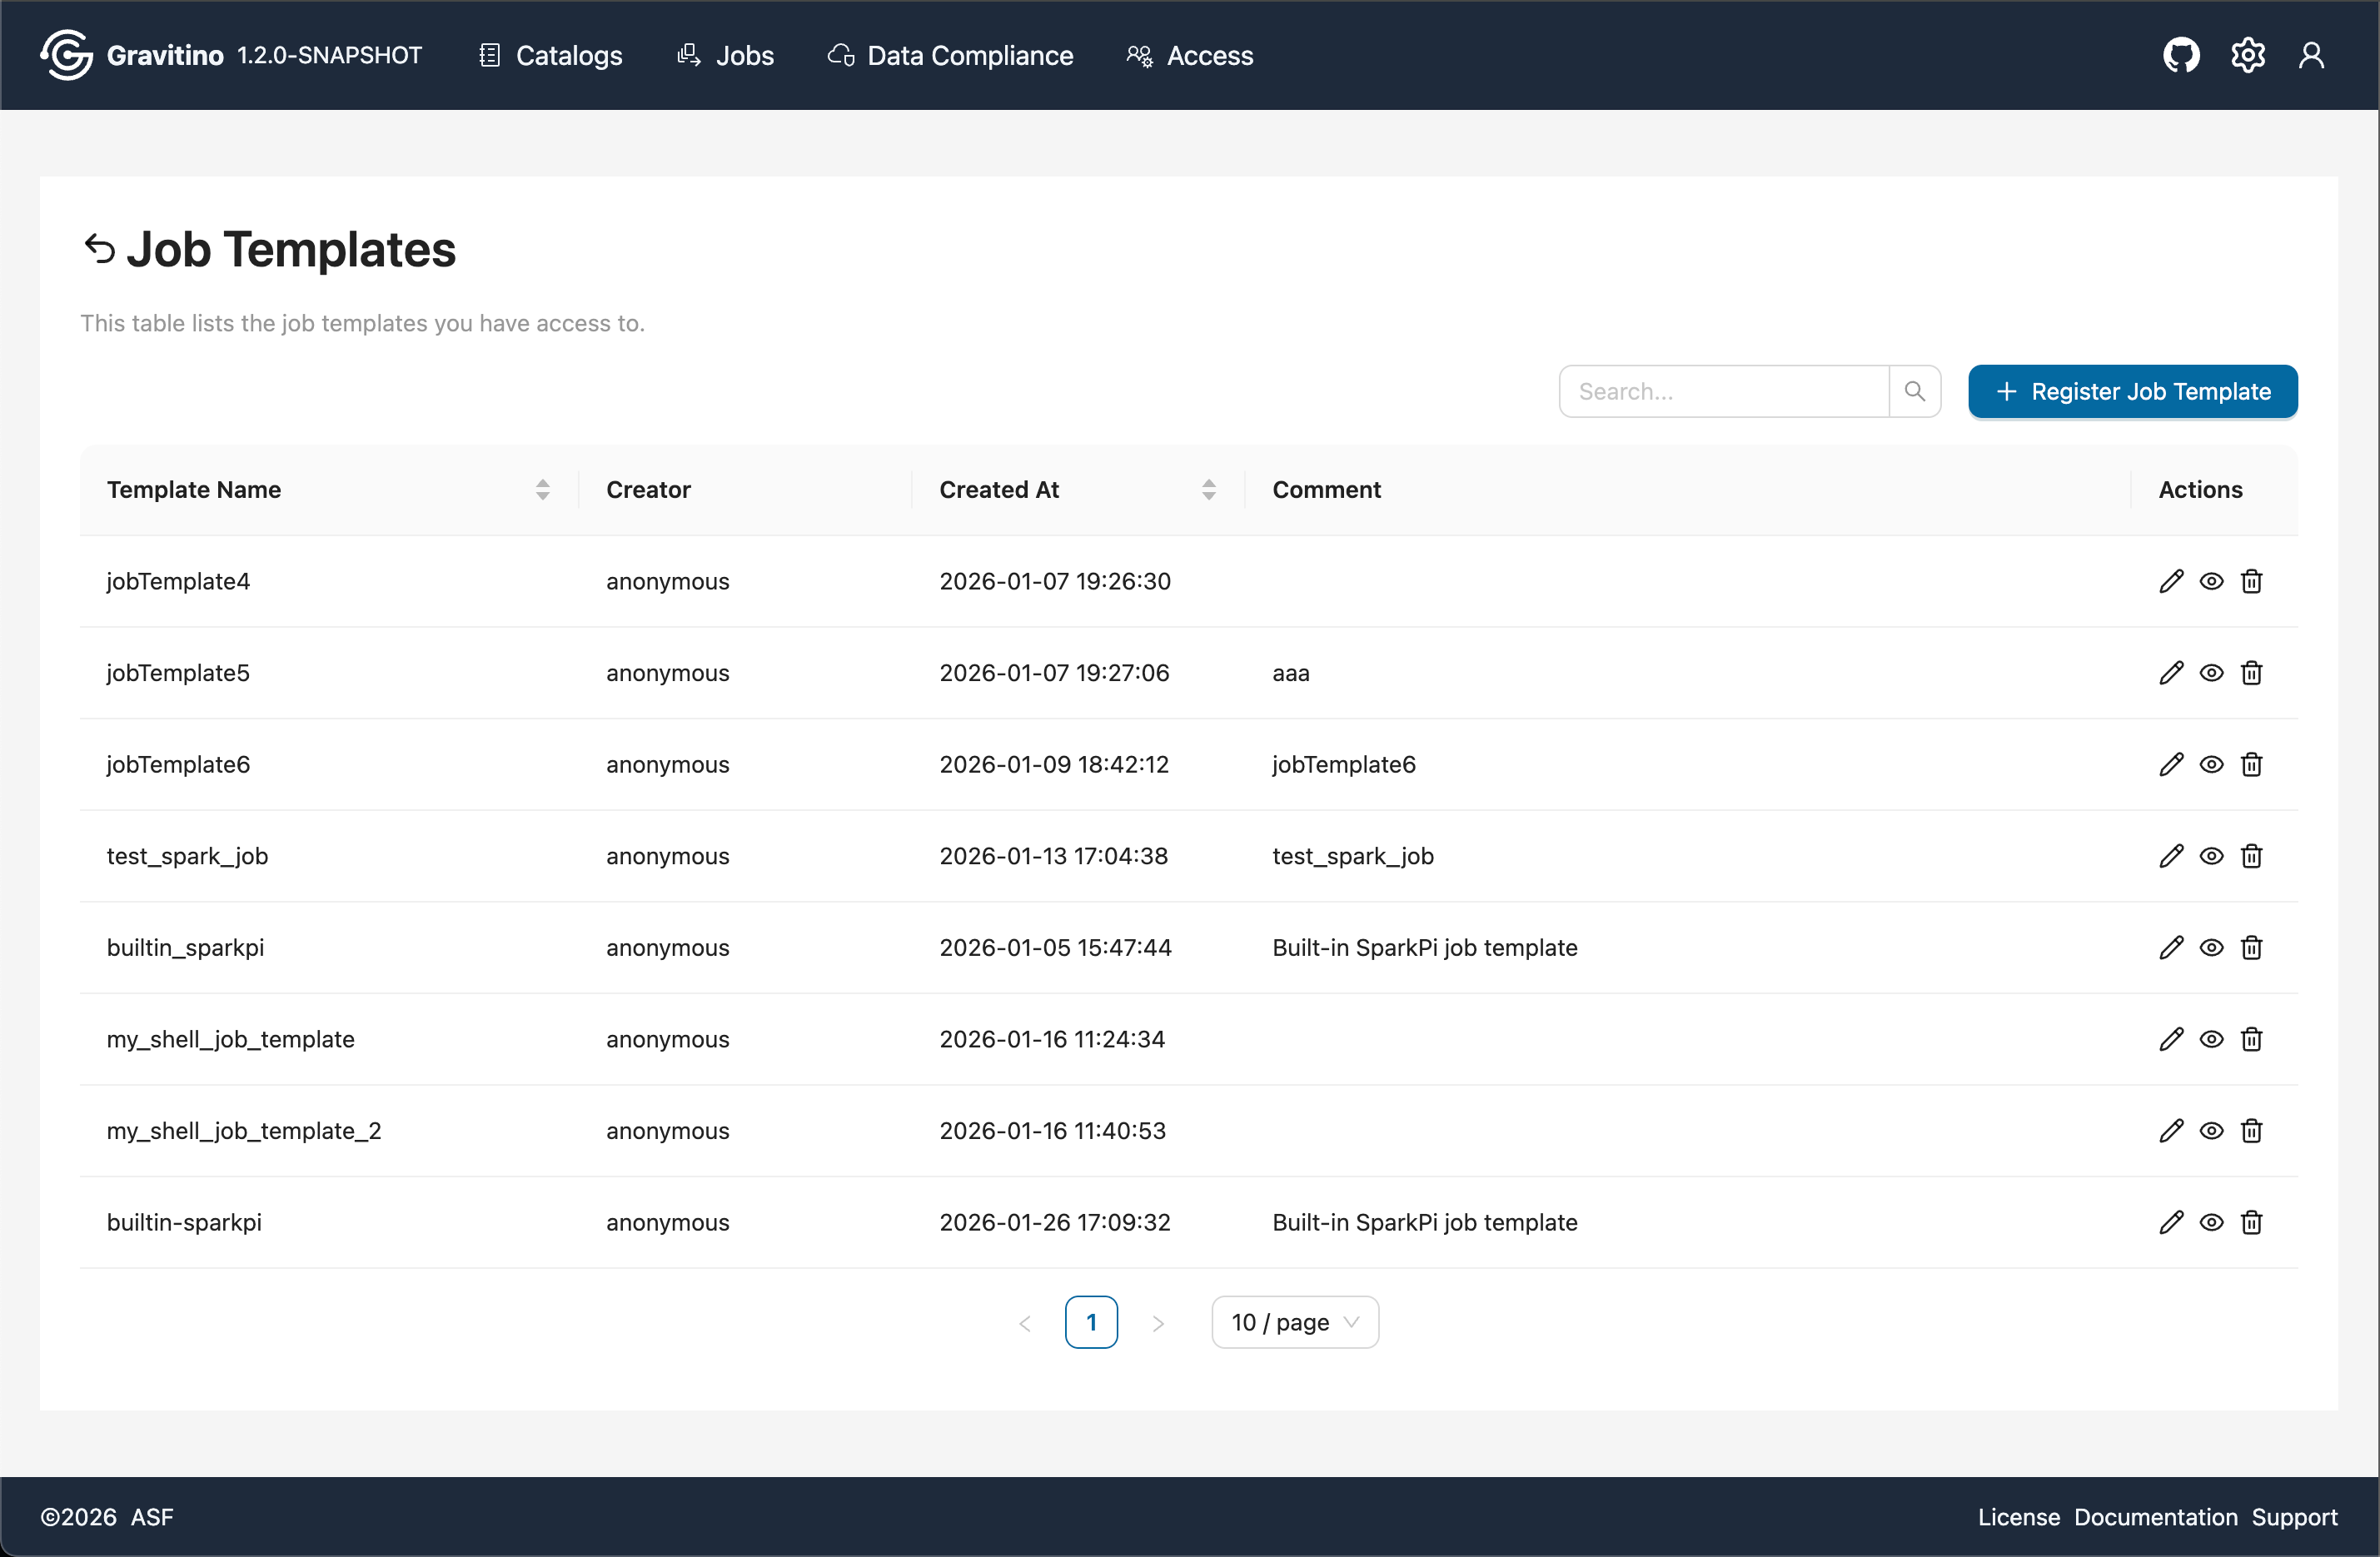
Job Template (Web V2)
Overview for Job Template in the Web V2.
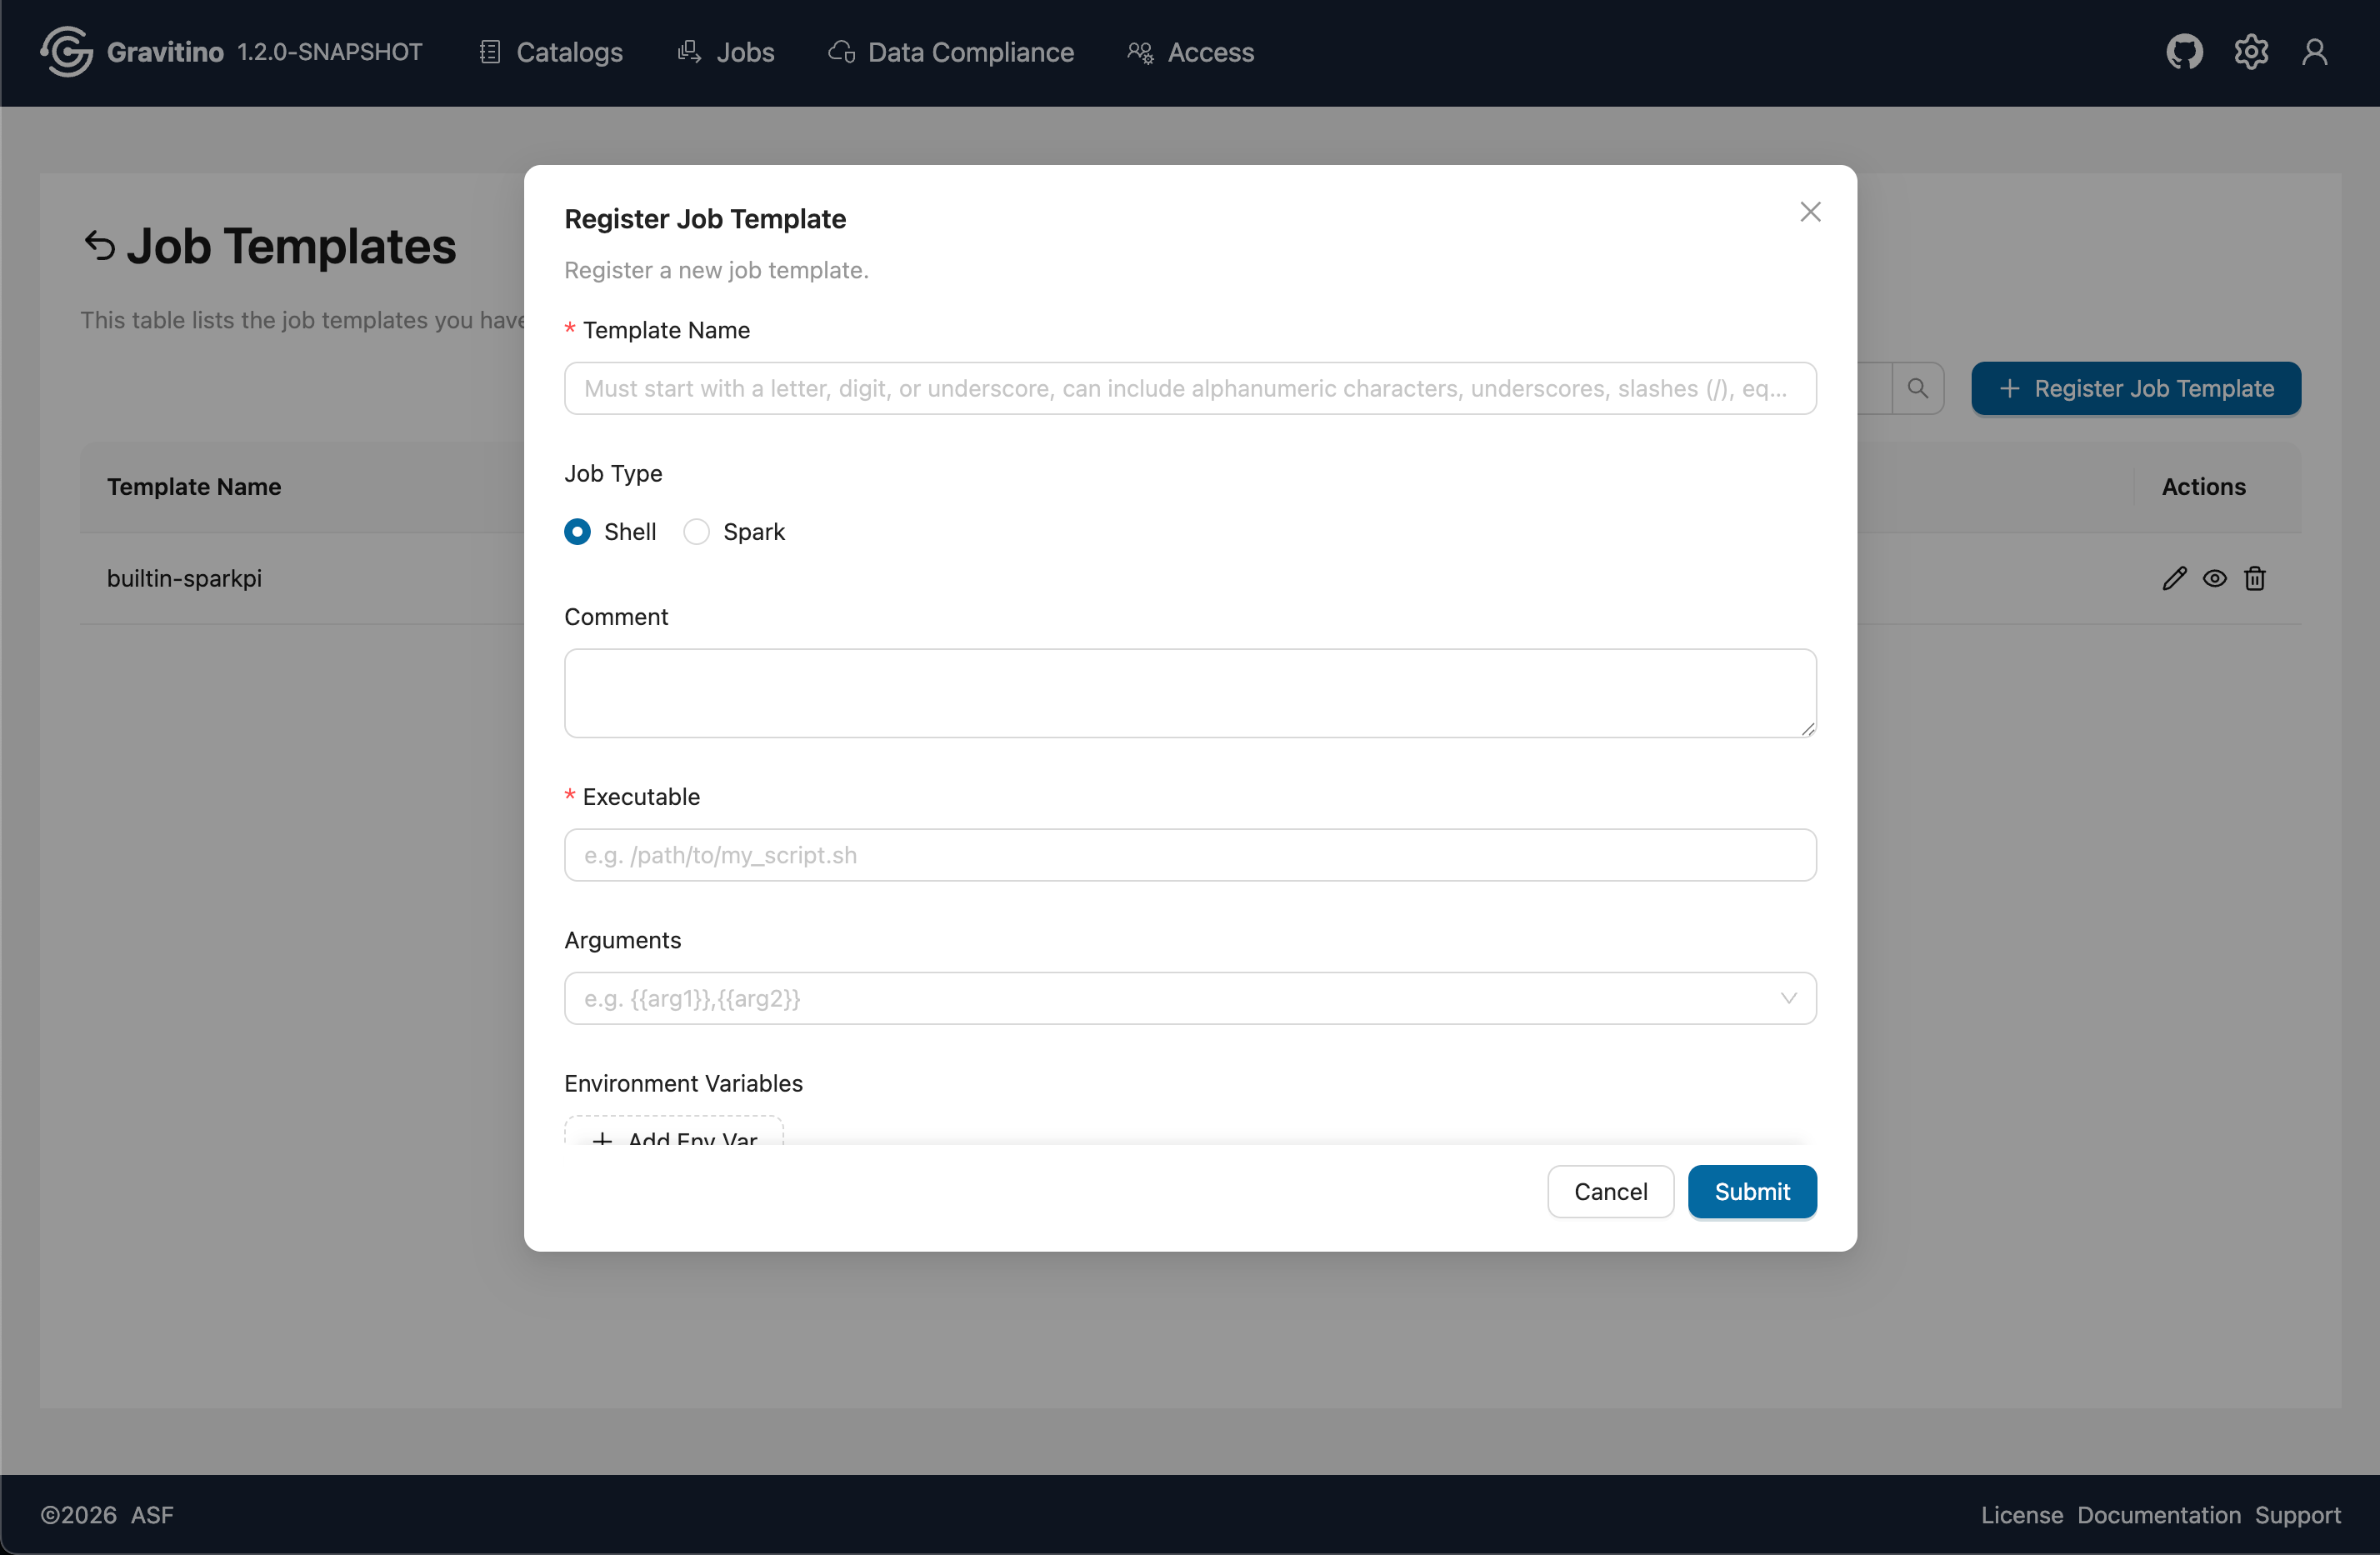
Register Job Template (Web V2)
Click Register Job Template to open the create template form. Choose a job type, fill in the required fields, and submit to register the template.
Data Compliance - Tags (Web V2)
Overview for Data Compliance Tags in the Web V2.
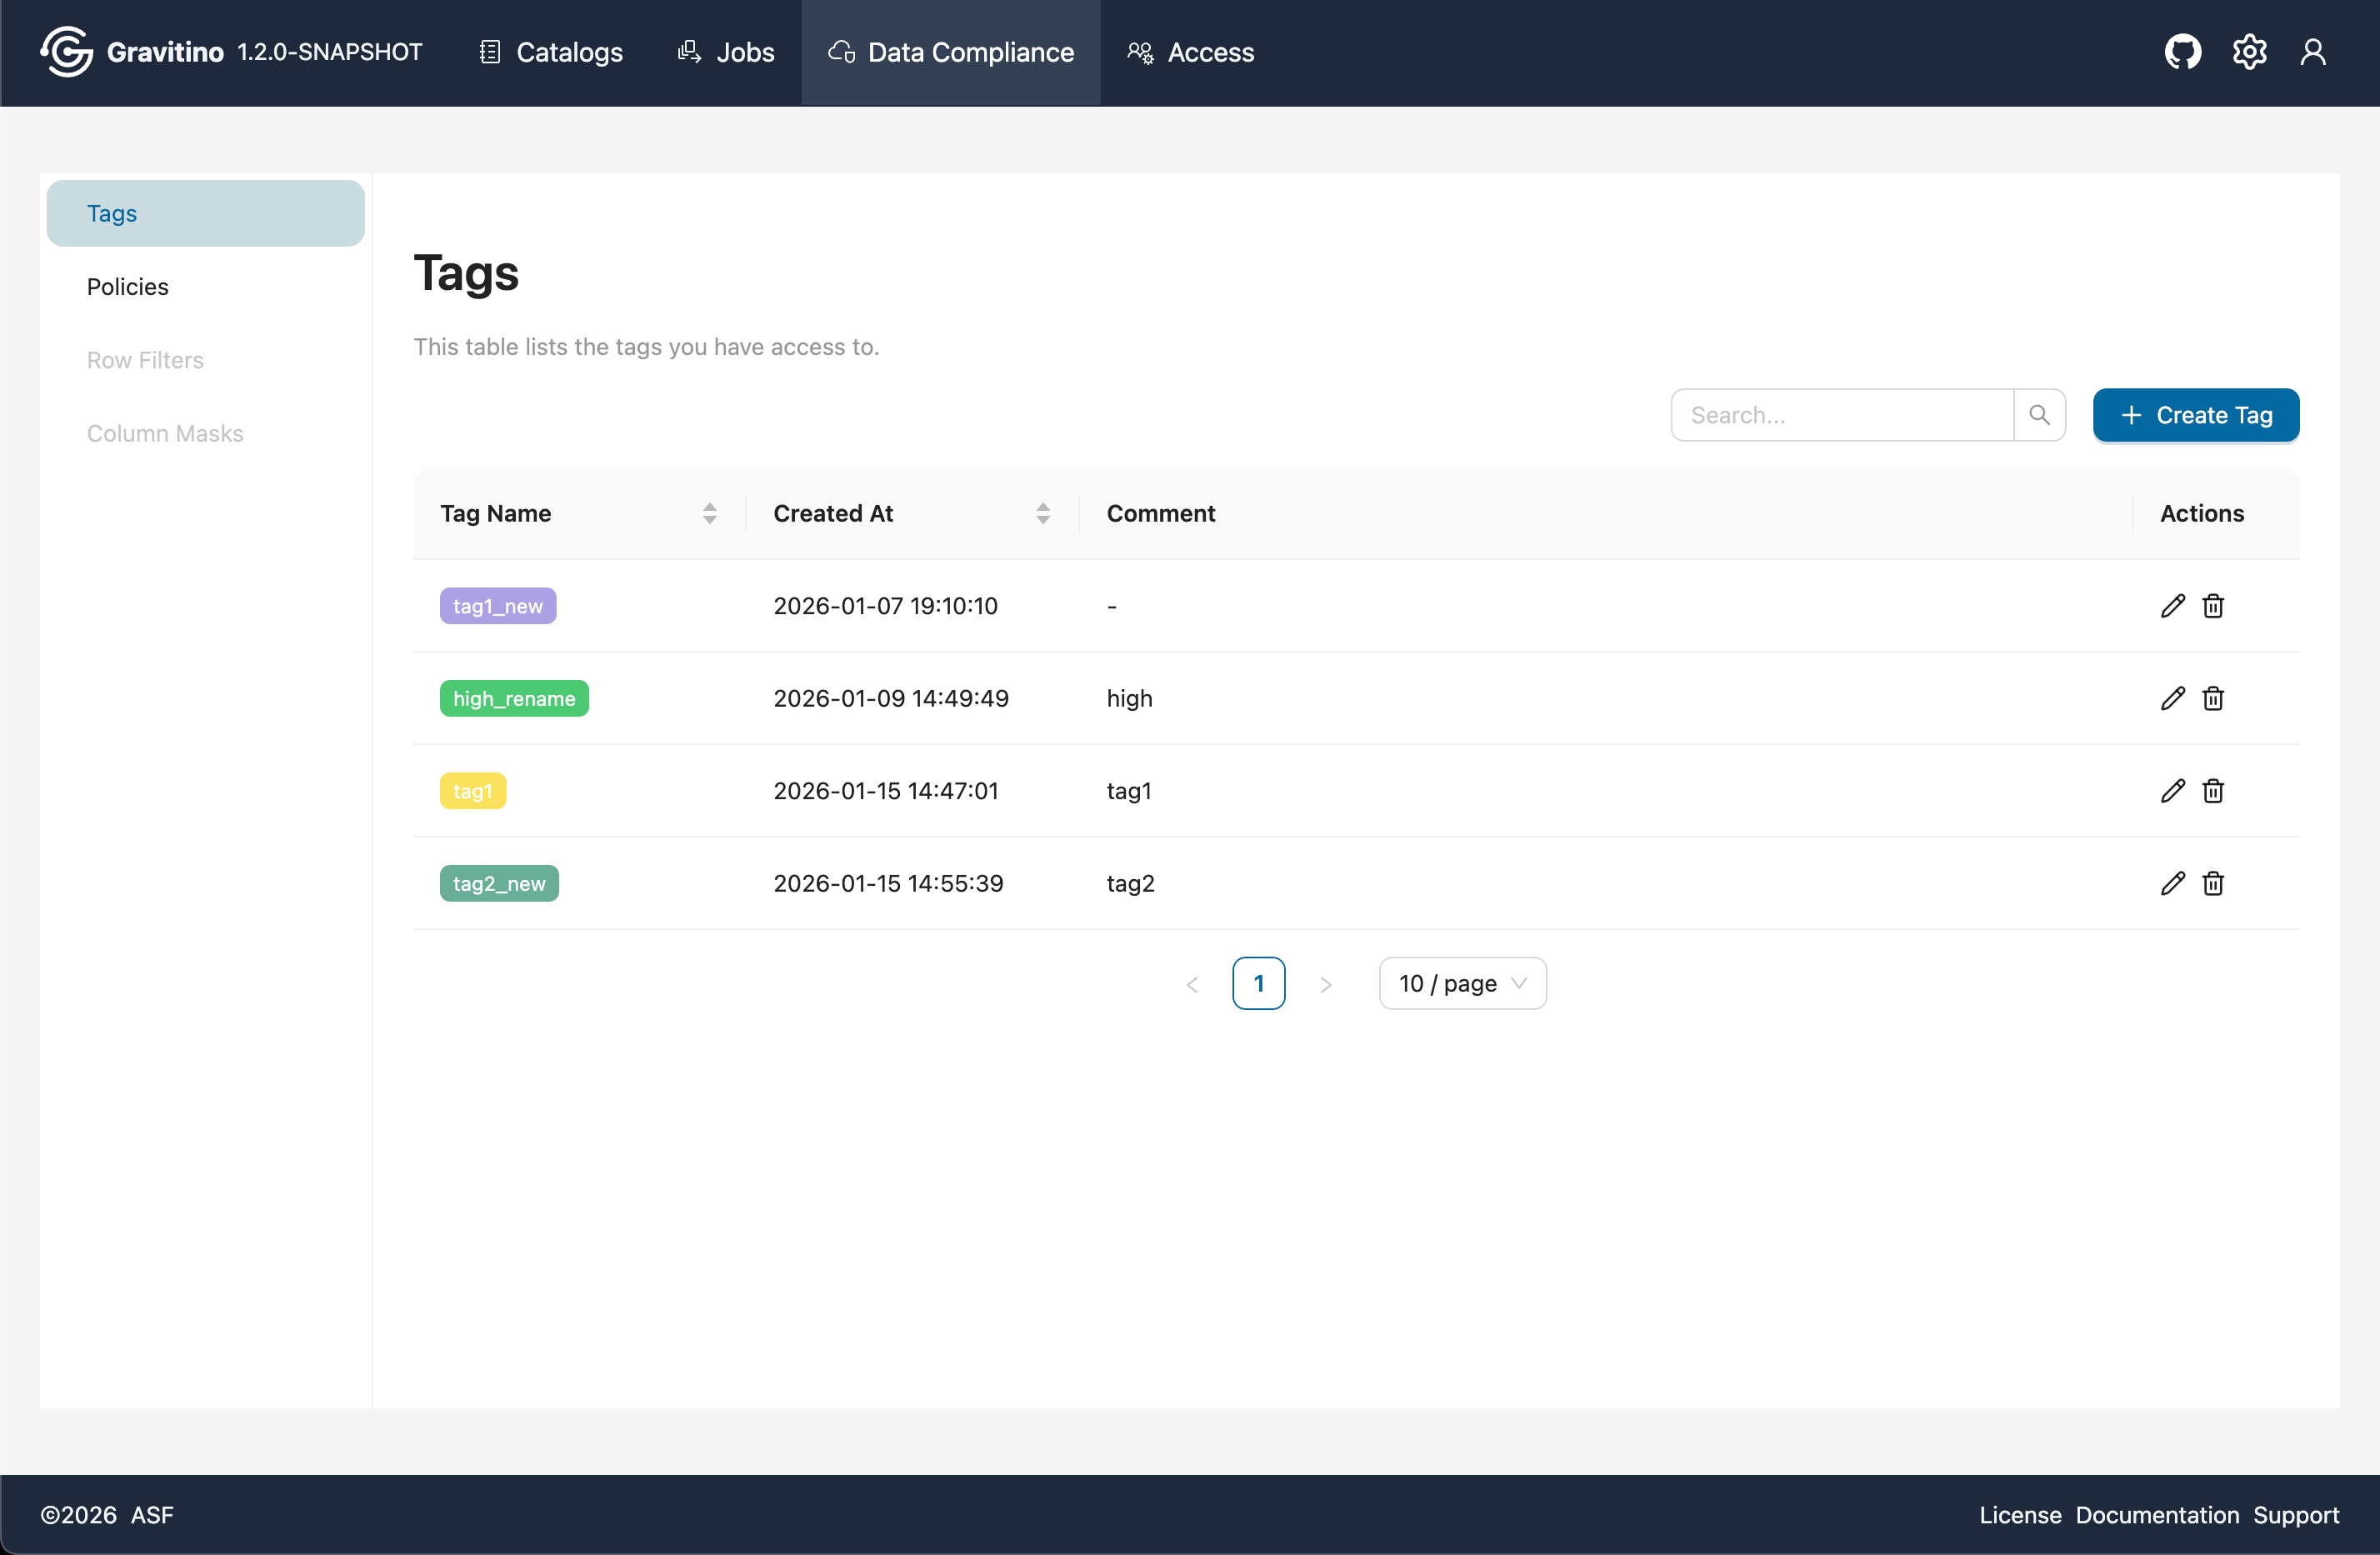
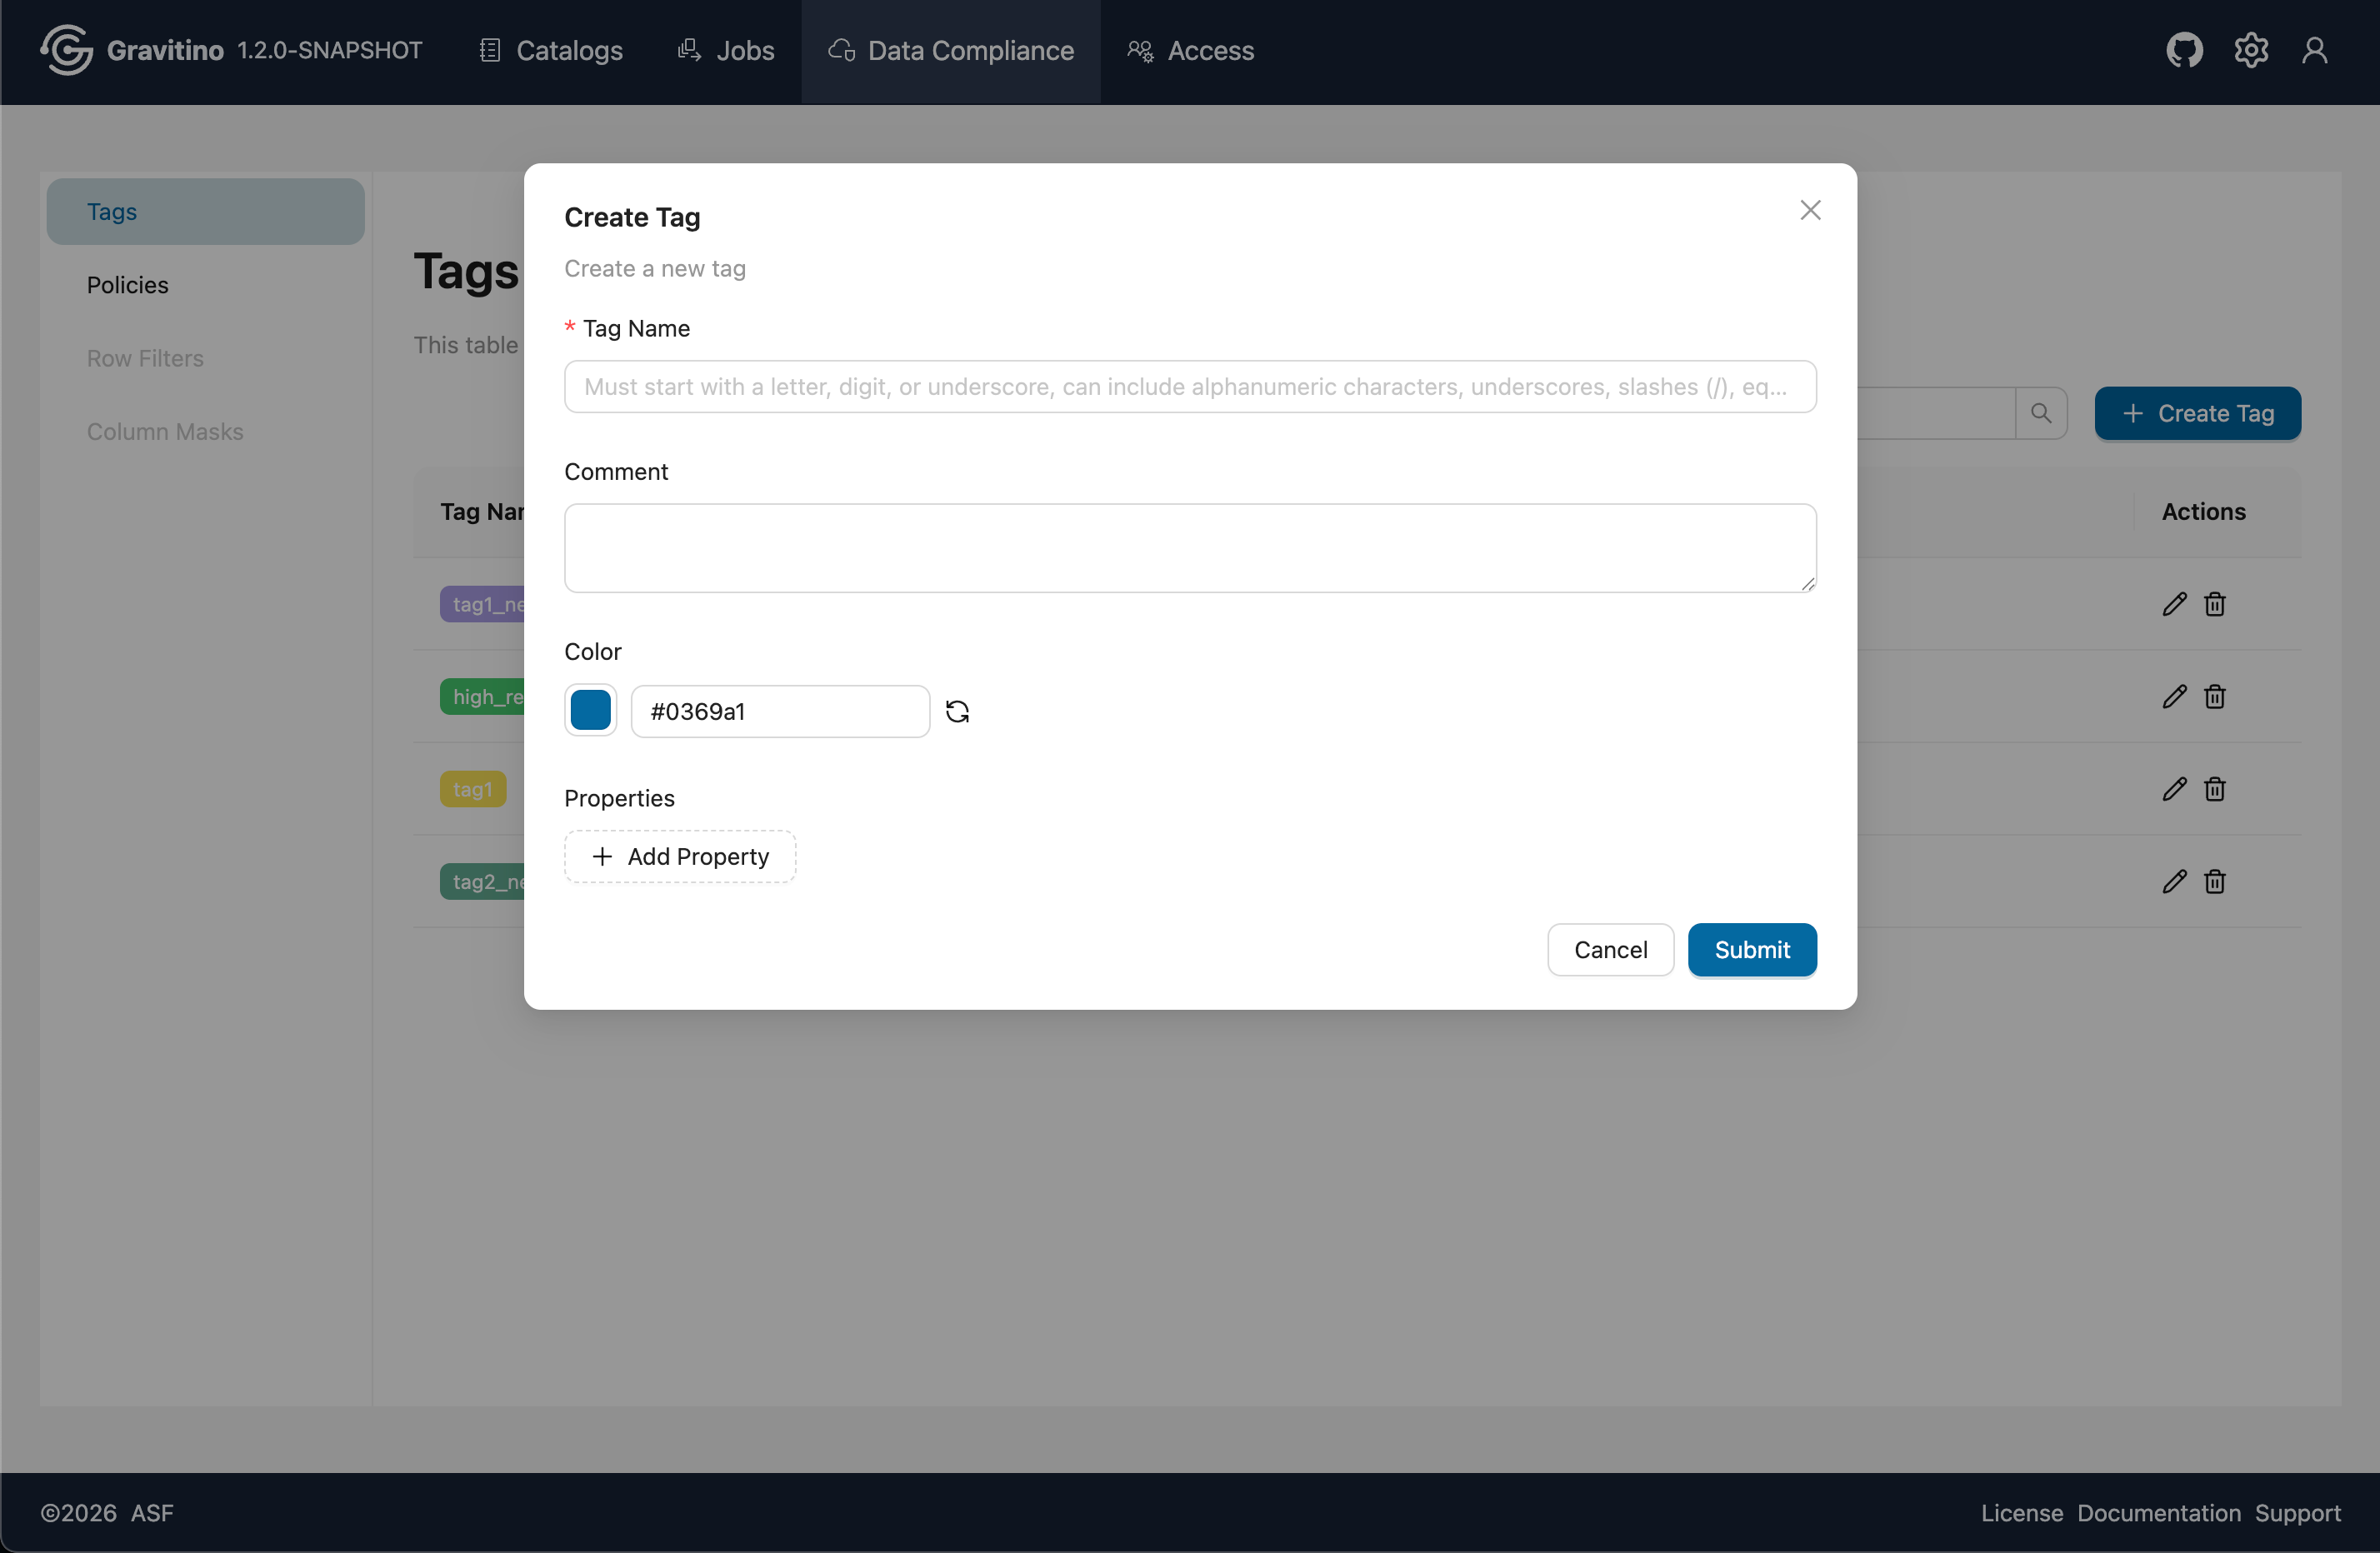
Create Tag (Web V2)
Click Create Tag to open the create form. Fill in the required fields and submit to create a tag.
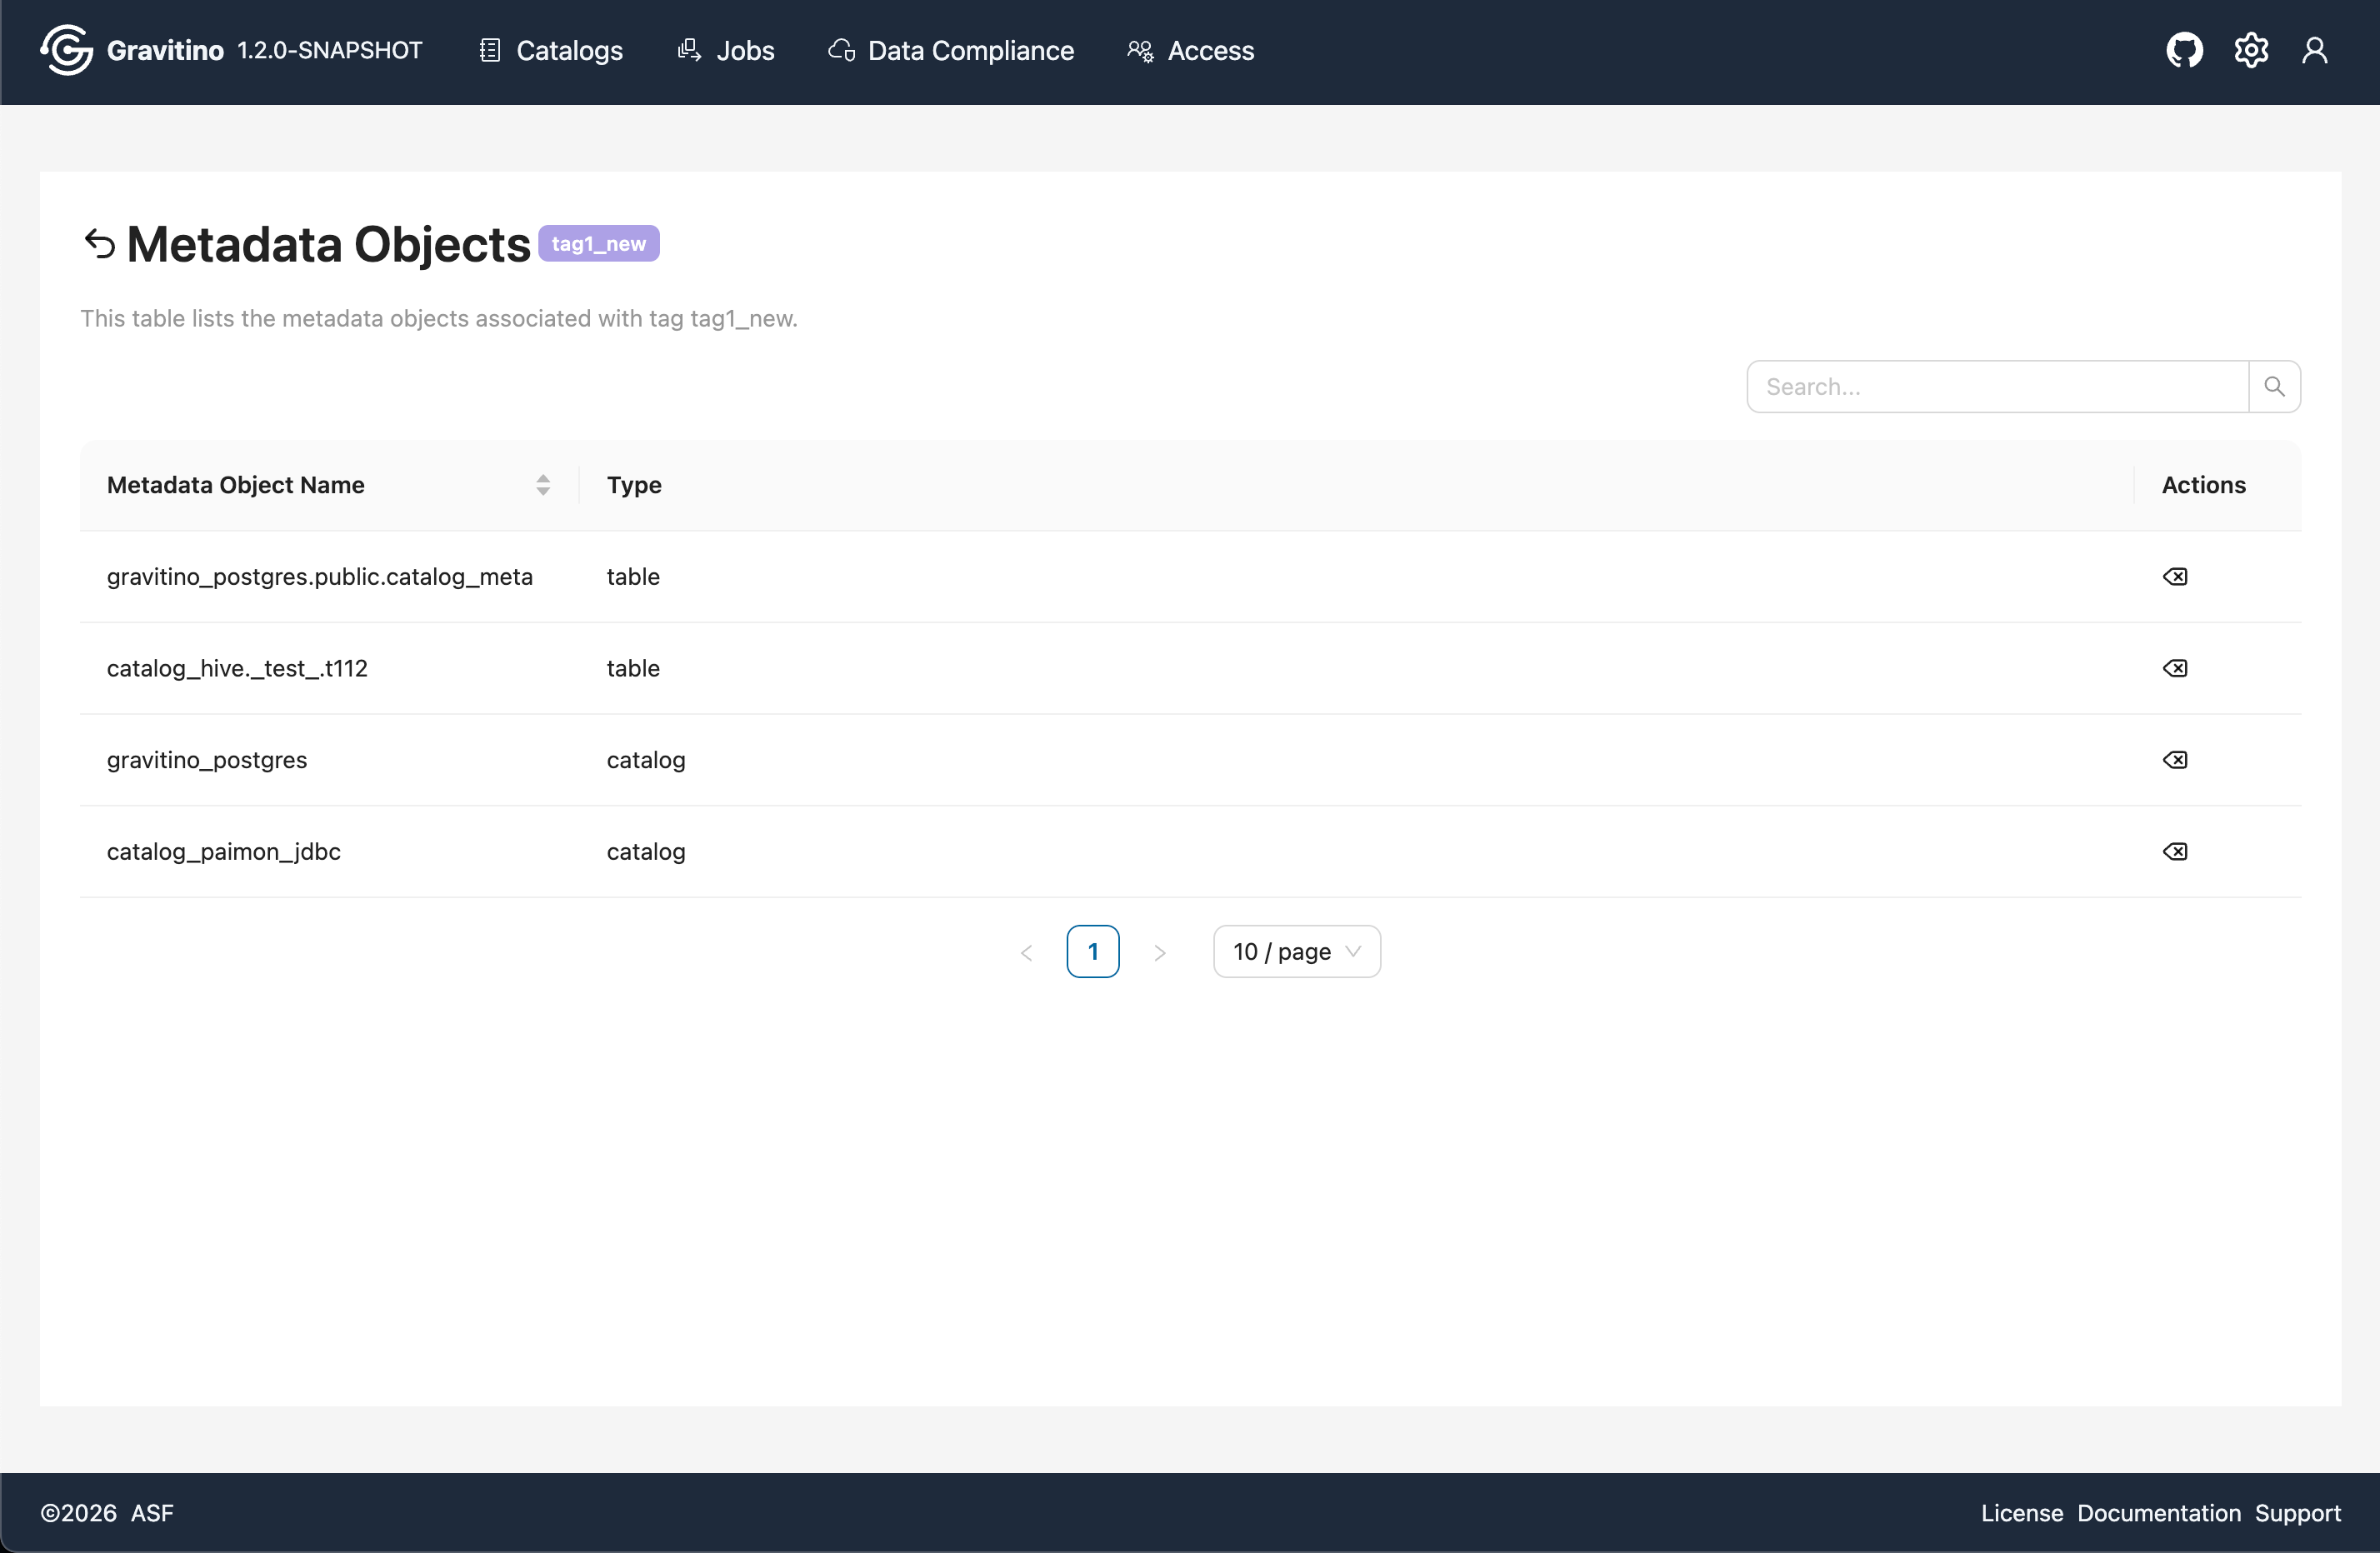
Tag metadata objects (Web V2)
Click a tag to navigate to the Metadata Objects page, which lists all metadata objects associated with the selected tag.
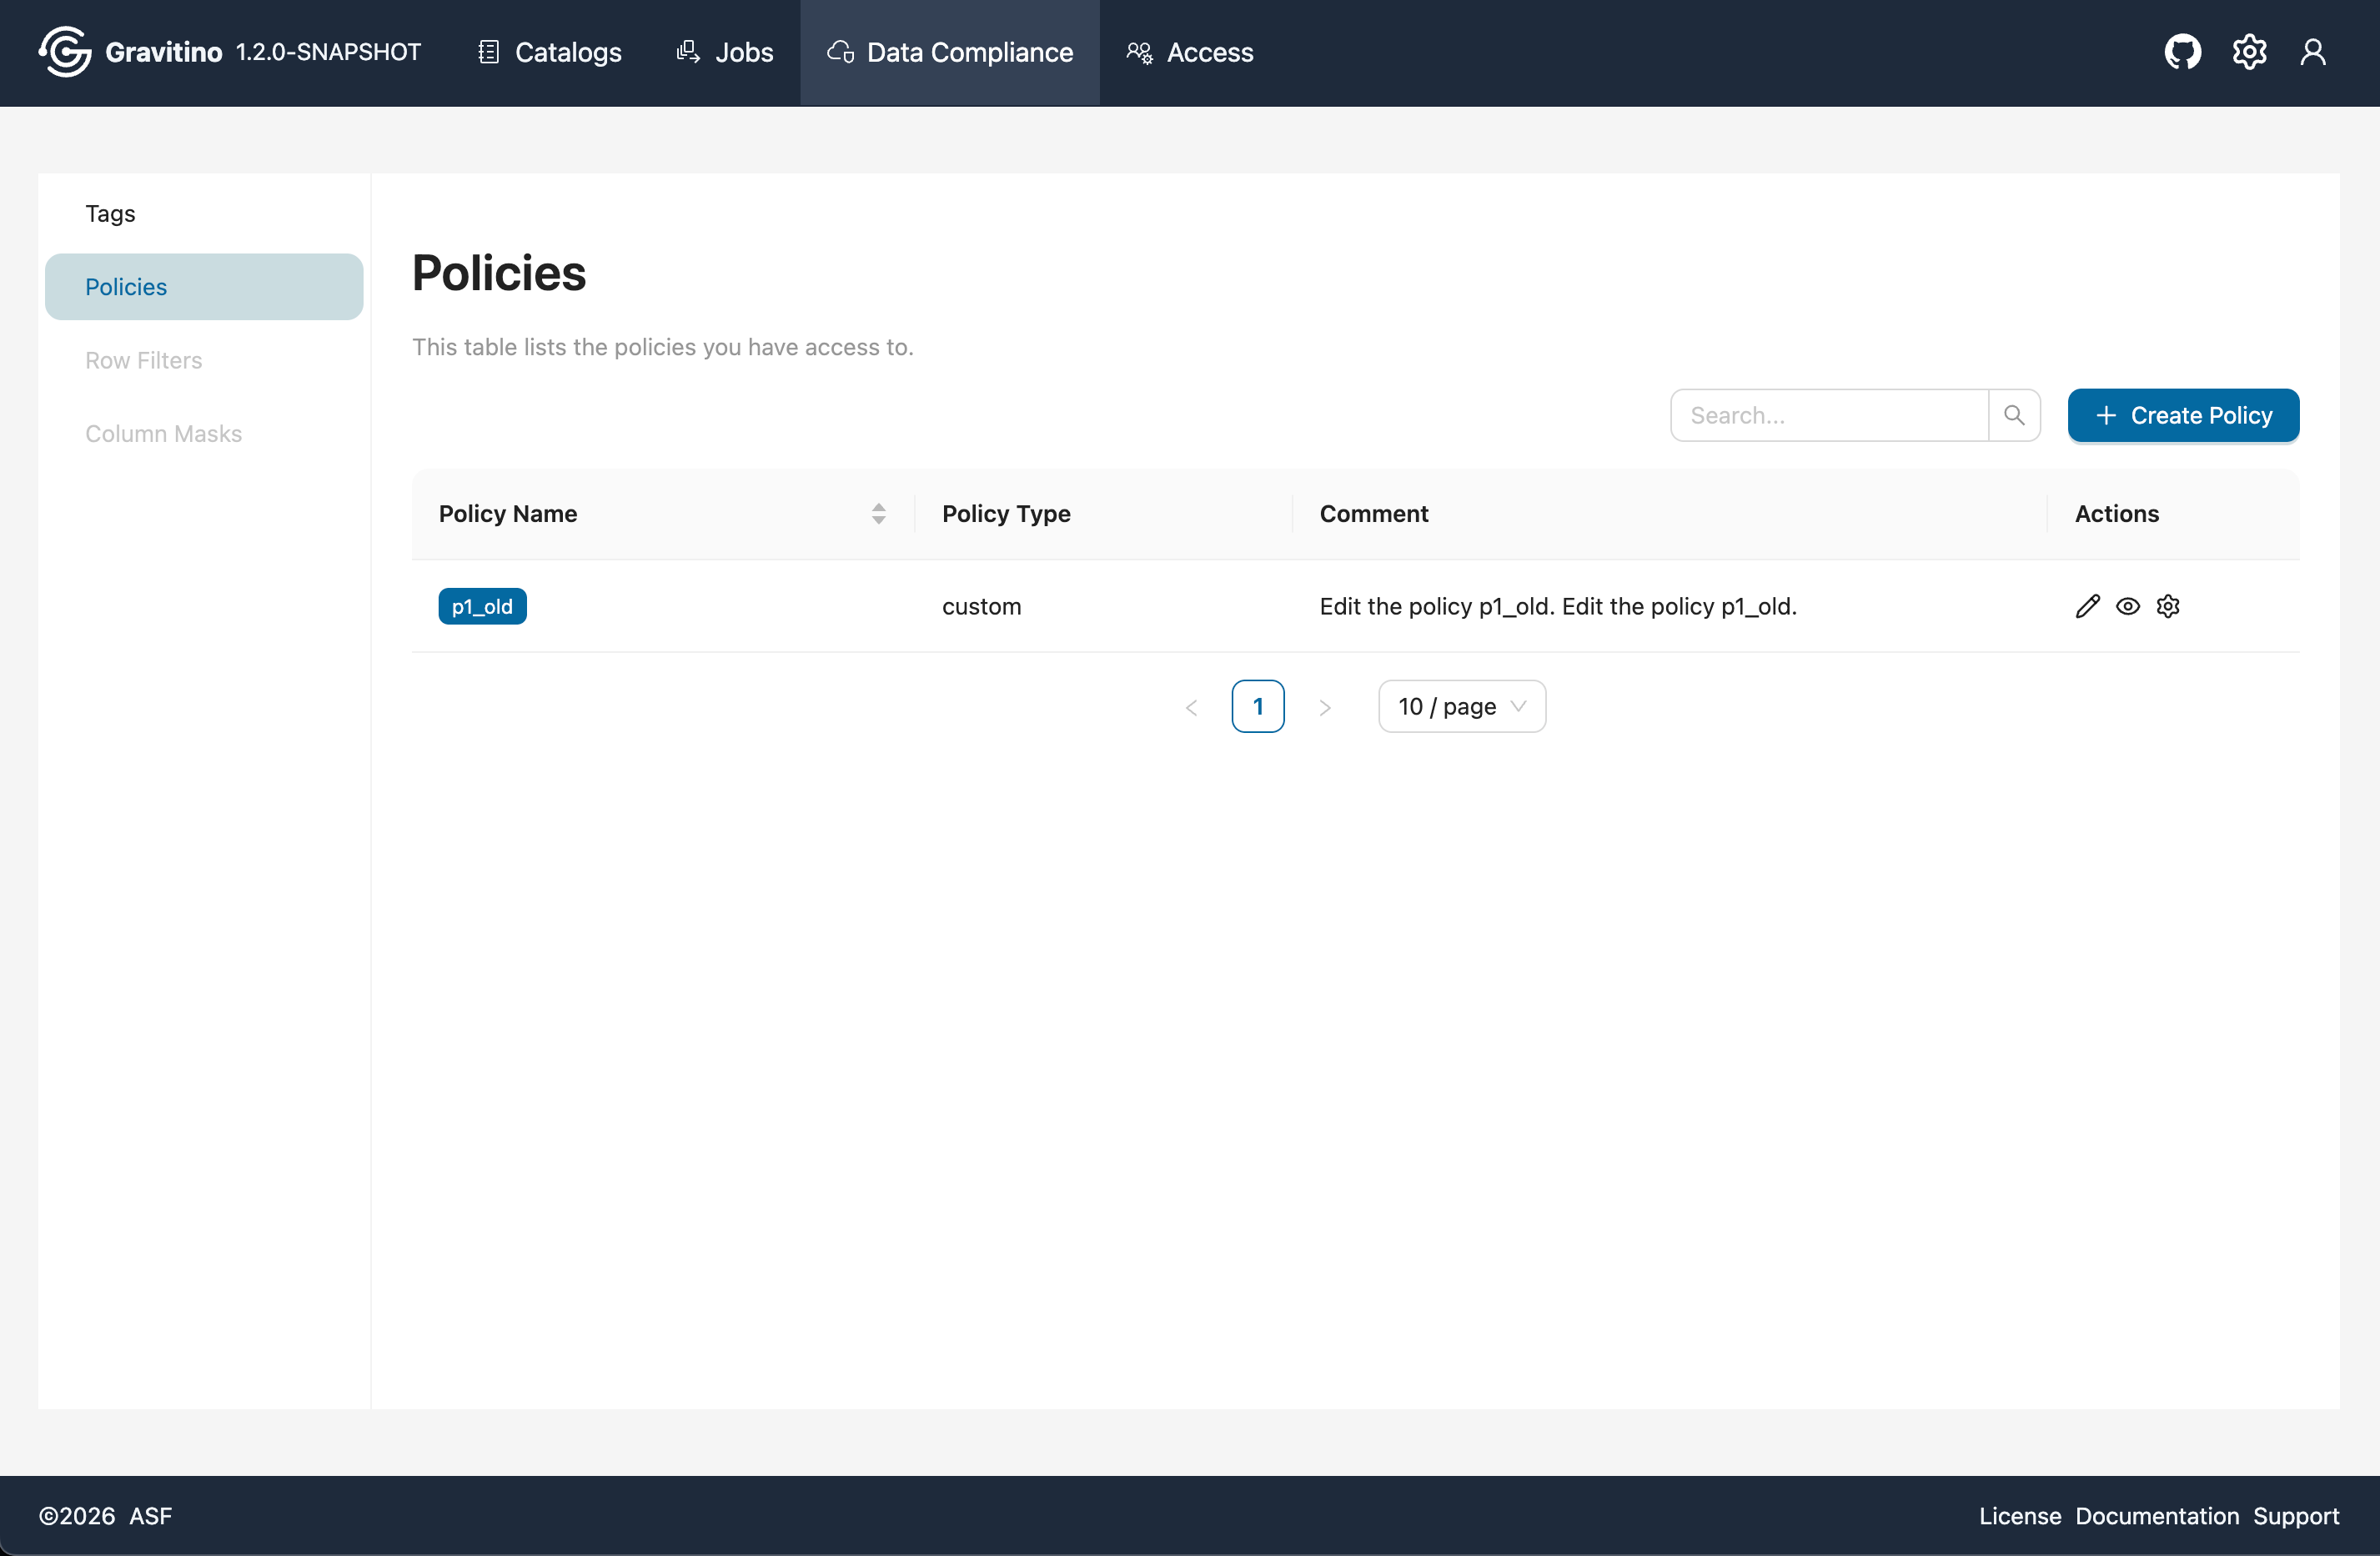
Data Compliance - Policies (Web V2)
Overview for Data Compliance Policies in the Web V2.
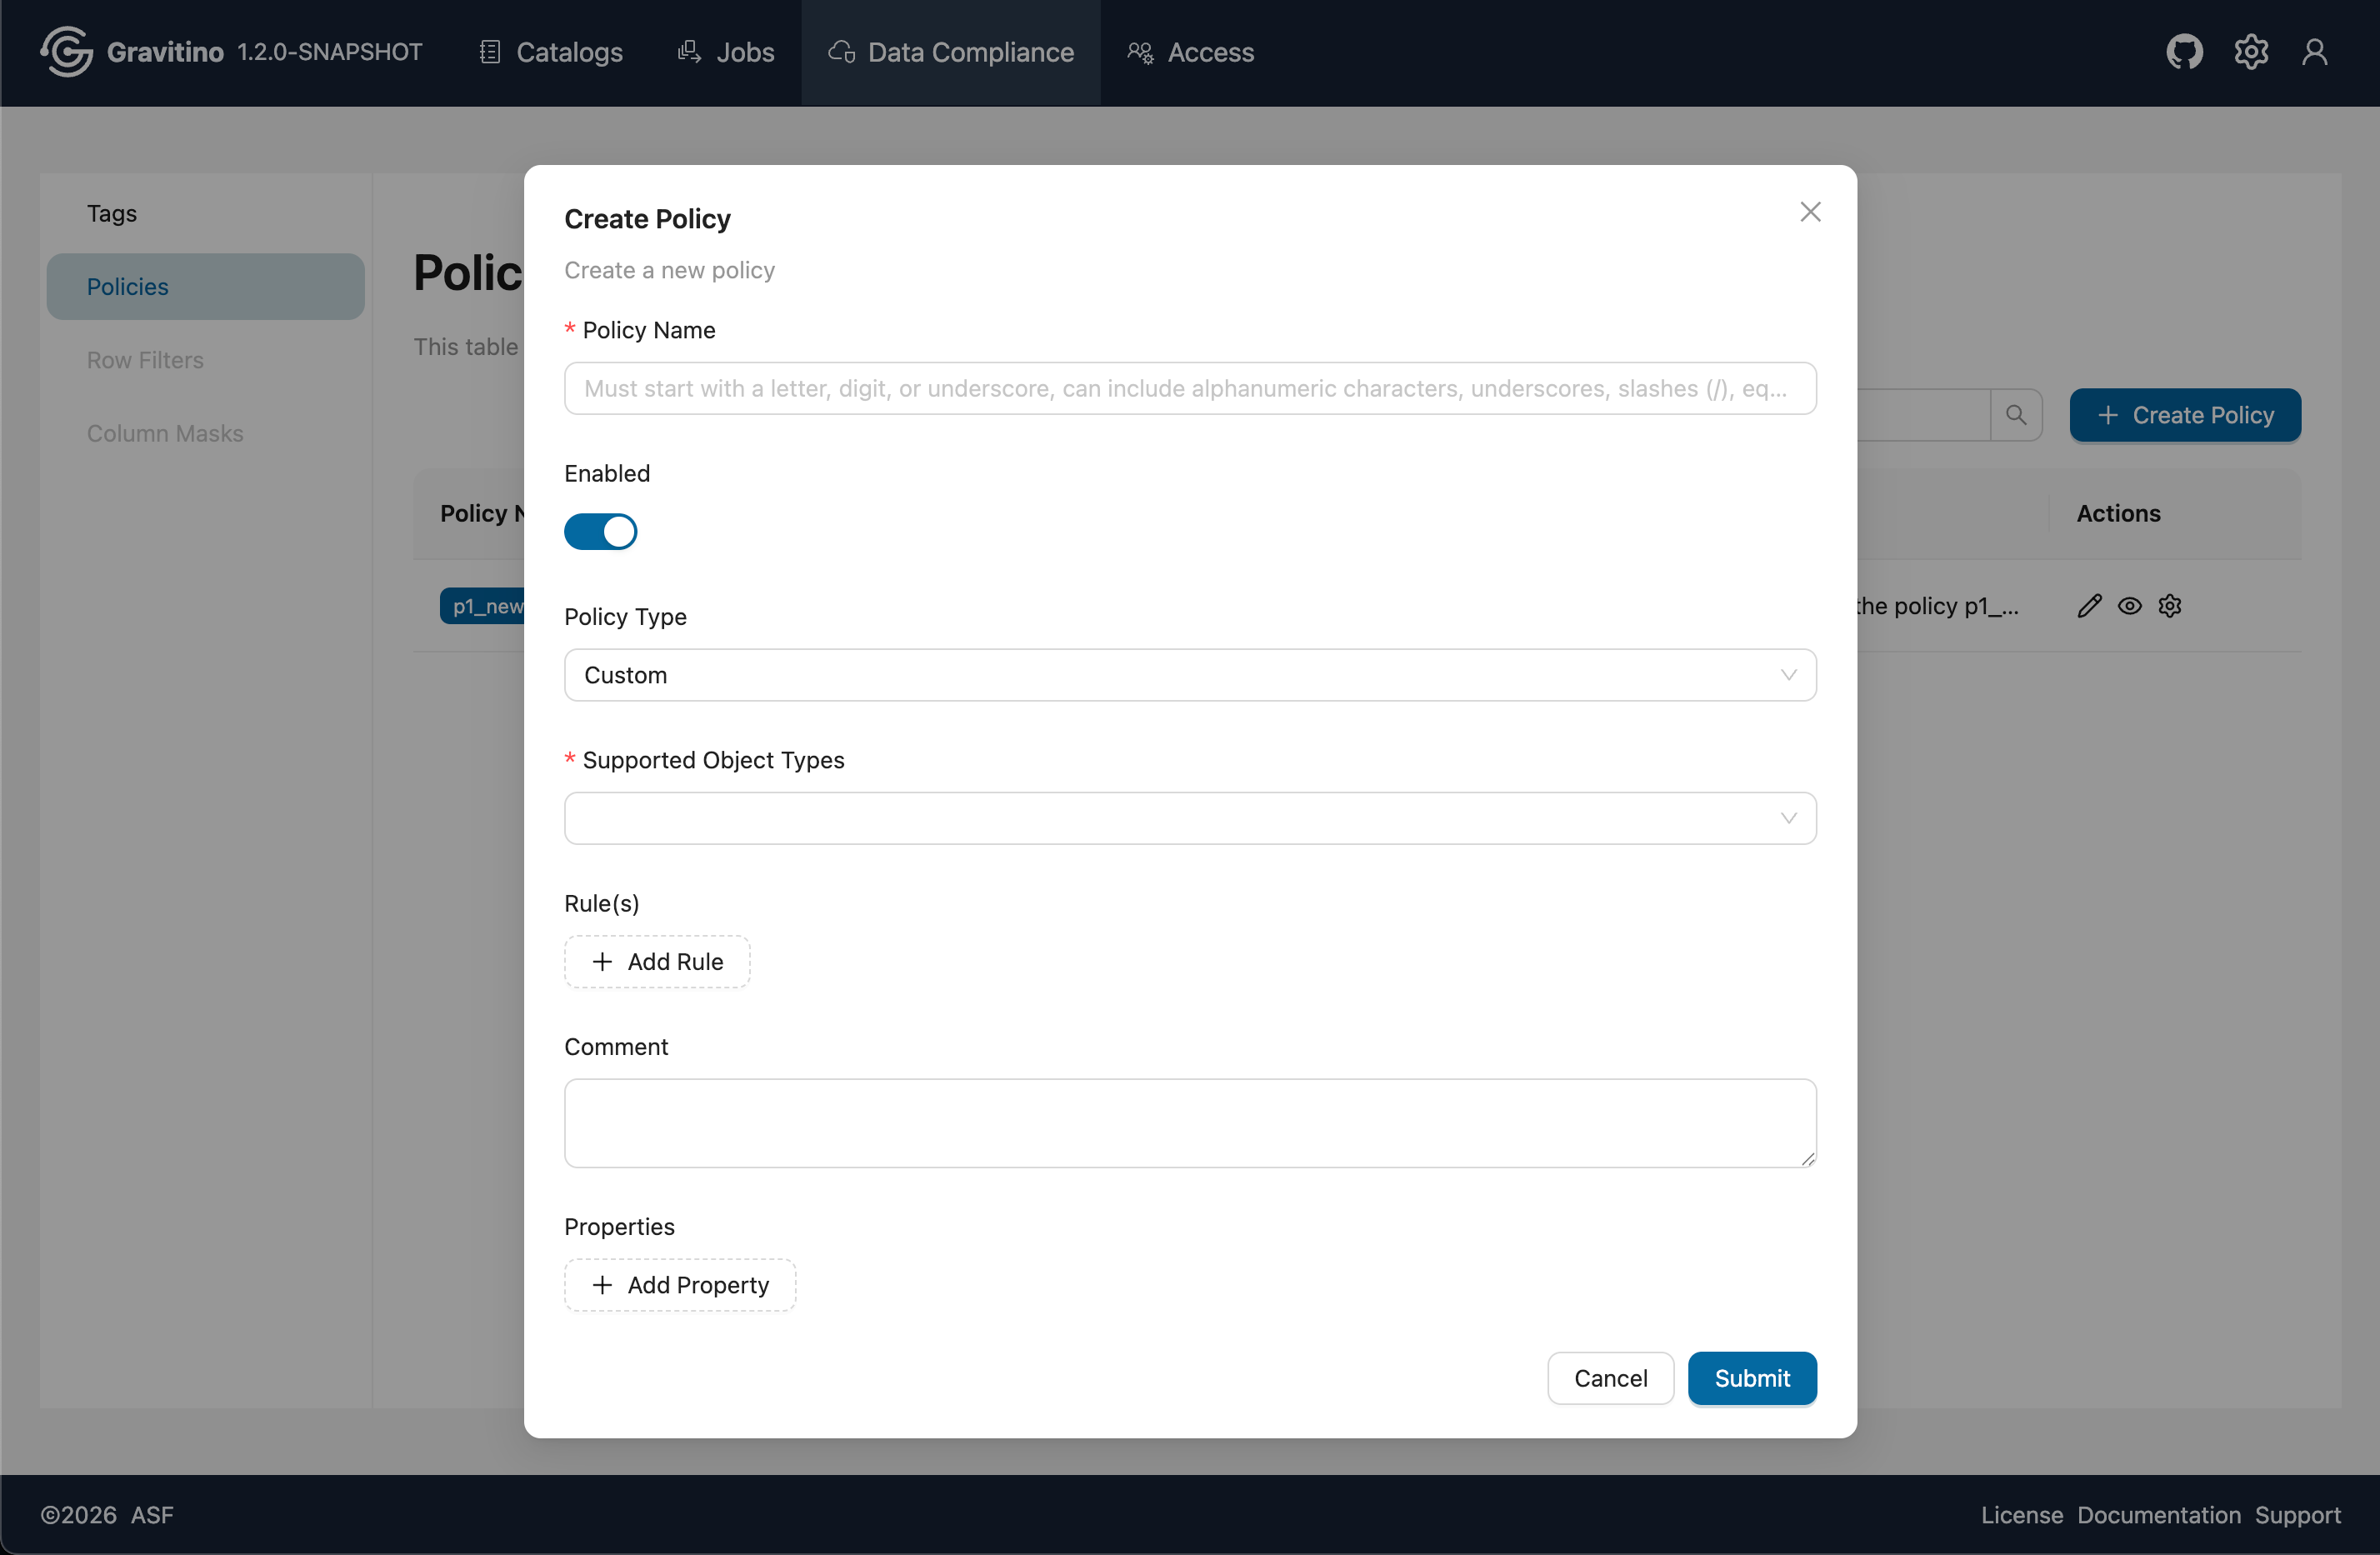
Create Policy (Web V2)
Click Create Policy to open the create form. Fill in the required fields and submit to create a policy.
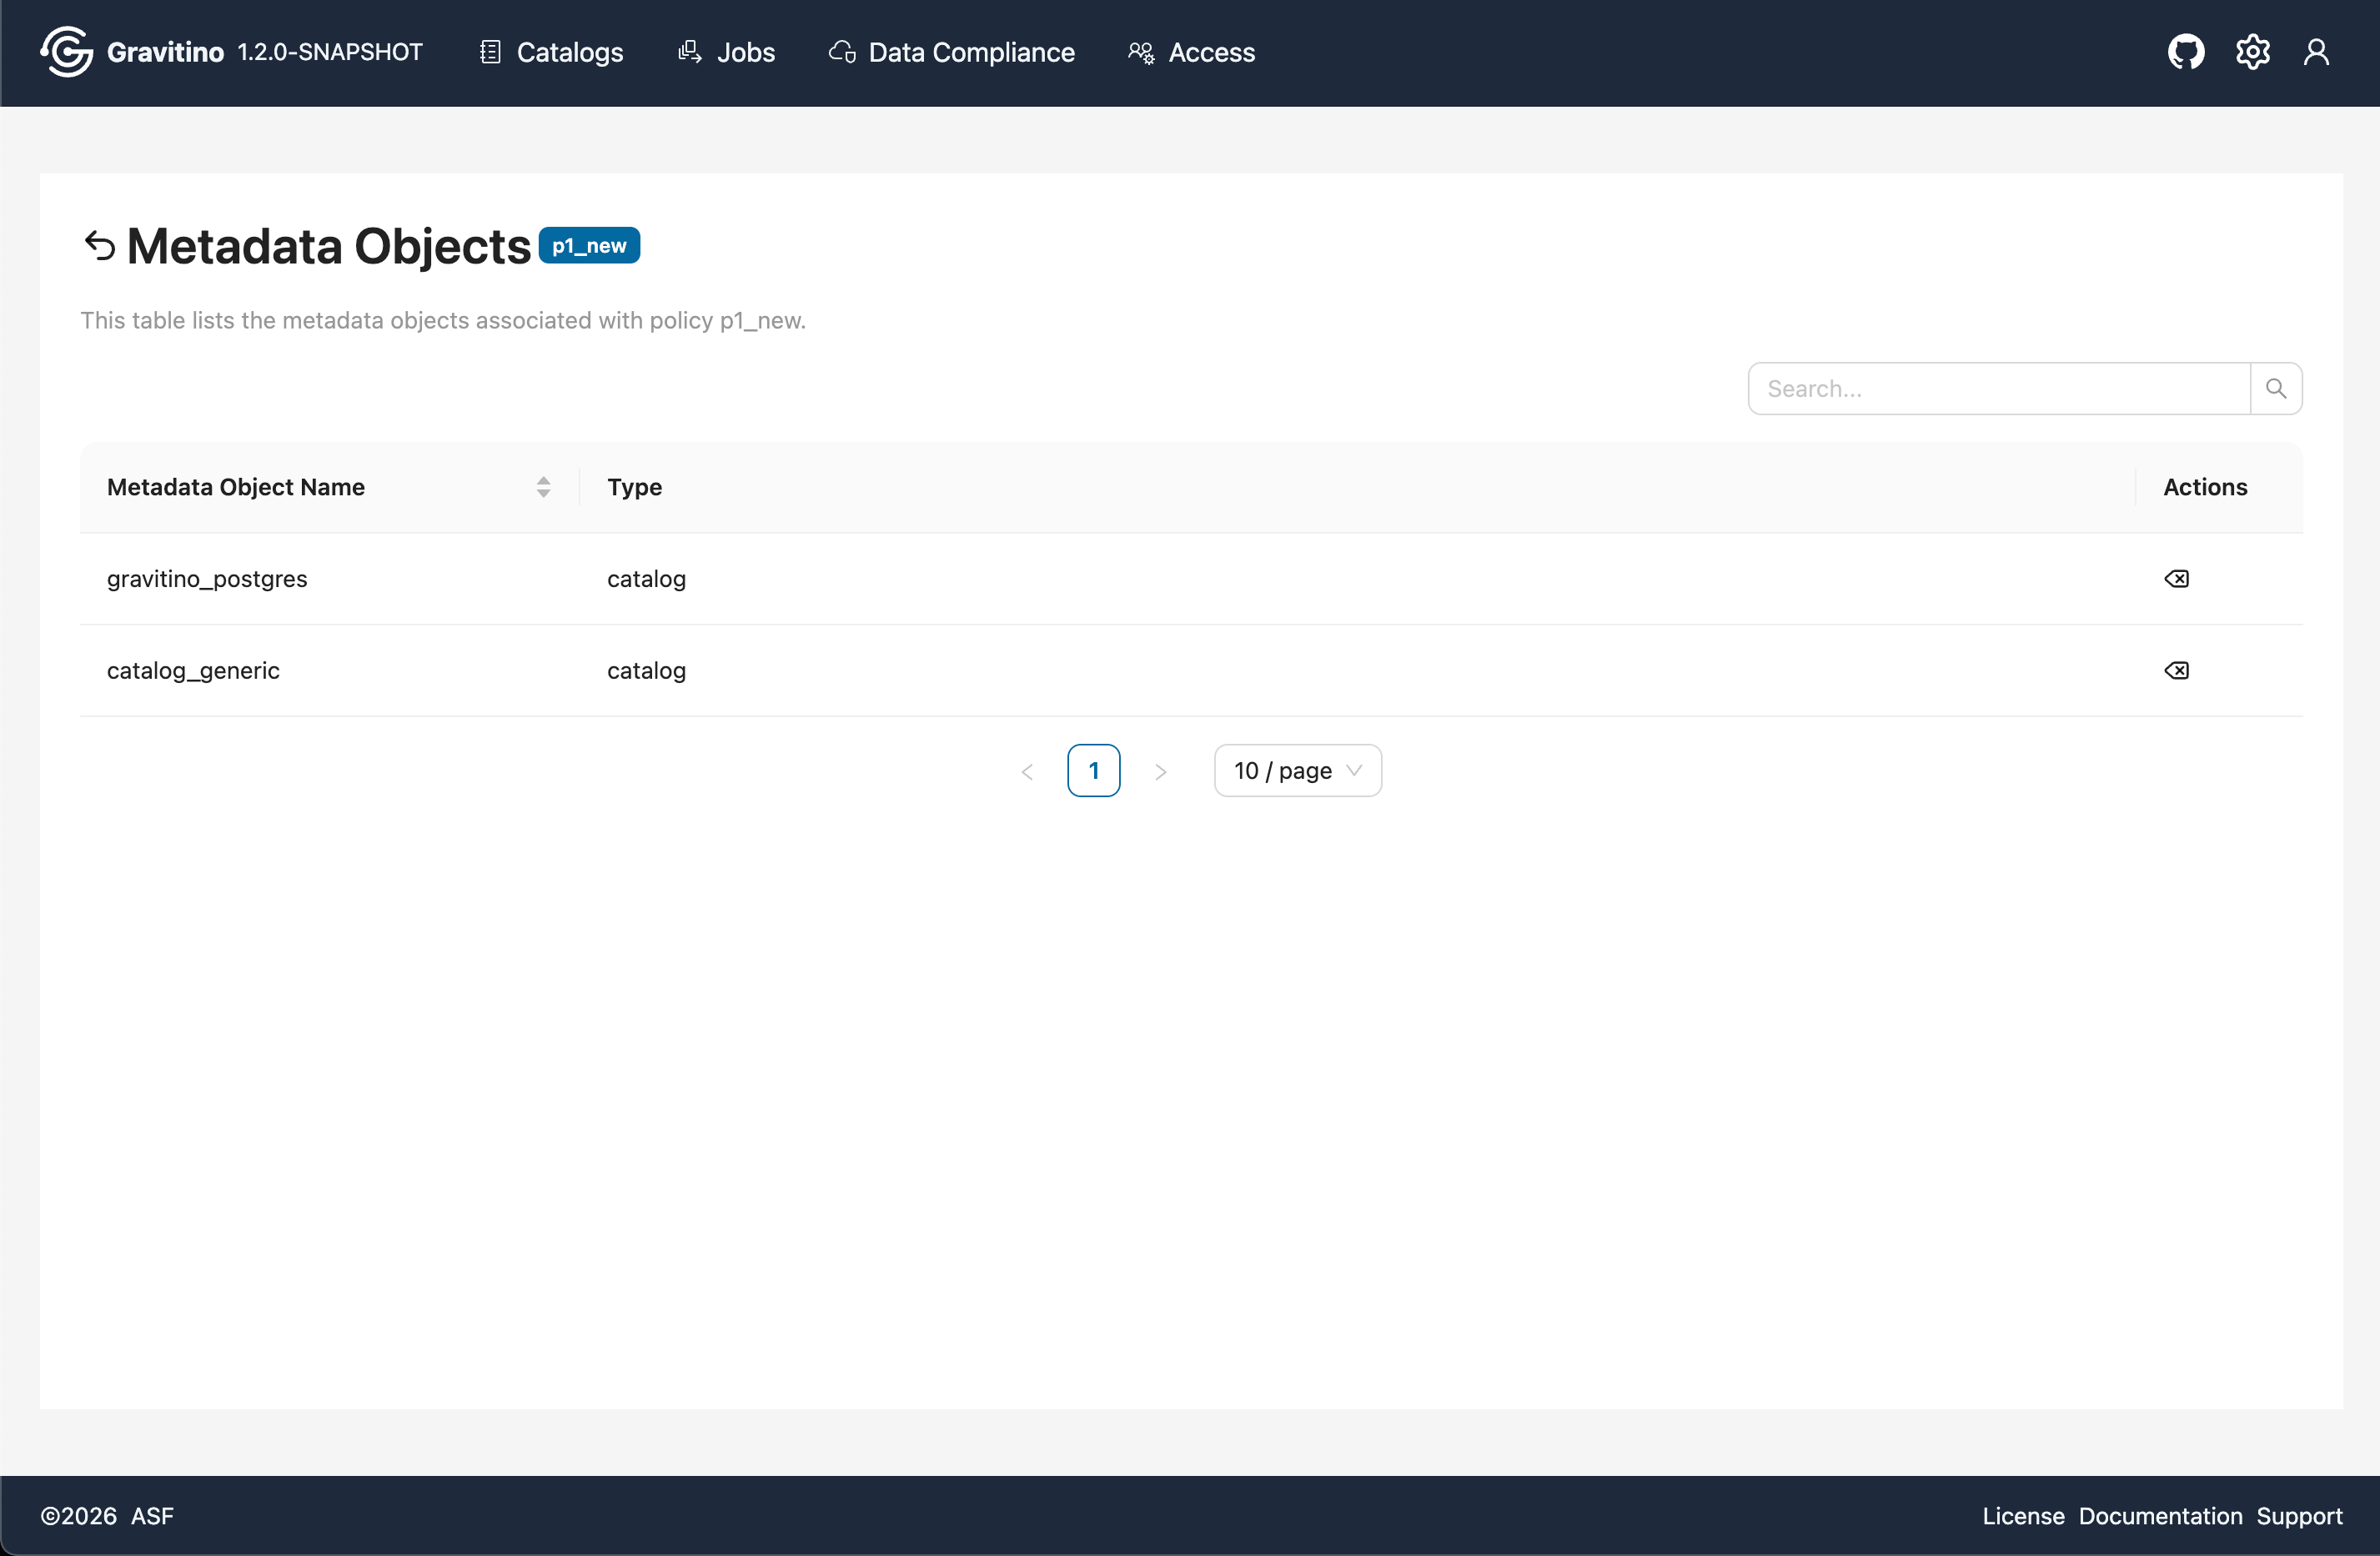
Policy metadata objects (Web V2)
Click a policy tag to navigate to the Metadata Objects page, which lists all metadata objects associated with the selected policy.
Access
The Access module is visible only when gravitino.authorization.enable=true.
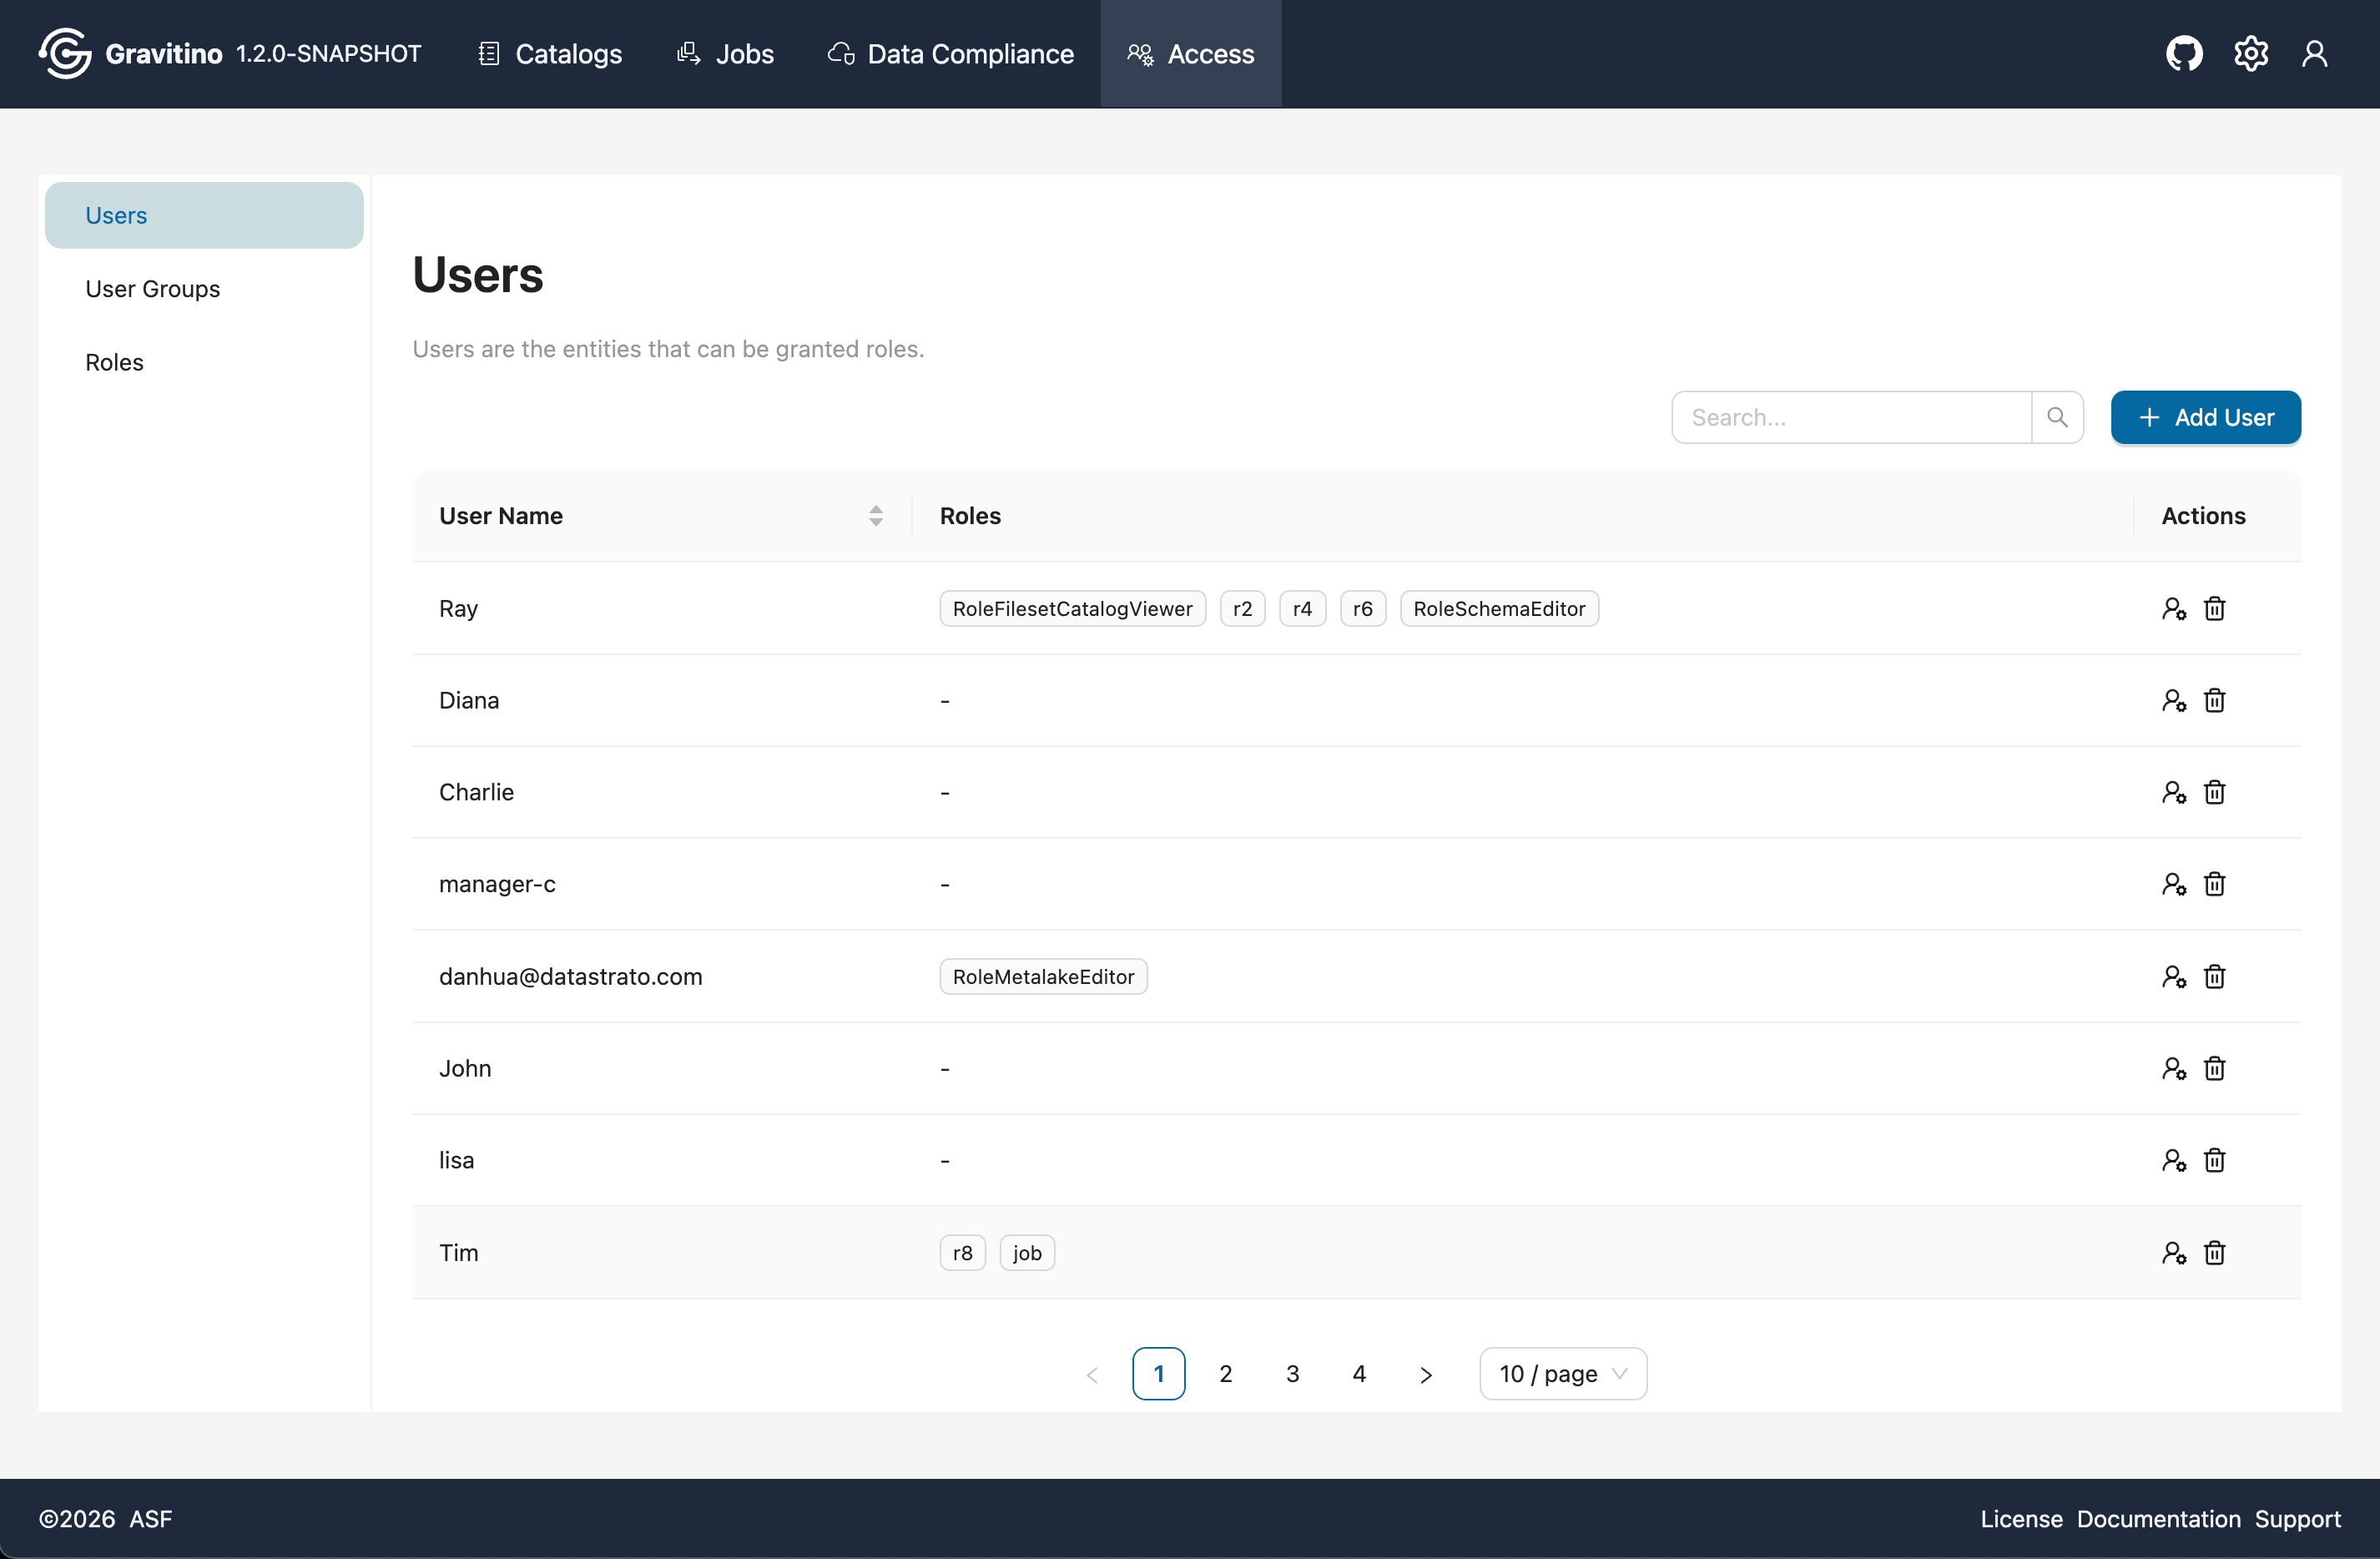
Access - Users (Web V2)
Overview for Access Users in the Web V2.
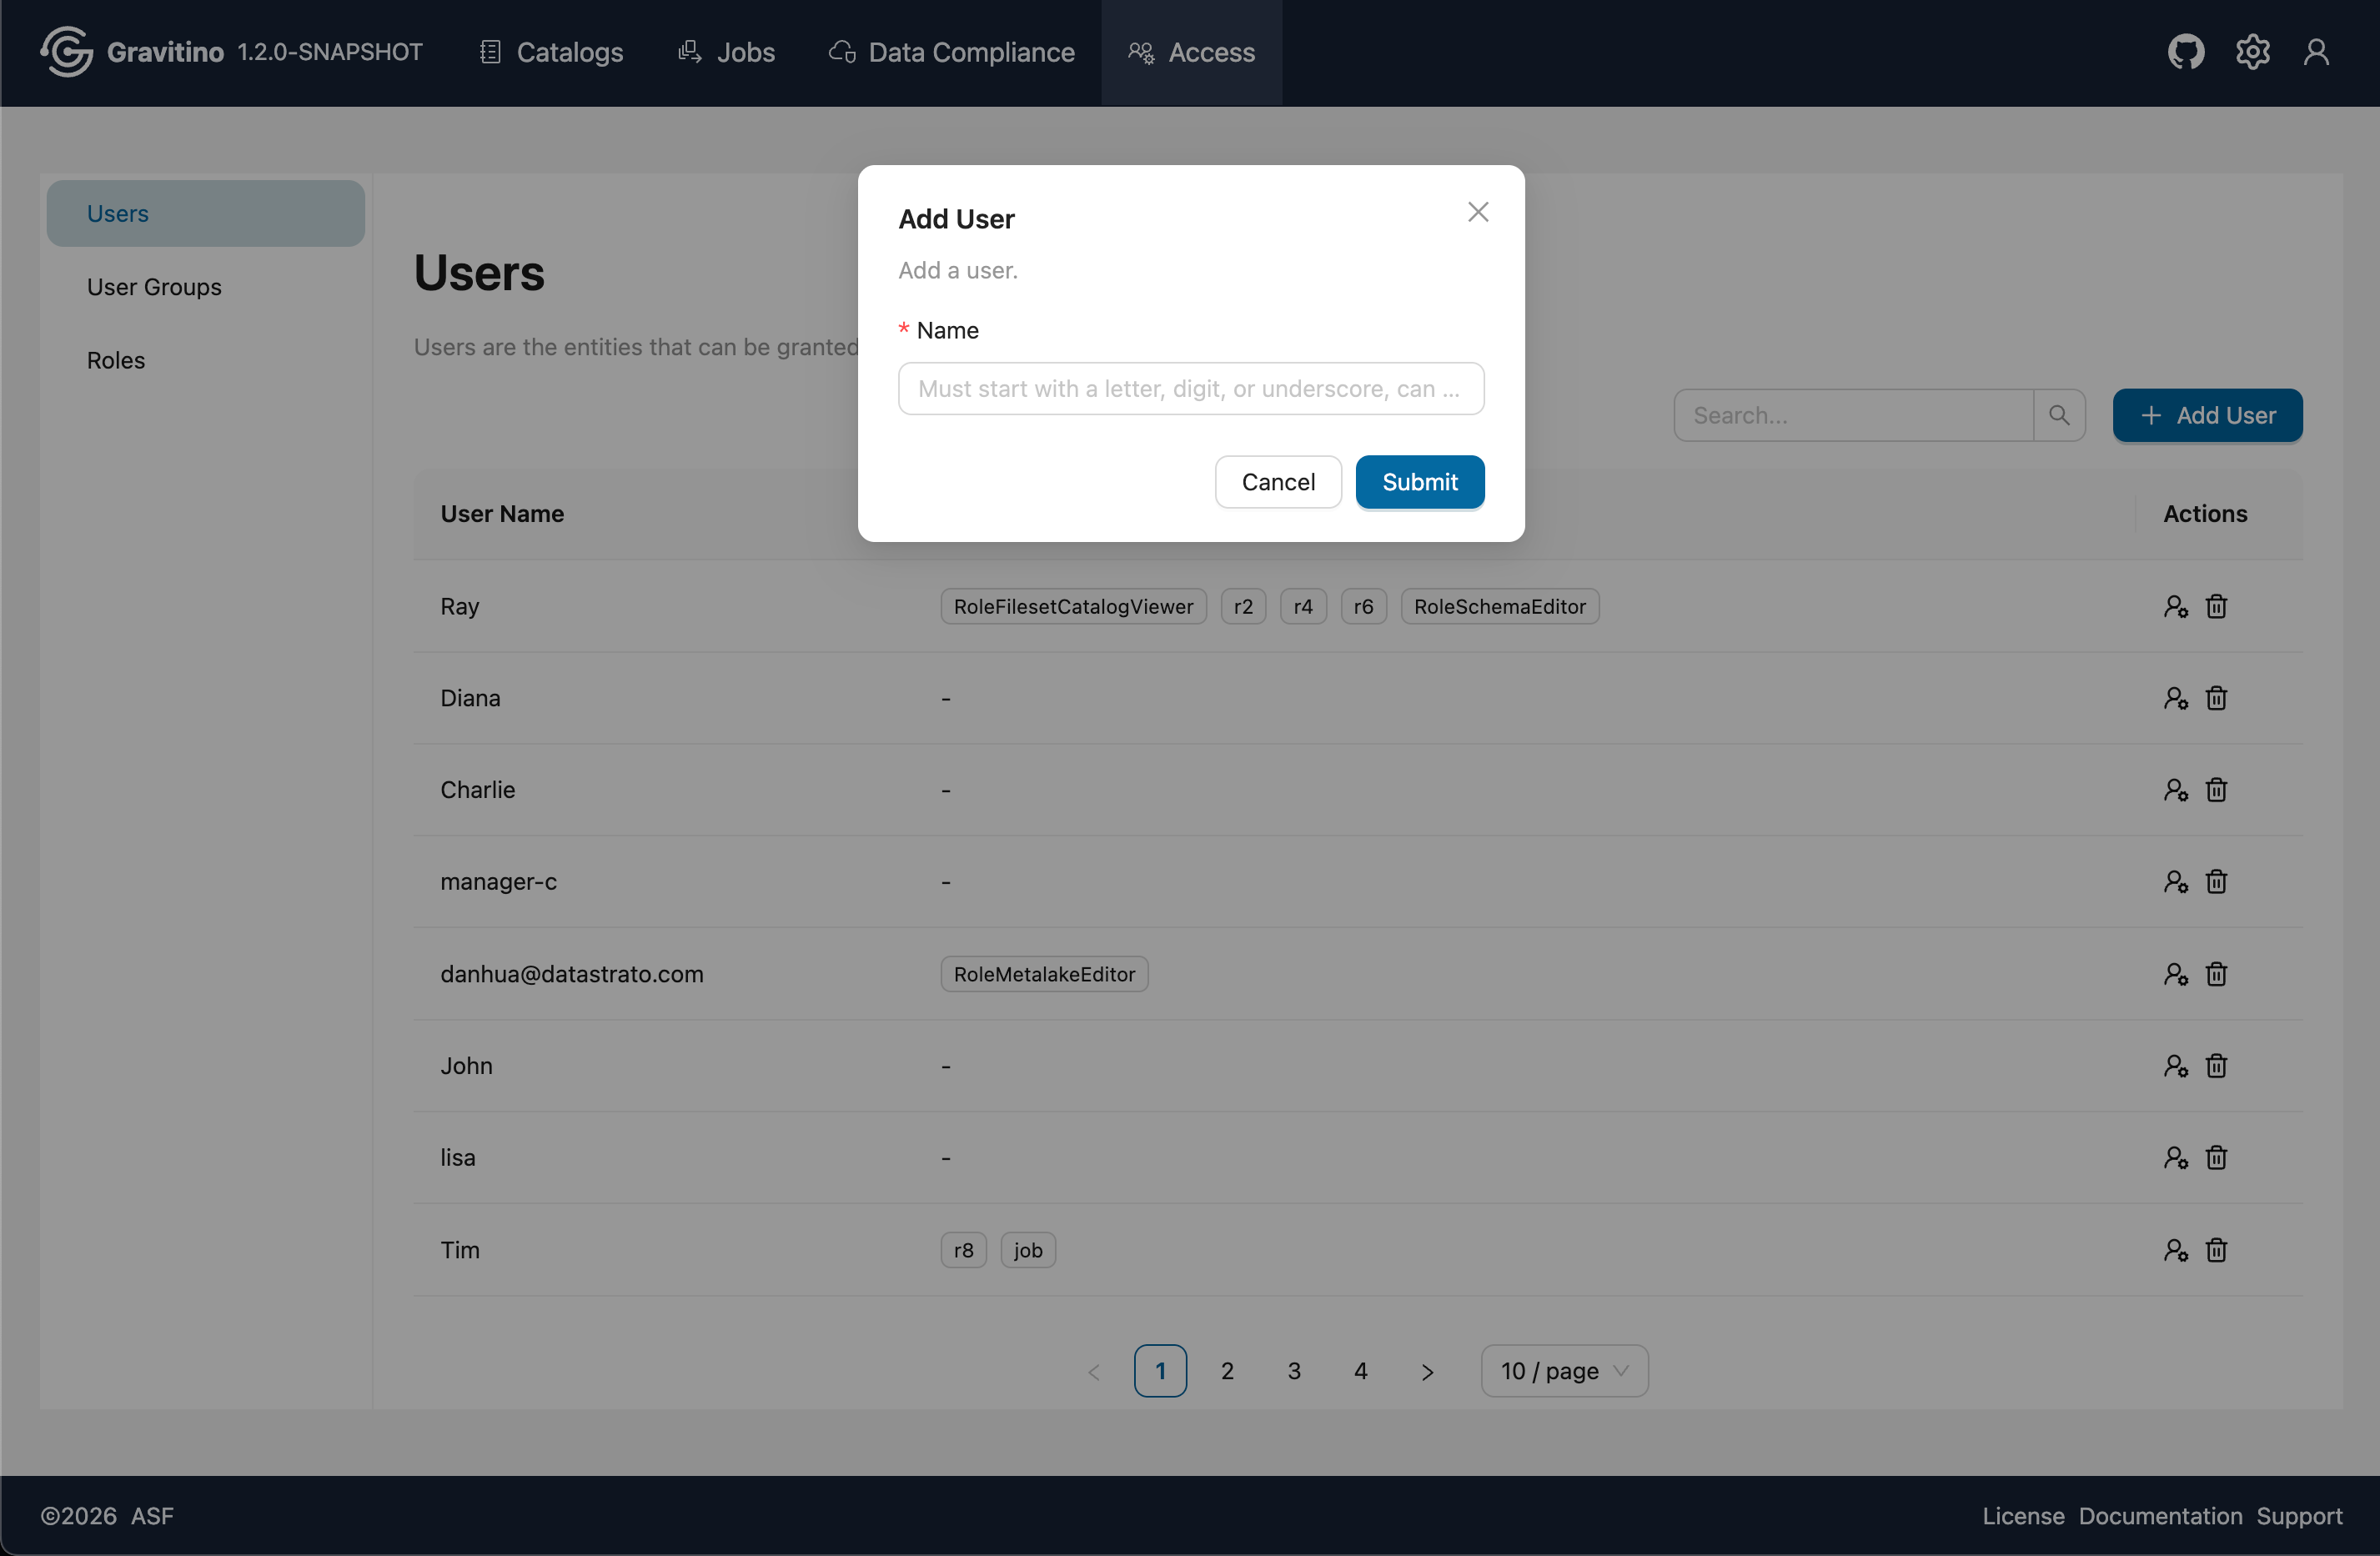
Add User (Web V2)
Click Add User to open the create form. Fill in the required fields and submit to create a user.
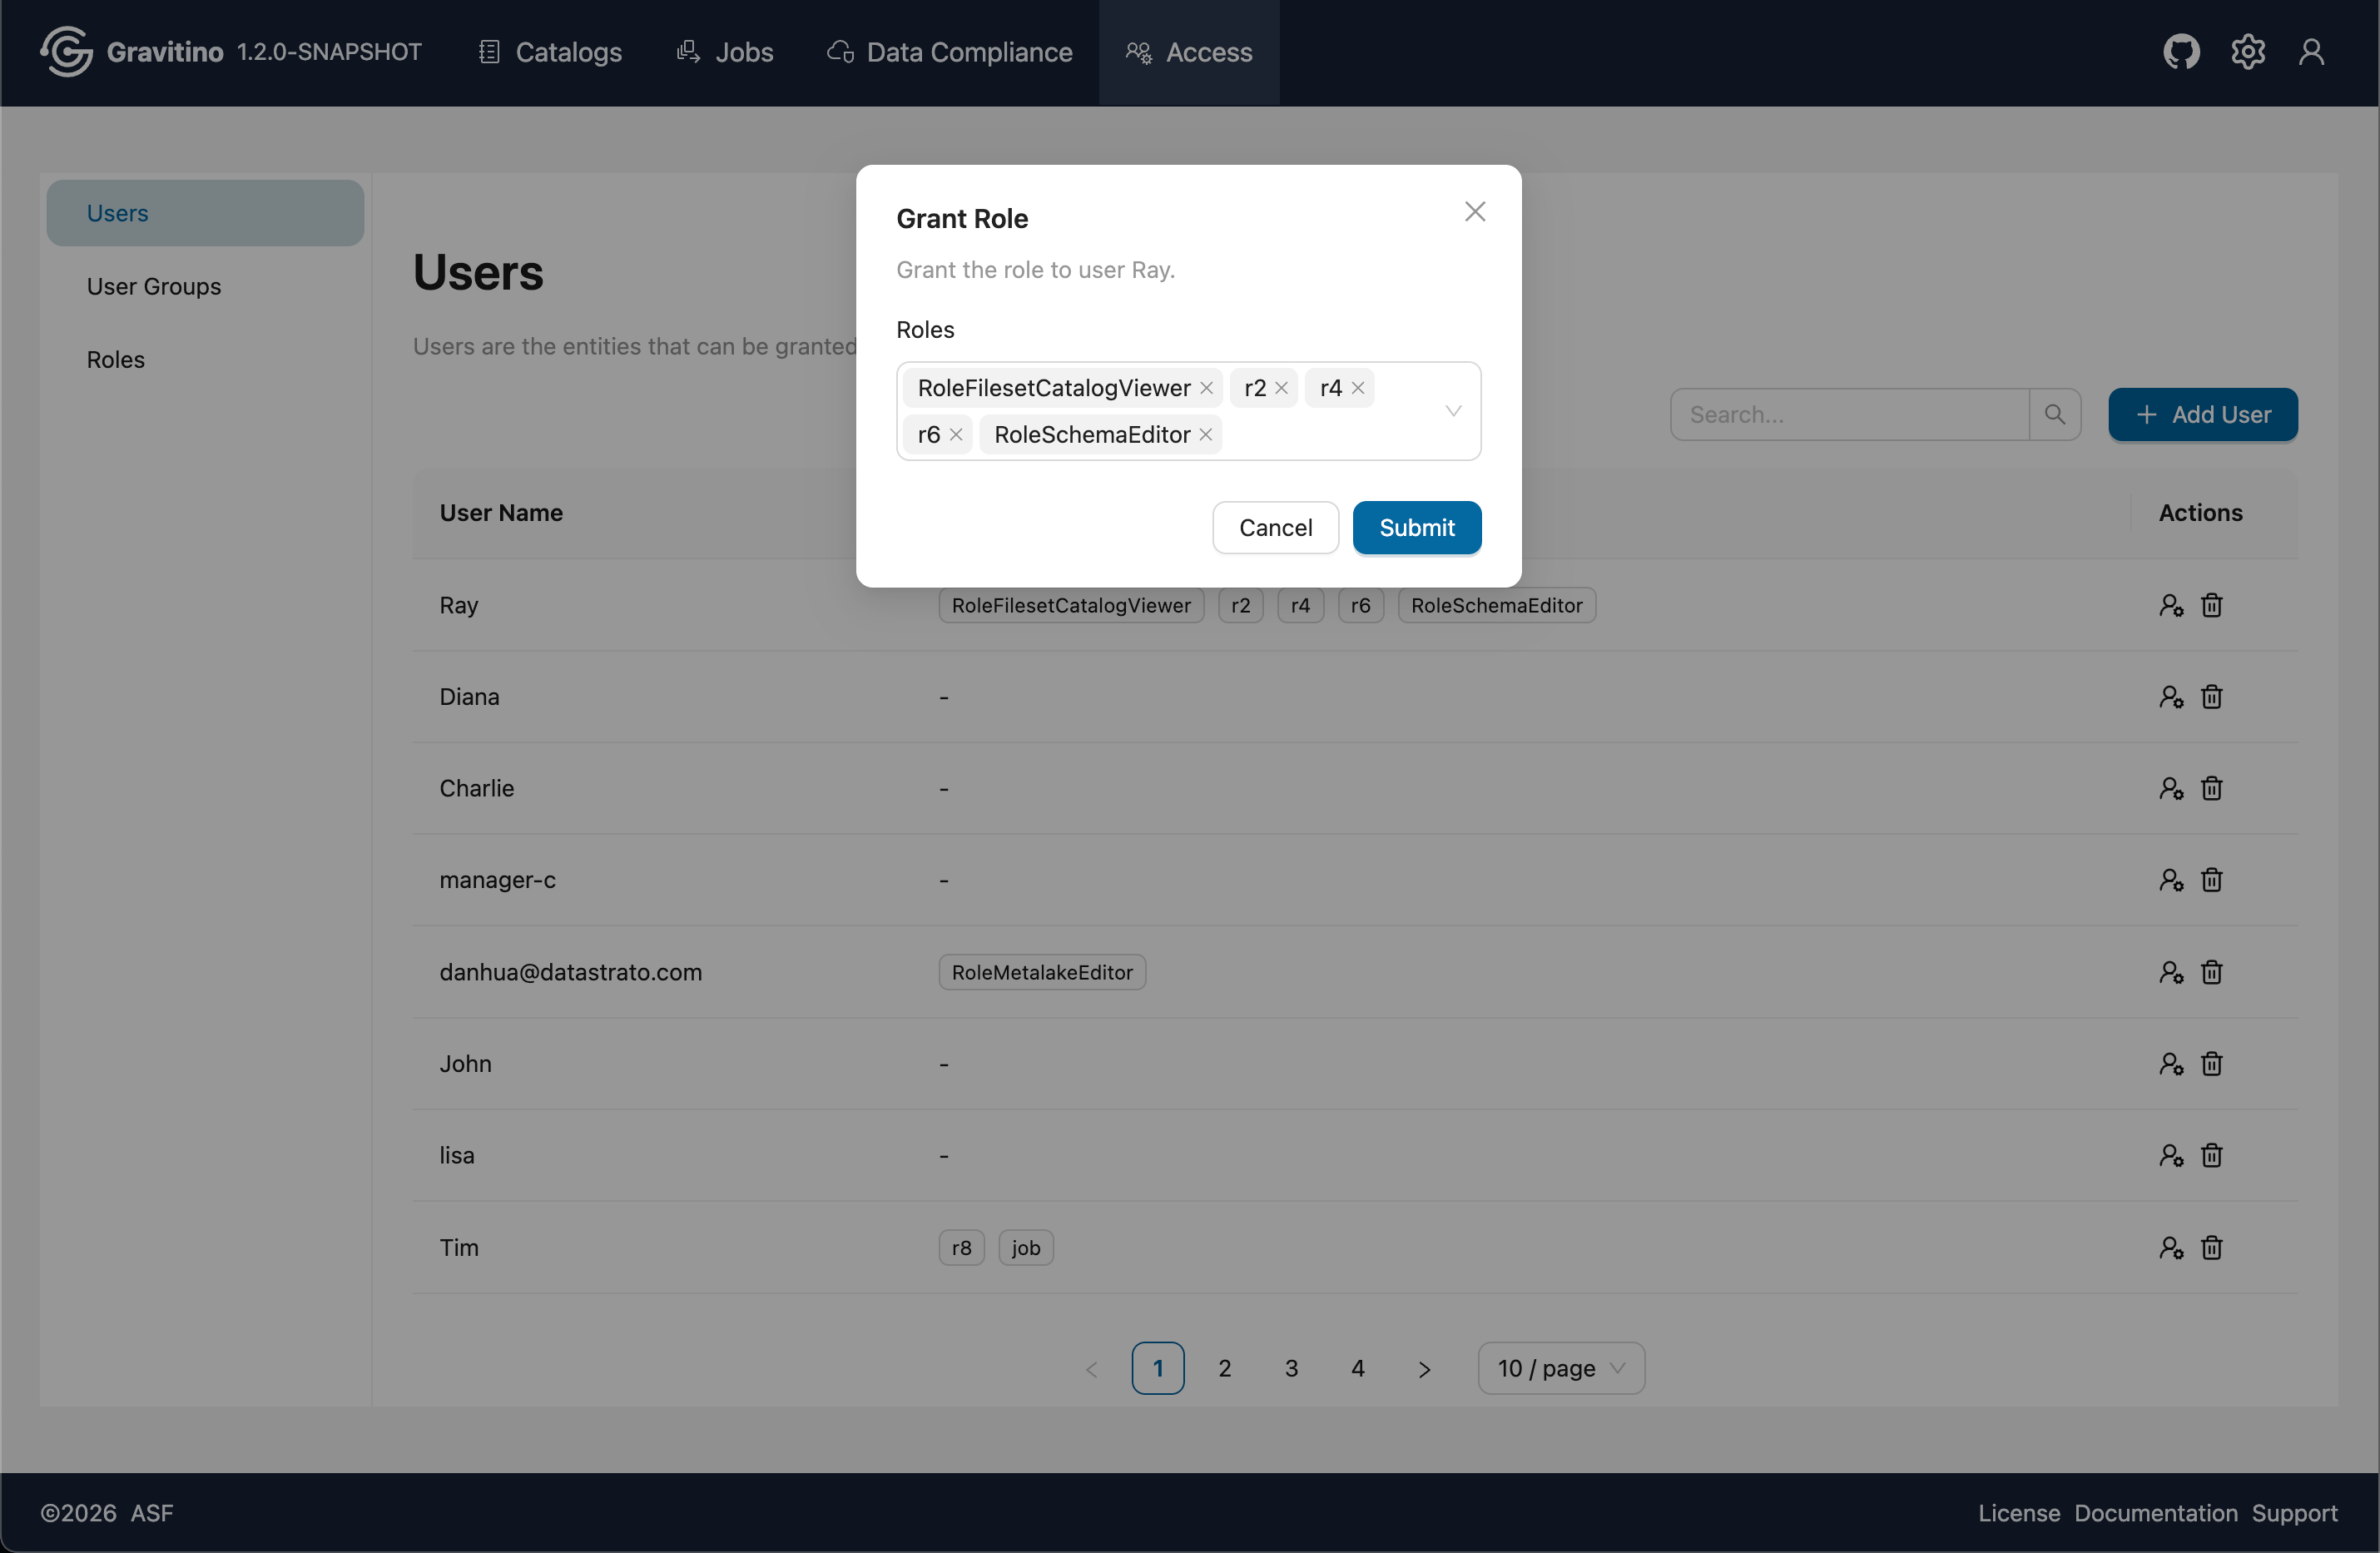
Grant Role (Web V2)
From the Actions, click Grant Role icon to assign roles to the selected user.
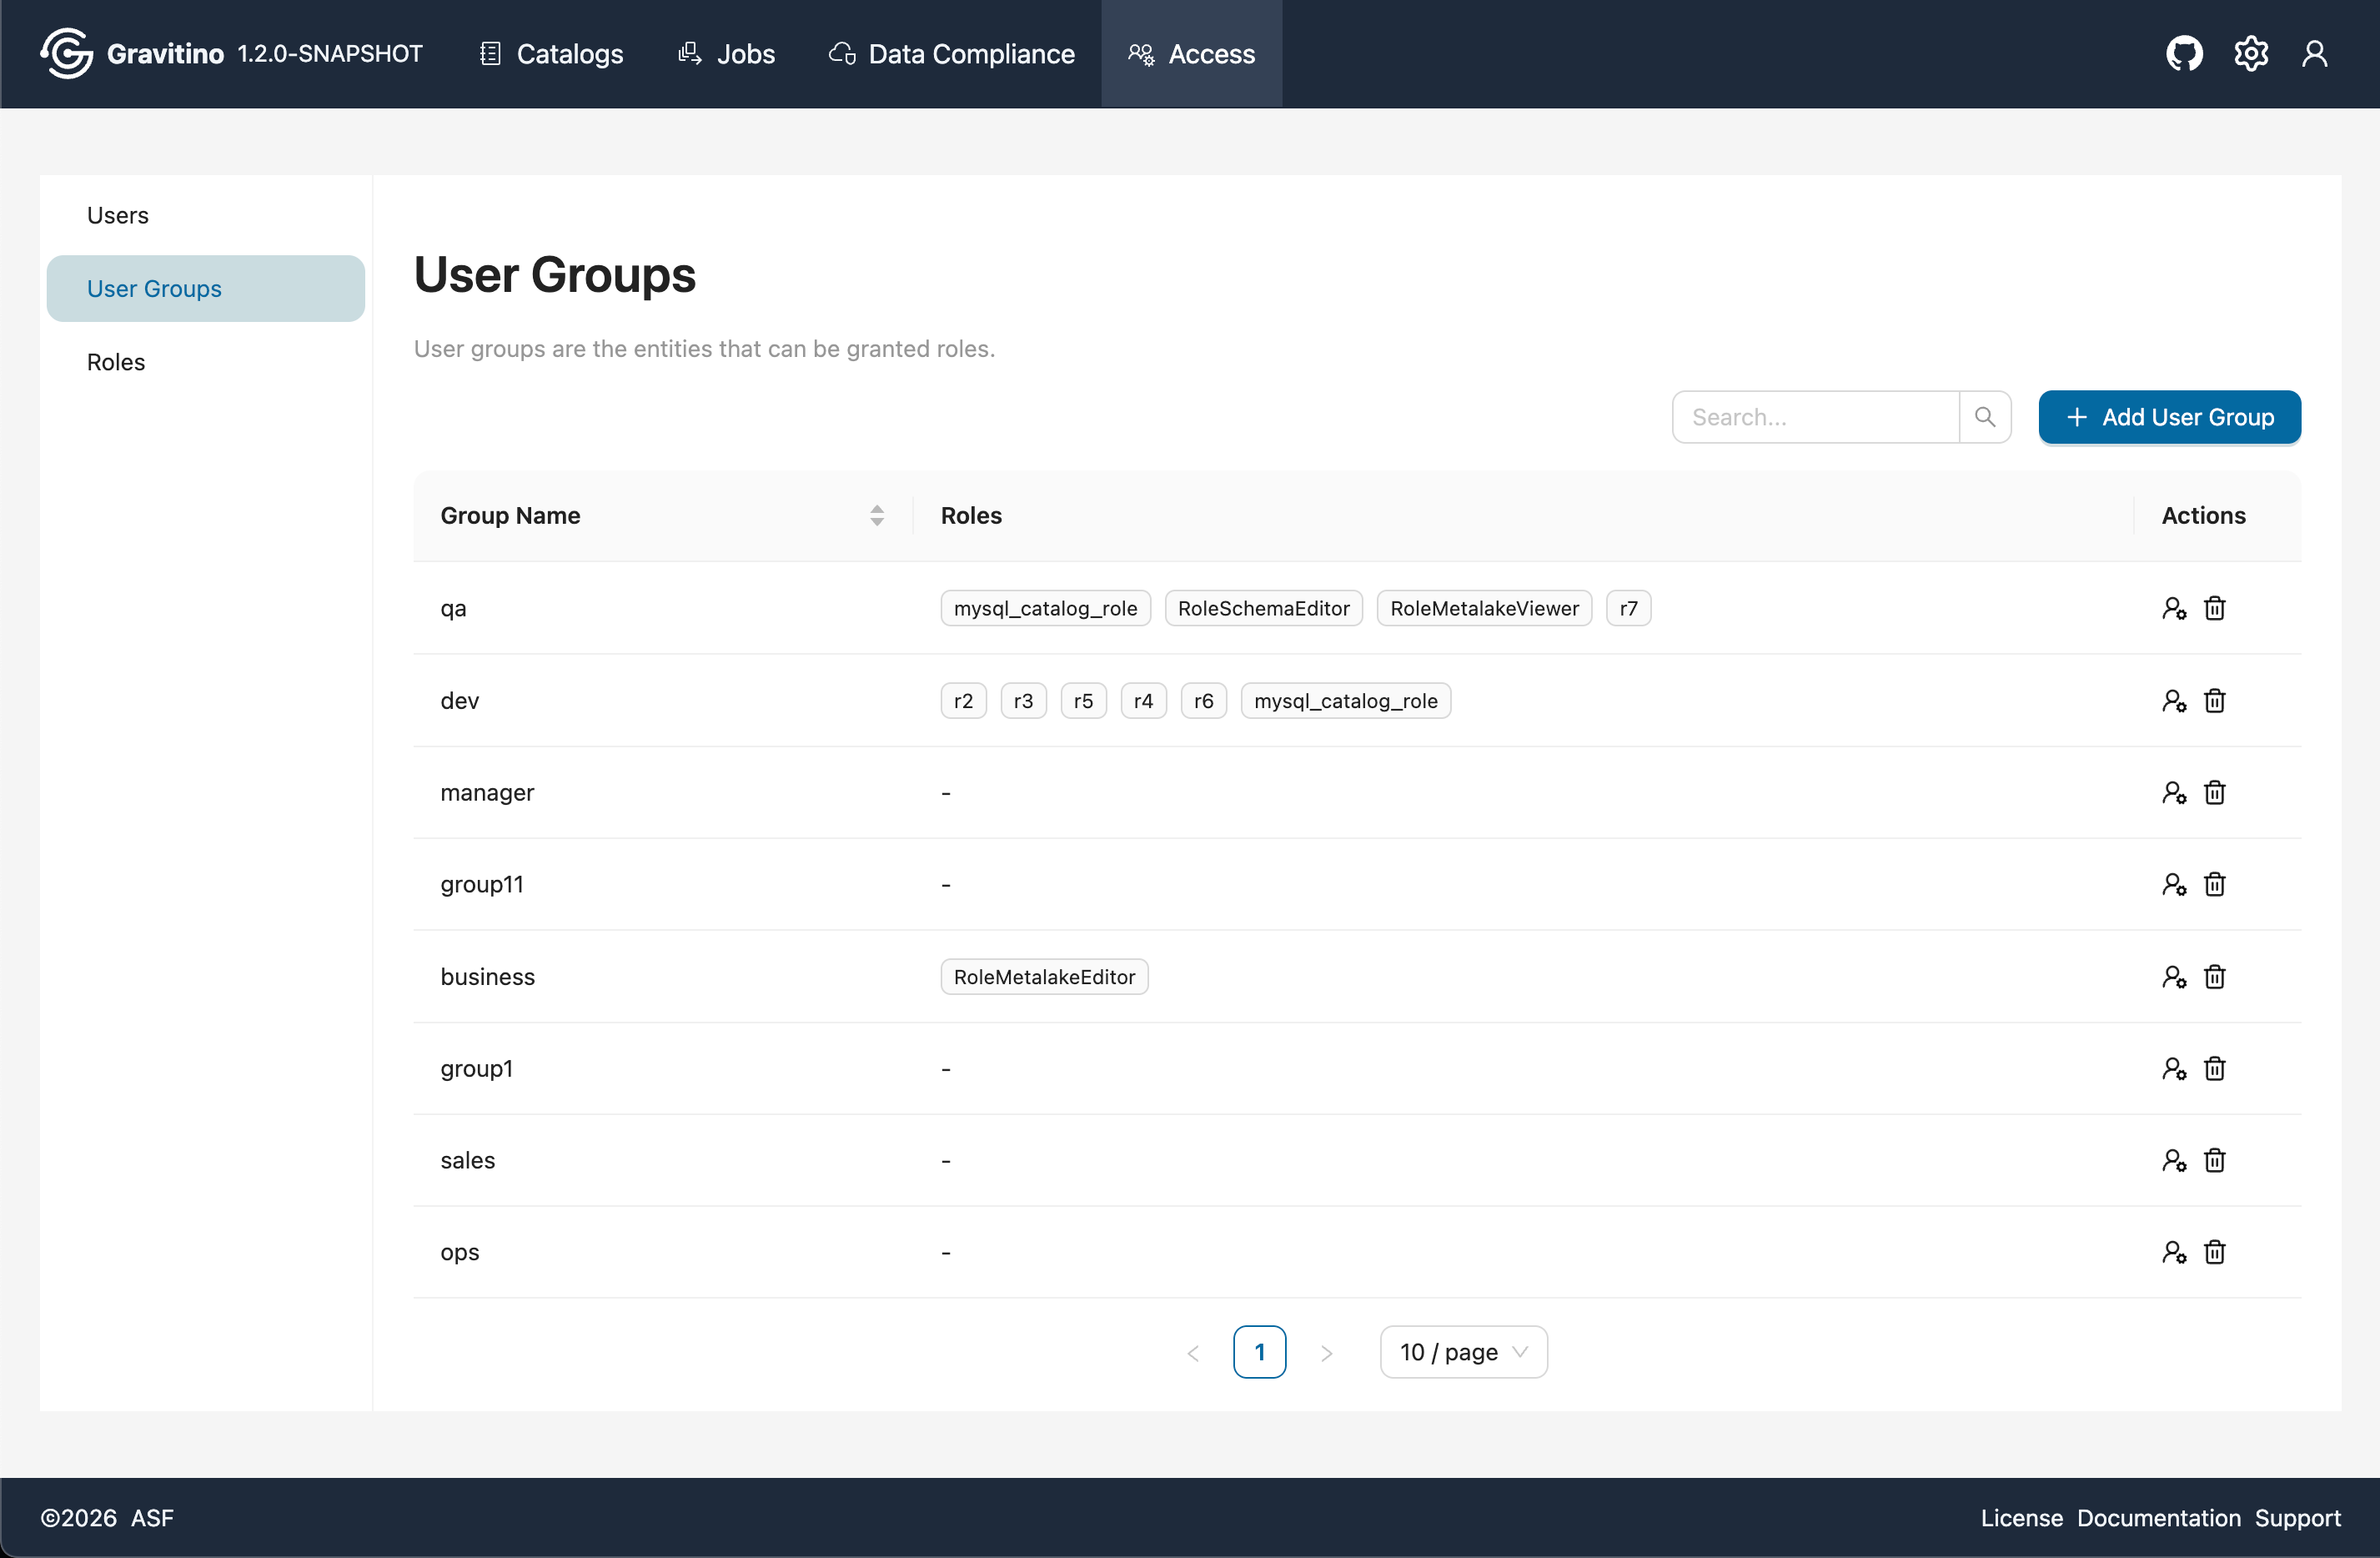
Access - User Groups (Web V2)
Overview for Access User Groups in the Web V2.
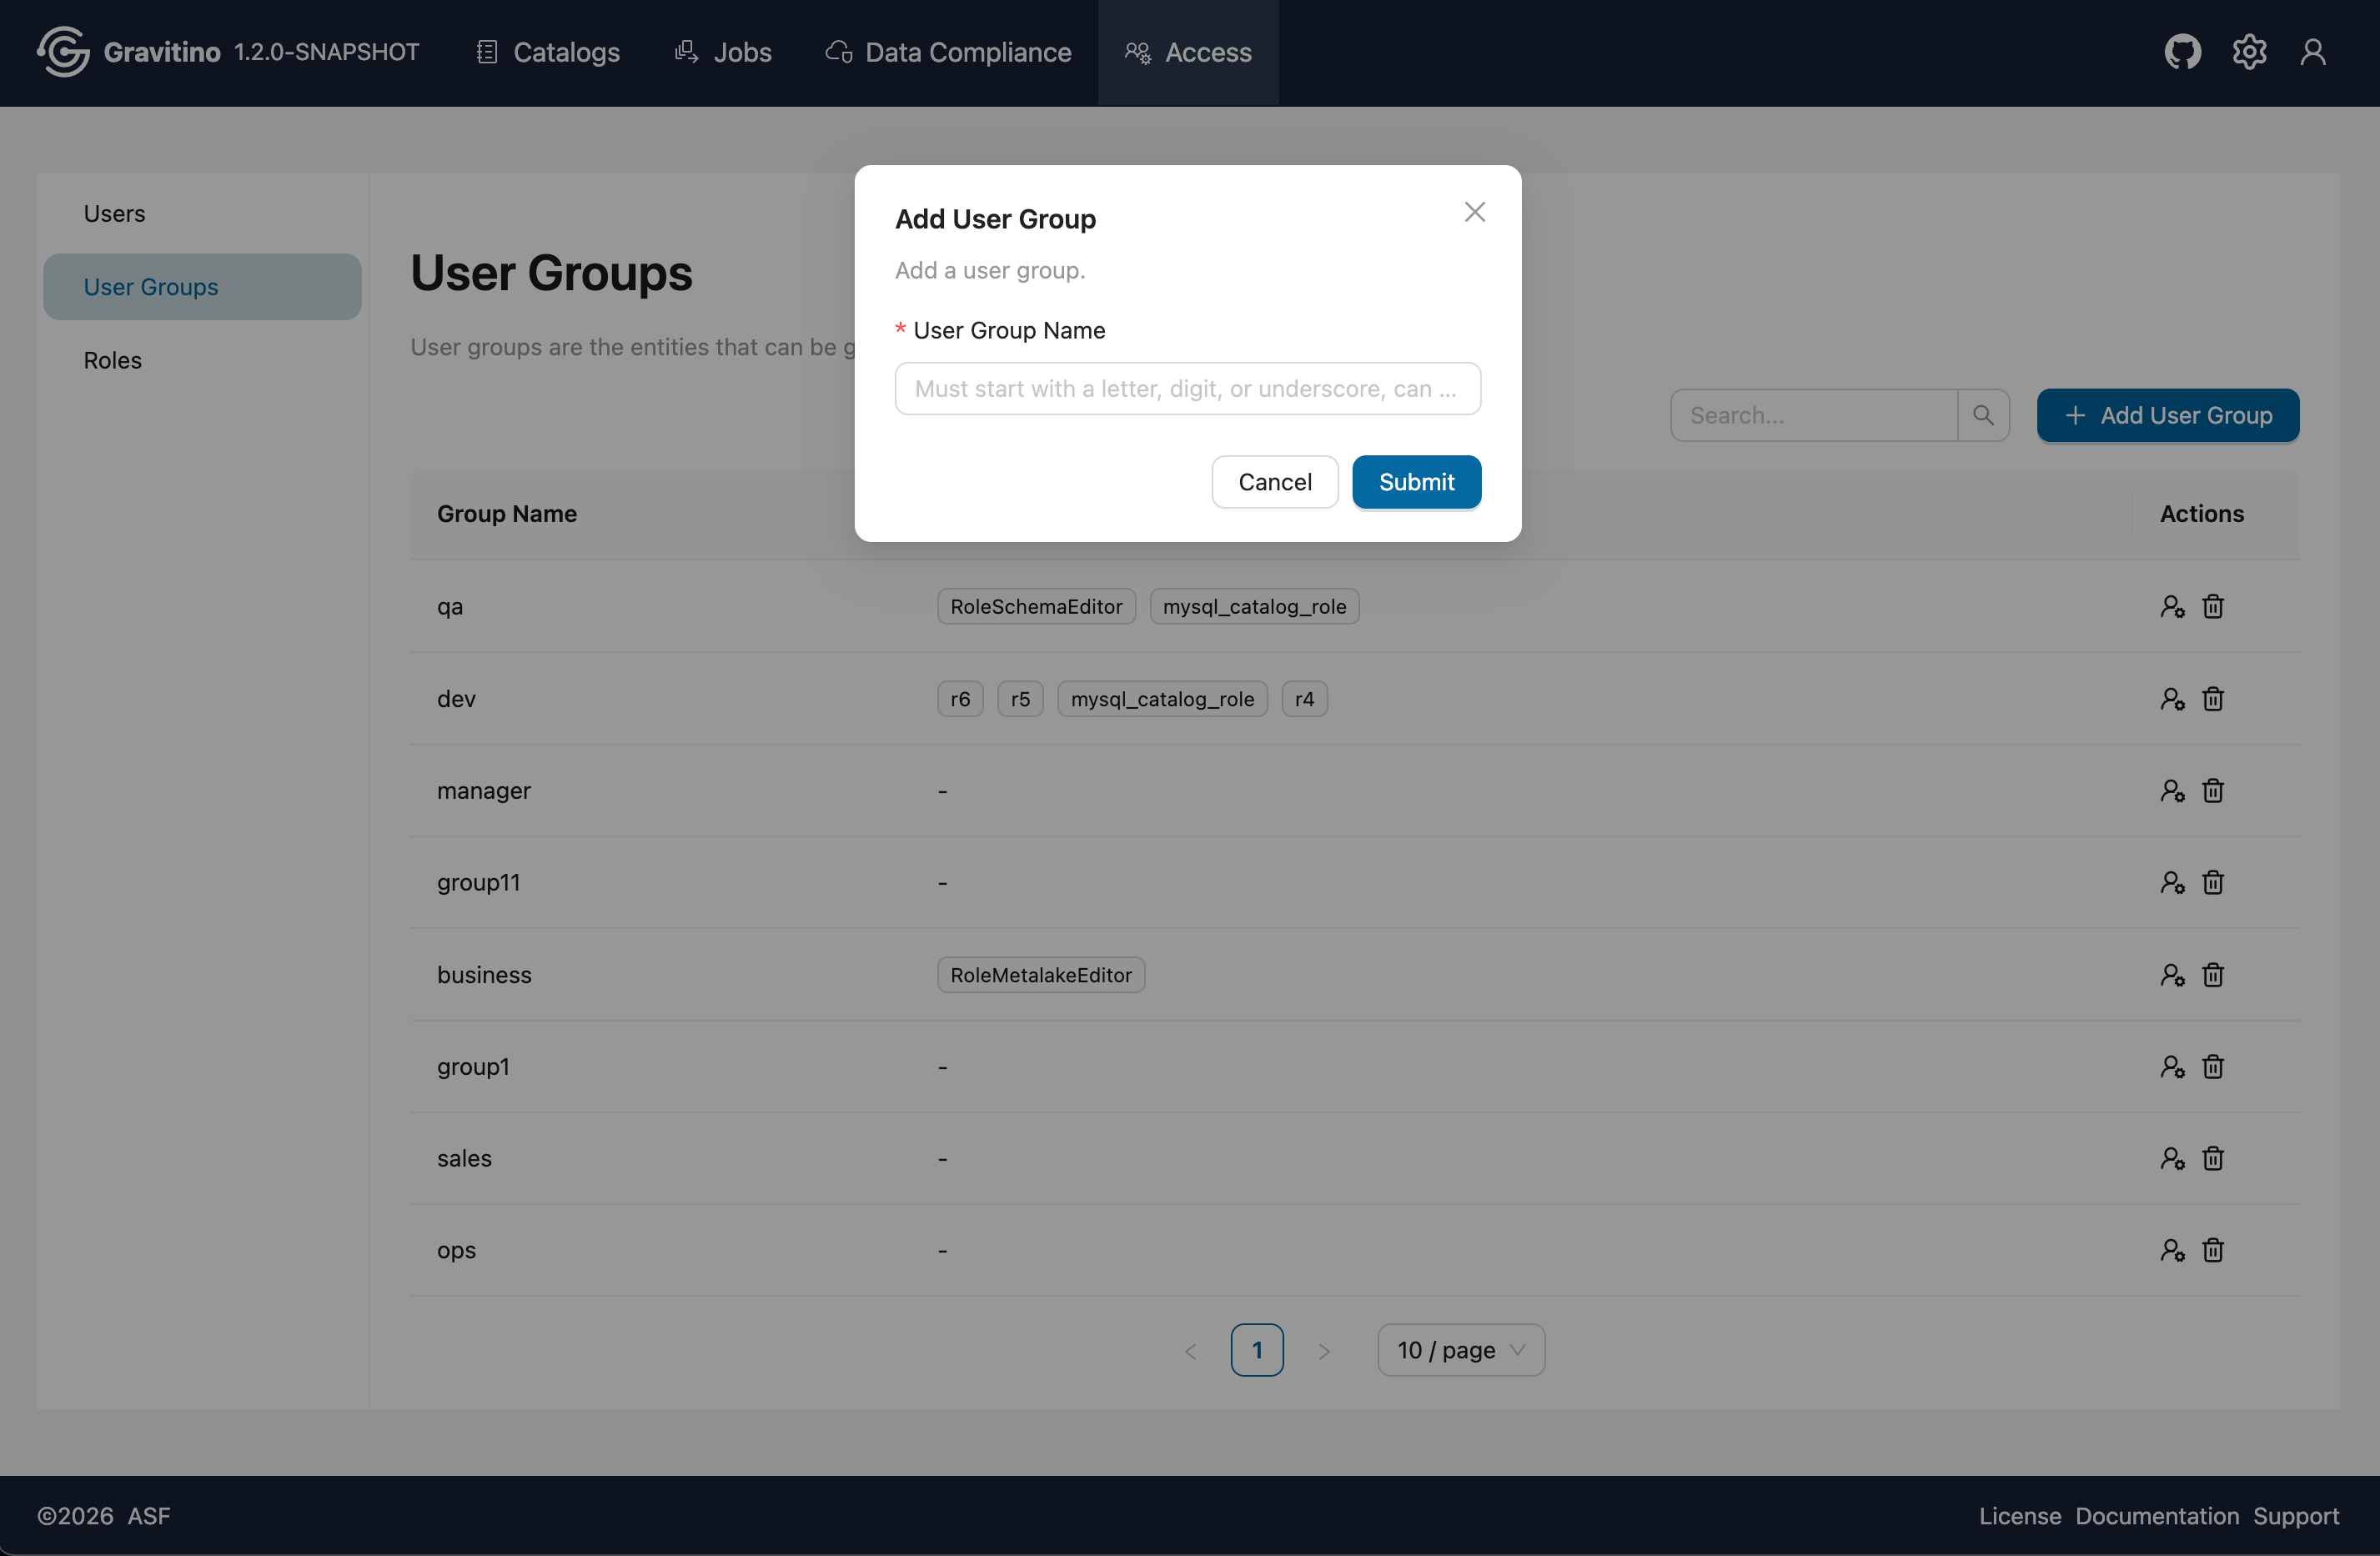
Add User Group (Web V2)
Click Add User Group to open the create form. Fill in the required fields and submit to create a user group.
Grant Role (Web V2)
From the Actions, click Grant Role icon to assign roles to the selected user group.

Access - Roles (Web V2)
Overview for Access Roles in the Web V2.
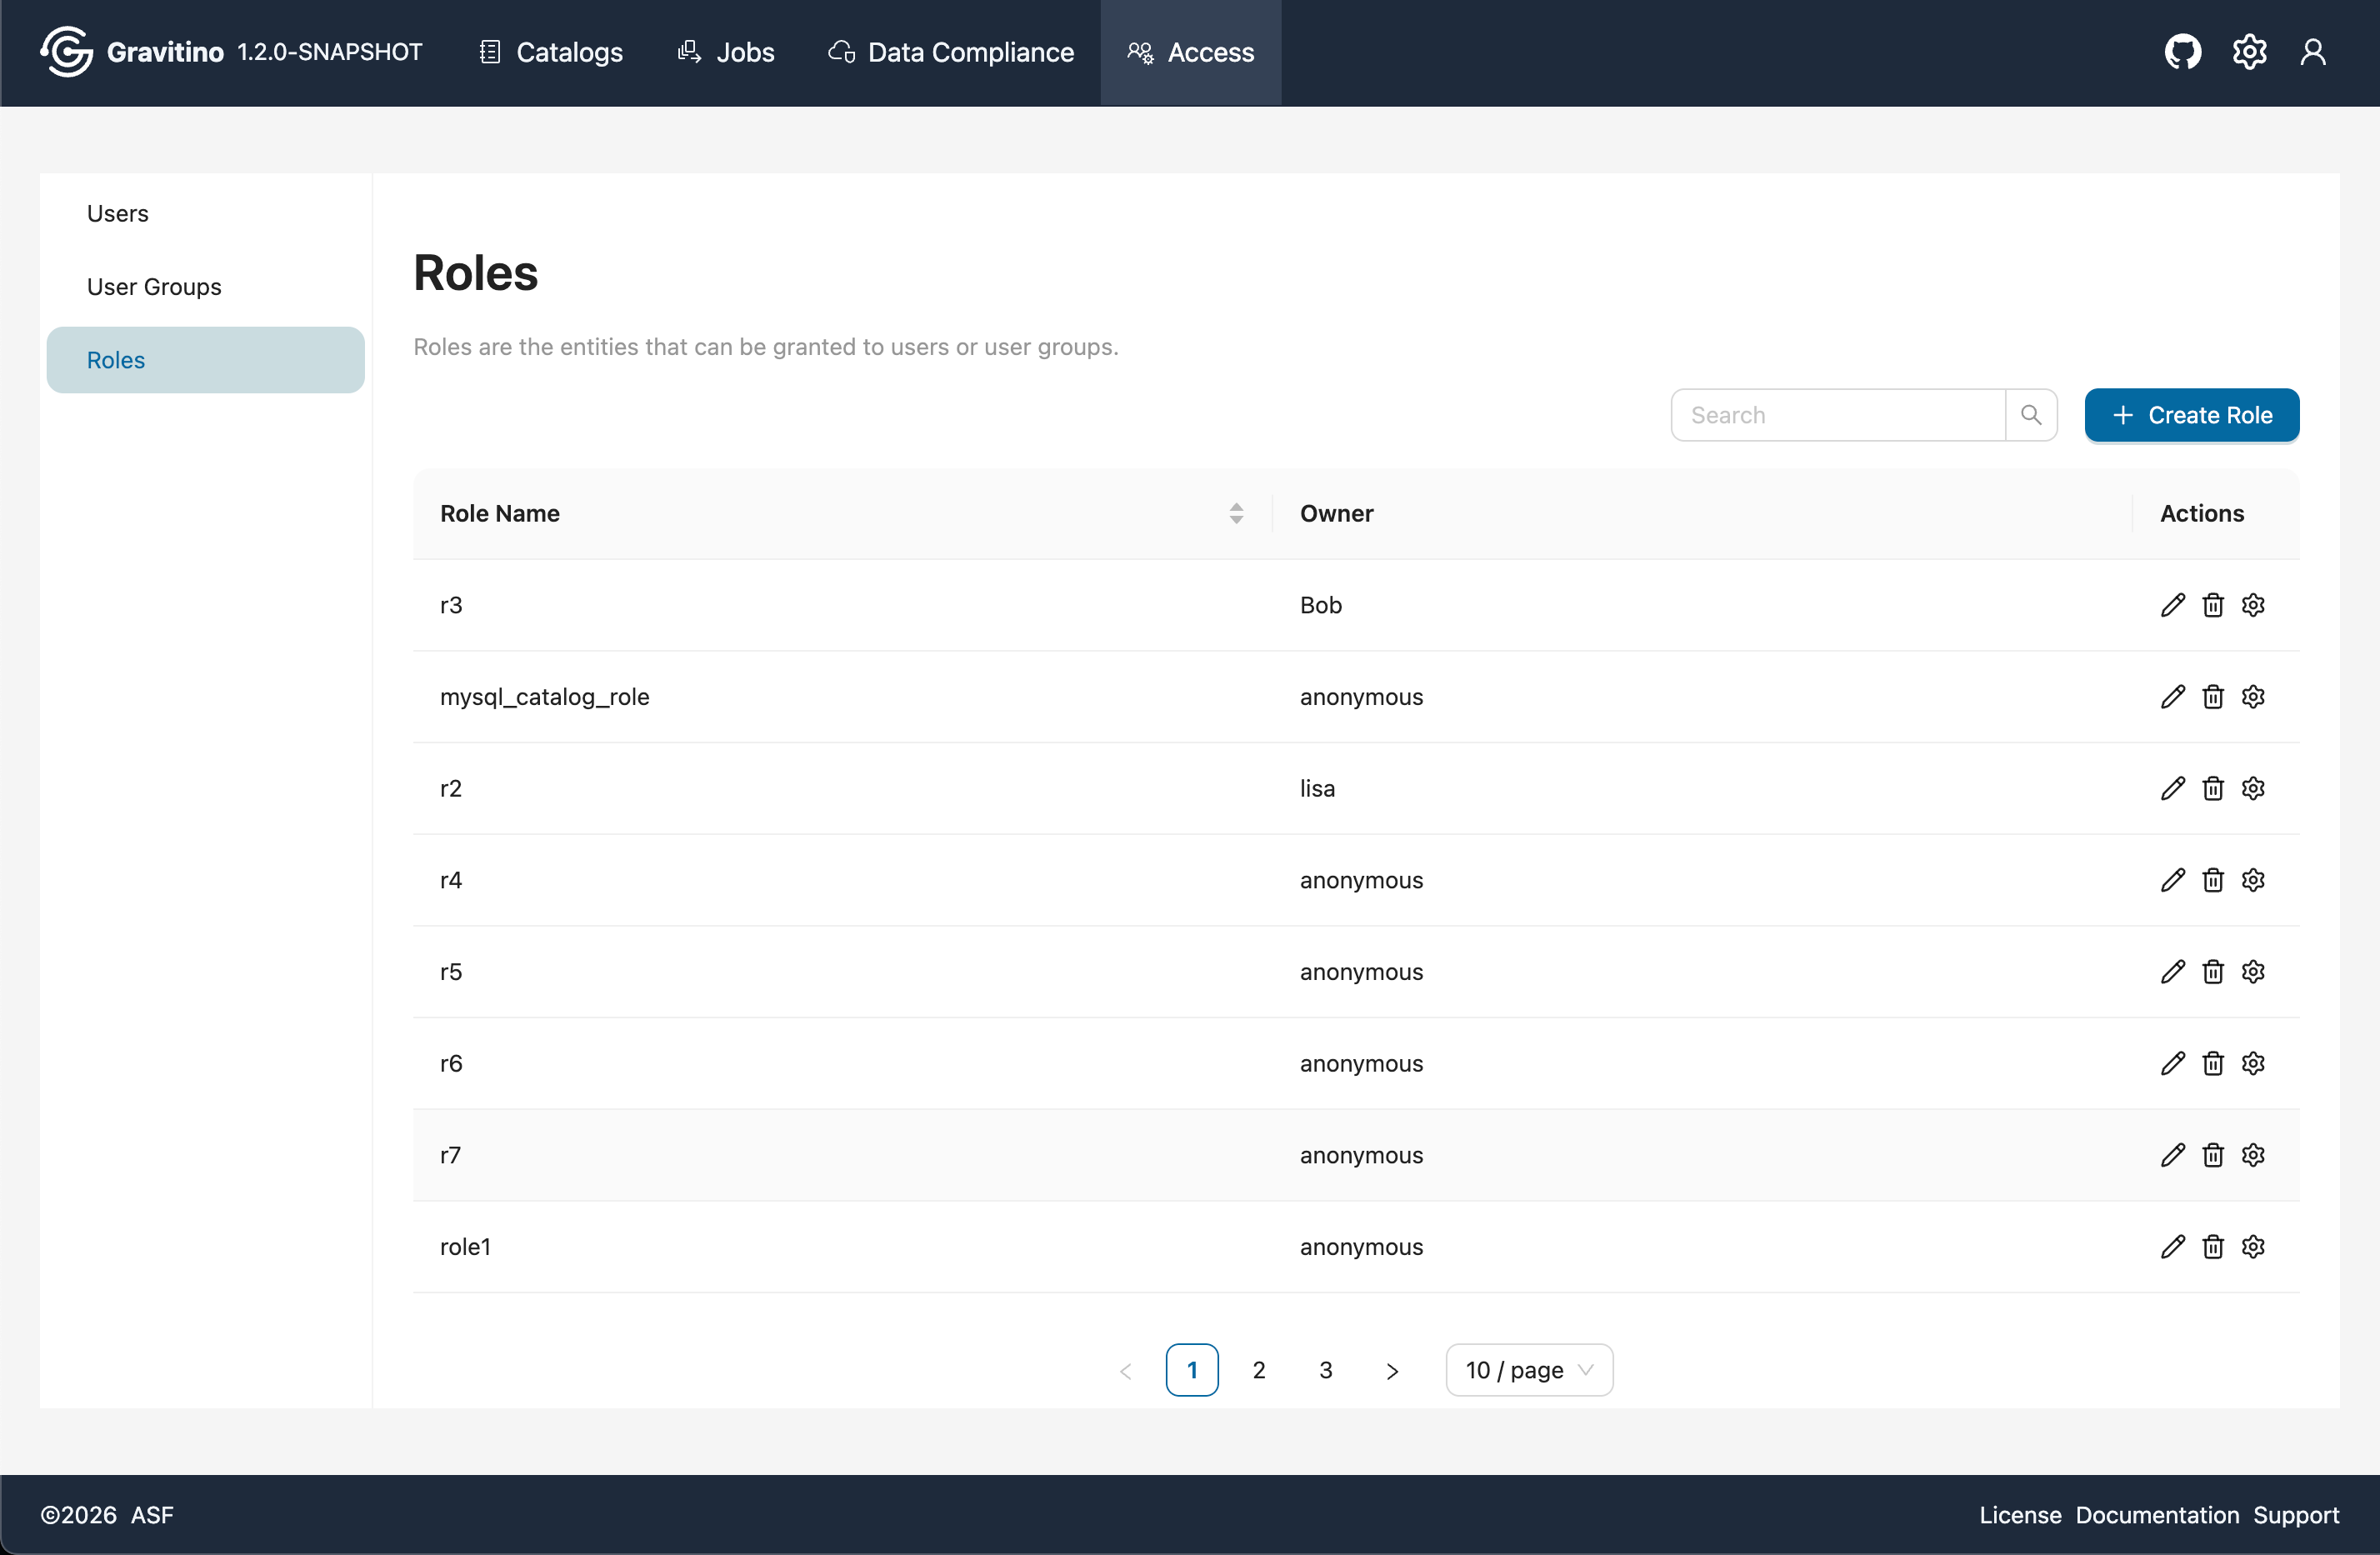
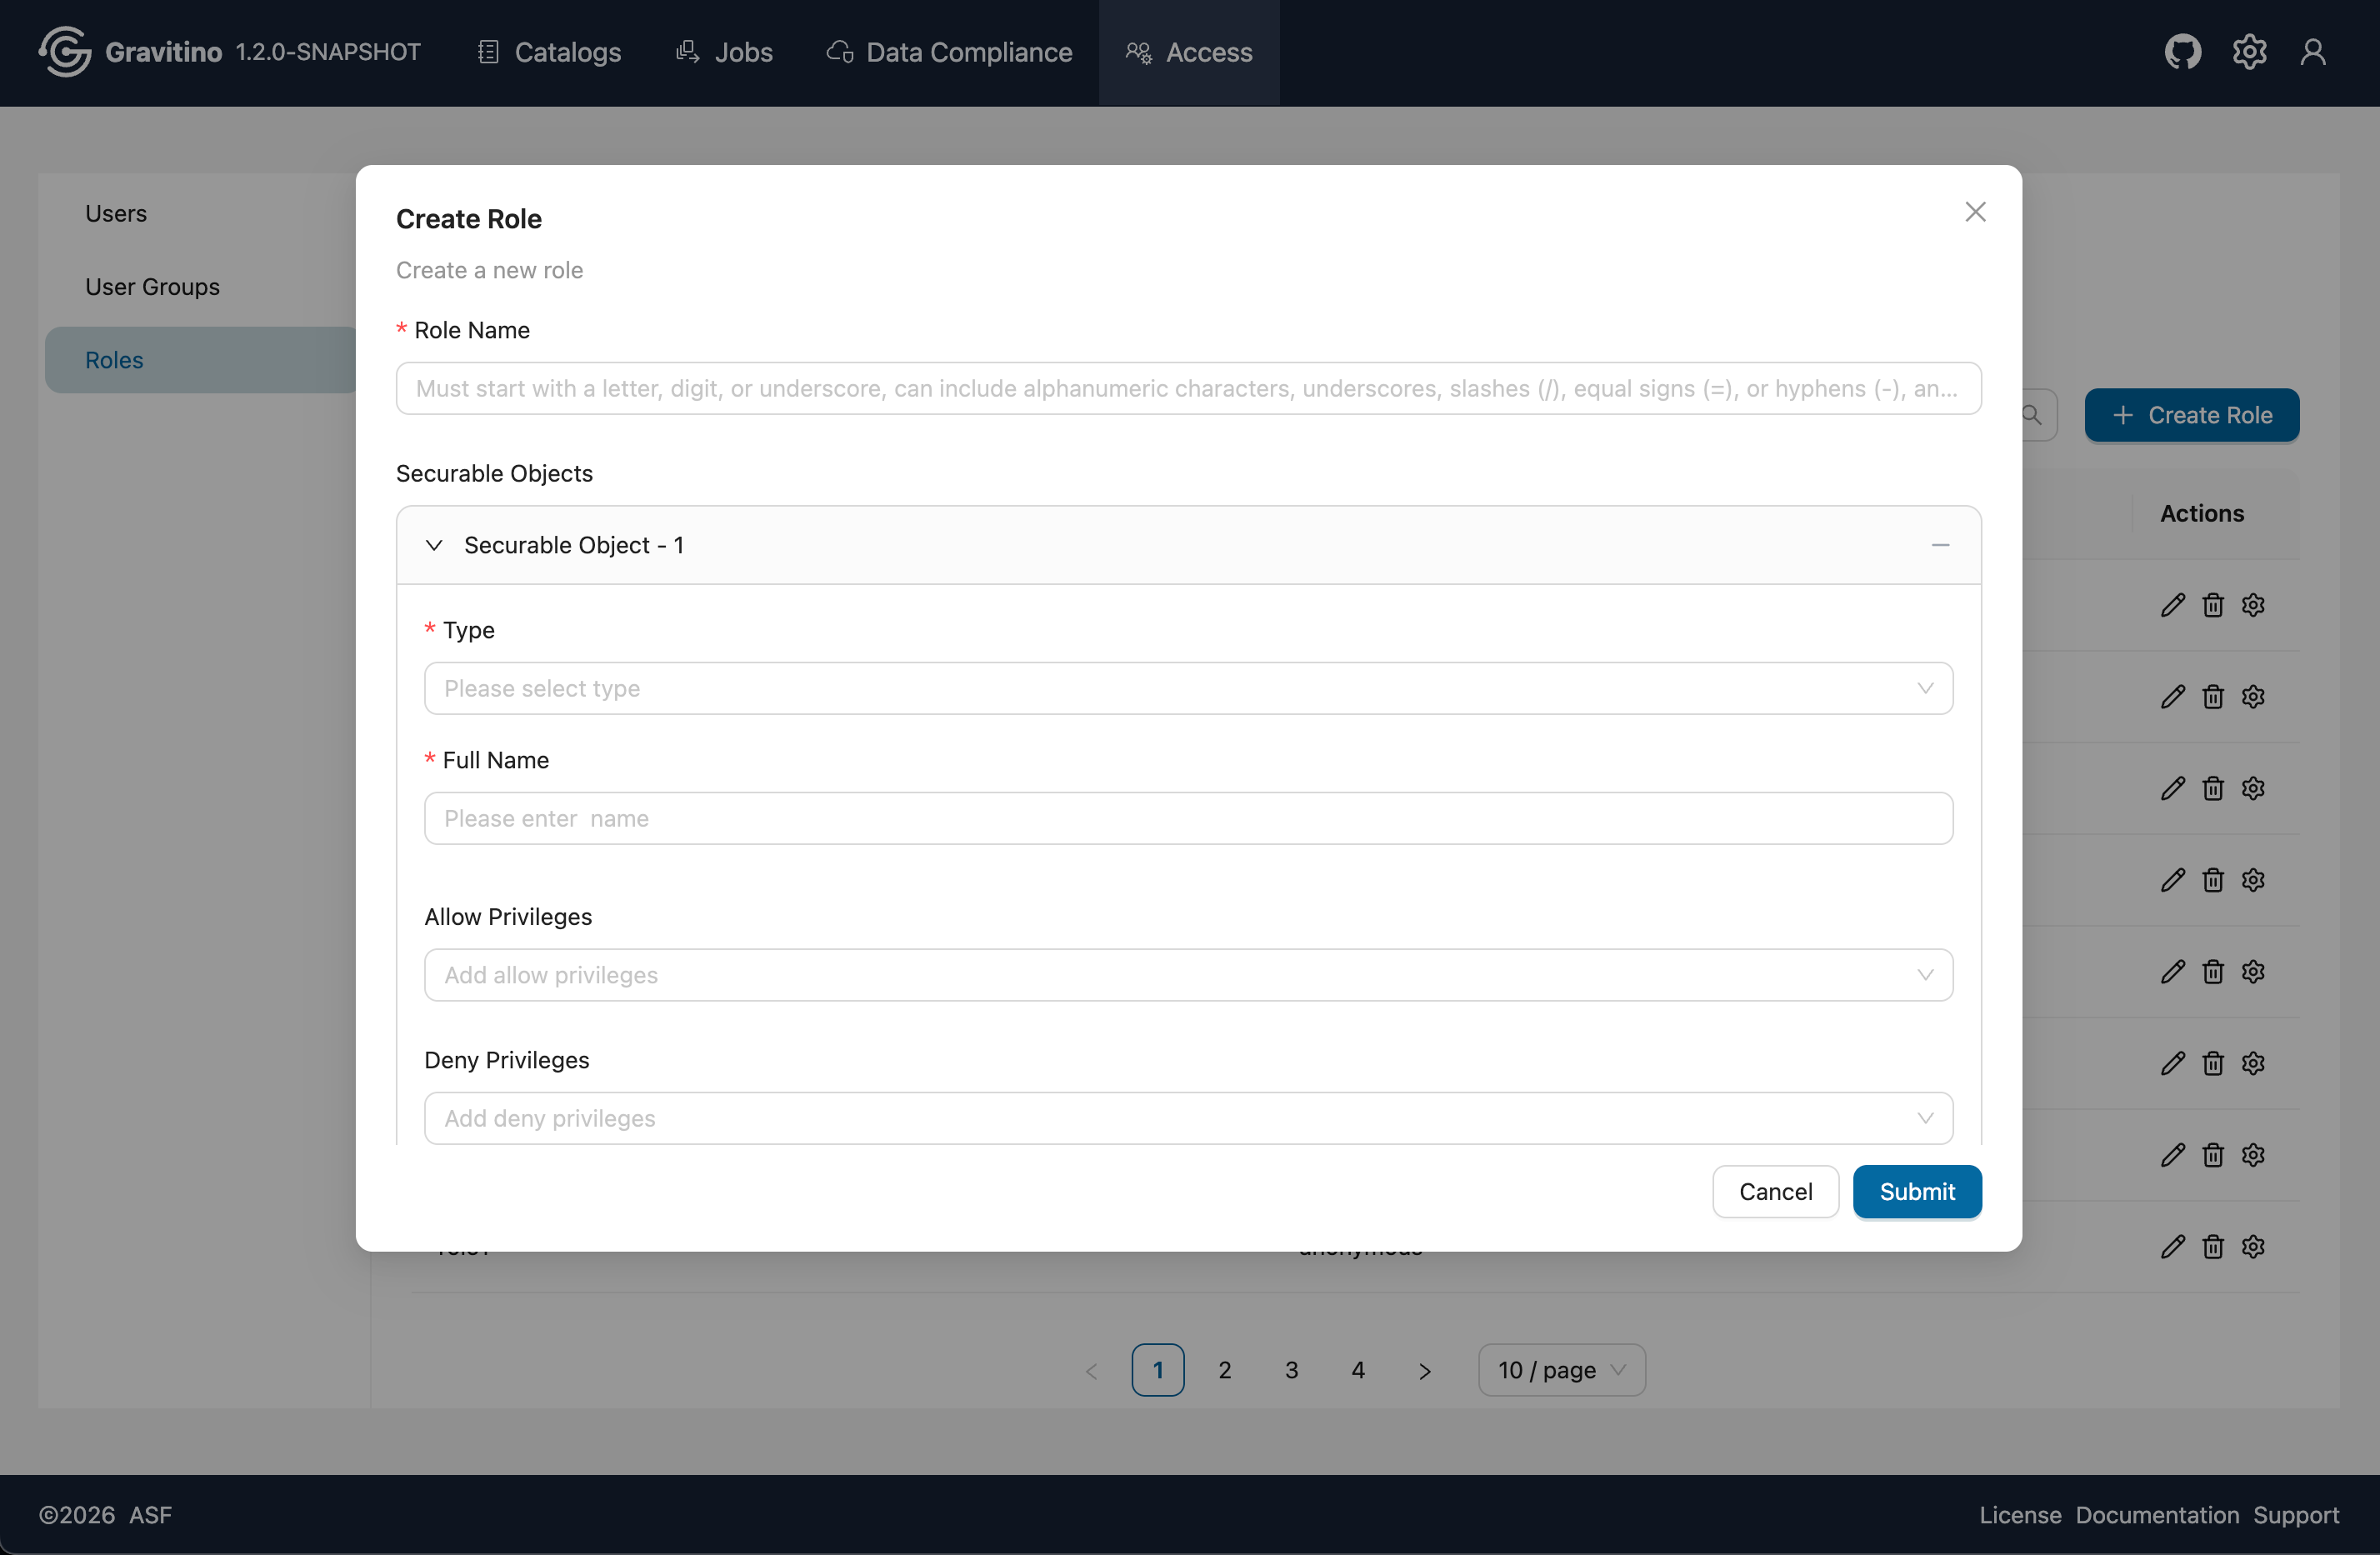
Create Role (Web V2)
Click Create Role to open the create form. A role can include multiple securable objects. Different securable object types have different available privileges. For details, see Securable Objects and Privilege Types.